Y
Y’
Y
Y’
X
X
X’
X’
48,5
41,5
Asse orizzontale E4.2
Horizontal axis E4.2
Horizontal achse E4.2
Axe horizontal E4.2
Eje horizontal E4.2
Asse orizzontale E4.2
Horizontal axis E4.2
Horizontal achse E4.2
Axe horizontal E4.2
Eje horizontal E4.2
Asse verticale E4.2
Vertical axis E4.2
Vertikale achse E4.2
Axe vertical E4.2
Eje vertical E4.2
48,5
Y Y’
Y Y’
X’
X’
X
X
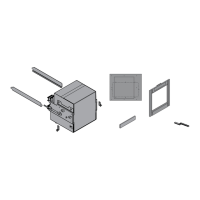
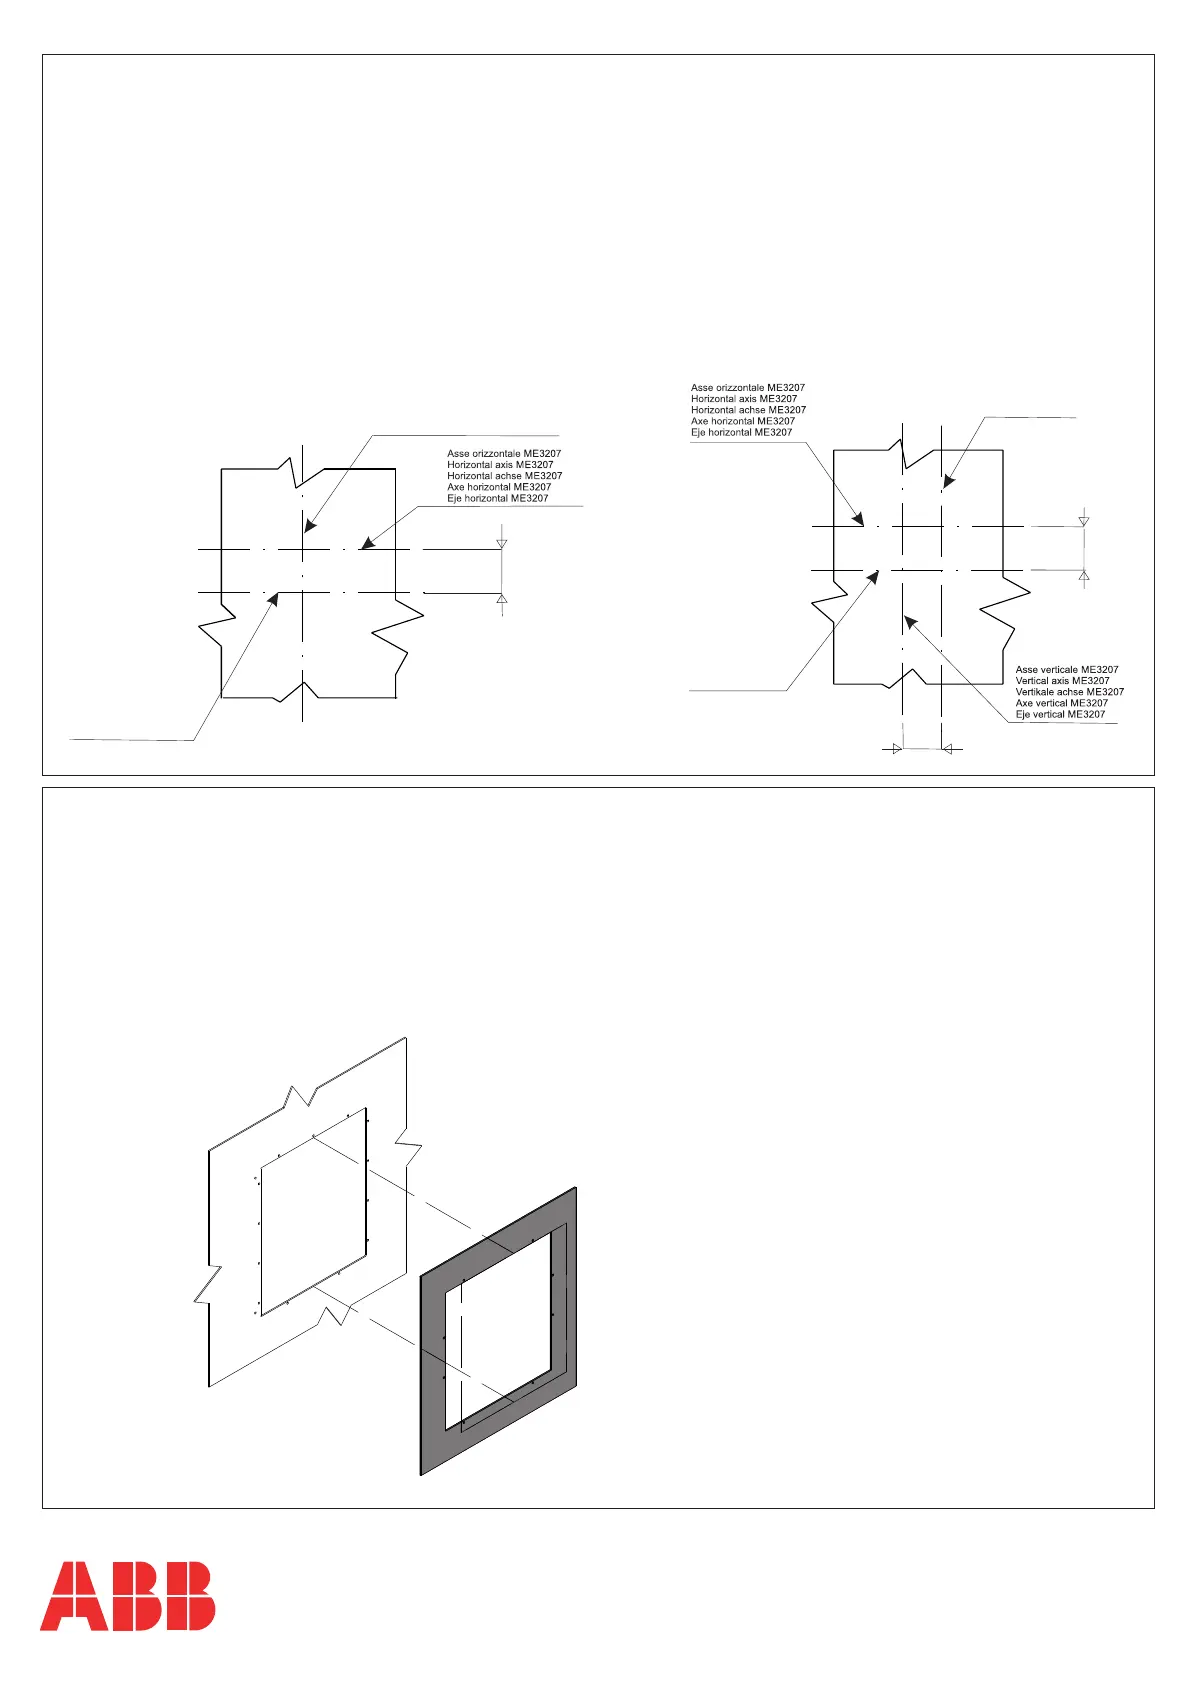
Collocare la dima adesiva alla portella e controllare che la linea tratteggiata sia perfettamente combaciante con il foro già presente sulla portella.
Position the adhesive template on the door and make sure that the dotted line perfectly matches the aperture on the door itself.
Die selbstklebende Schablone auf der Tür anbringen und sicherstellen, dass die gestrichelte Linie perfekt über dem Loch liegt, das schon auf
der Tür vorhanden ist.
Placer le gabarit adhésif à la porte et vérifier que la ligne hachurée coïncide parfaitement avec l’ouverture présente sur la porte.
Colocar la plantilla adhesiva en la puerta y controlar que la línea punteada coincida perfectamente con el orificio ya presente en la puerta.
Figura esemplificativa, per immagini reali vedere istruzioni 15-16-17-18
Indicative figure. Consult instructions 15-16-17-18 for the real images
Als Beispiel gedachte Abbildung, für echte Bilder siehe Anweisungen 15-16-17-18
Figure d'exemple, pour les images réelle voir les instructions 15-16-17-18
Figura ejemplificativa, para las imágenes reales véanse las instrucciones 15-16-17-18
E4.2 / ME3207 3 POLES
E4.2 / ME3207 4 POLES
Asse verticale E4.2 - ME3207
Vertical axis E4.2 - ME3207
Vertikale achse E4.2 - ME3207
Axe vertical E4.2 - ME3207
Eje vertical E4.2 - ME3207
Forare la portella quadro secondo necessità del nuovo interruttore. Porre particolare attenzione alla tipologia del kit acquistato.
Controllare il posizionamento degli assi.
Make a hole in the switchboard door to suit the new circuit-breaker. Pay specific attention to the type of kit purchased. Check the
positions of the axes.
Die Schaltanlagentür je nach den Erfordernissen des neuen Leistungsschalters bohren. Besonders auf den Typ des gekauften
Nachrüstsatzes achten. Die genaue Lage der Achsen prüfen.
Percer la porte du tableau d’après les exigences du nouveau disjoncteur. Faire tout particulièrement attention à la typologie de kit
acheté. Contrôler le positionnement des axes.
Perforar la puerta del cuadro según las exigencias impuestas por el nuevo interruptor. Poner mucha atención a la tipología del kit
comprado. Controlar la posición de los ejes.
14
13

 Loading...