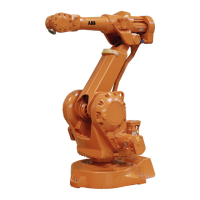
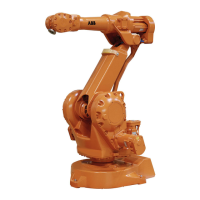
Refitting, drive shaft unit
The procedure below details how to remove the drive shaft unit from the robot
upper arm.
NOTE! ABB recommends its customers to carry out only the following servicing
and repair work on the drive shaft unit.
Note/IllustrationAction
DANGER
Turn off all electric power, hydraulic and
pneumatic pressure supplies to the ro-
bot!
1
Install the belts.2
Note! Do not forget the nuts on the motors!Fit the plate using screws and washers.3
Fit the motors.4
Art. no. is specified in Required equipment
on page 200.
Push the motors sideways to tighten
the belts, using the tool. Place the
round post of the adjustment tool into
the motor pulley and let the cam press
to the outer diameter of the large pulley.
5
Tighten screws B (shown in the illustration
below) to 4.1 Nm.
Rotate the drive shafts. Check the ten-
sion on the belt.
6
Do not forget the rubber damper.Install the drive mechanism in the tubu-
lar shaft.
7
xx0300000021
Tighten screws.8
• A: 8.3 Nm
Detailed in Replacement of motors, axes 4-6,
IRB 2400L on page 183.
Install the cabling and fit the cover to
the motors axes 5 and 6.
9
Detailed in section Refitting, wrist unit on
page 140.
Refit the wrist.10
Calibration is detailed in a separate calibration
manual enclosed with the calibration tools.
Calibrate the robot.11
General calibration information is included in
the section Calibration information on
page 205.
Continues on next page
202 Product manual - IRB 2400
3HAC022031-001 Revision: P
© Copyright 2004-2018 ABB. All rights reserved.
4 Repair
4.8.2 Replacement of drive shaft unit, IRB 2400L
Continued

 Loading...
