5.4.5.2 Service settings for transceiver 21–216
GUID-4B6CB0C7-8F0E-4FE8-BD12-A3E03FE4FF72 v1
IEC07000256 V1 EN-US
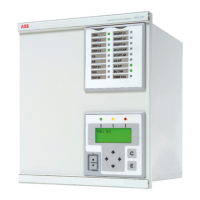
Figure 70: Transceiver 21–216
Only one setting is required for transceiver 21–216. It has to be set to external
clock. Rotary switch on the front panel pointing to position 0 indicates that external
clock is selected. If back-to-back testing is to be performed, one transceiver 21-216
has to be set as master by setting the rotary switch to position 2 (overrides settings
of jumpers 8 and 9). Clock synchronization configuration using the rotary switch
can be done on the fly.
5.4.6 Earthing
GUID-F03C51FF-418F-4761-BF4C-73833D10804D v1
The recommended earthing method is direct earthing. With earth loop problems,
soft earth method can be beneficial (see Figures
71 and 72).
Transc.
21-216
Protective earth
screw (or any
screw with a good
earth connection)
Make sure the boxes are
properly earthed with shortest
possible connections to, for
example, an earthed frame
< 10 m between earth points
For ”soft earth”
remove jumper P4
R = 100 kohm
C = 100 nF
Transceiver 21-216 and PCM should preferably use
the same auxiliary voltage supply (a 48 V battery)
Direct
earth
(default)
Outer shielding connected to
earth at both ends
Internal
electronics
Internal
electronics
directly earthed
IEC08000073-1-en.vsdx
PCM
IEC08000073 V1 EN-US
Figure 71: Earthing principles
Section 5 1MRK 505 382-UEN B
Communication set-up
84 Communication set-up 670/650 series 2.2
Application Guide

 Loading...