3 - 2 WBPEEUI240774A0
Unpacking and Inspection
6. Use an Antistatic Field Service Vacuum. Remove dust
from the cards if necessary.
7. Use a Grounded Wrist Strap. Connect the wrist strap to
the appropriate grounding plug.
8. Do Not Use Lead Pencils to Set Dipswitches. To avoid
contamination of switch contacts that can result in unneces-
sary circuit board malfunction, do not use a lead pencil to set a
dipswitch.
Unpacking and Inspection
1. Examine the hardware immediately to verify it has not been
damaged in transit.
2. Notify the nearest ABB Automation sales office of any such
damage.
3. File a claim for any damage with the transportation com-
pany that handled the shipment.
4. Use the original packing material and container to store the
hardware.
5. Store the hardware in an environment of good air quality,
free from temperature and moisture extremes.
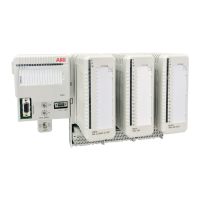
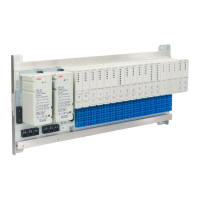
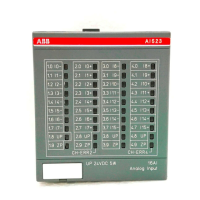
Setup and Installation
NOTE: Refer to Appendix C for information about replacing an IMASI03 mod-
ule or Appendix B for an IMASI13 with an IMASI23 module.
Before applying power to the ASI module, make these checks:
1. Check that the module address is set correctly.
2. Check that the jumpers on the module are set correctly.
3. Be sure the dipshunts in the module mounting unit's I/O
expander bus are installed correctly.
4. Check that the jumpers on the termination units are set
correctly.
5. Verify I/O cabling connections.