Web interface setup wizard
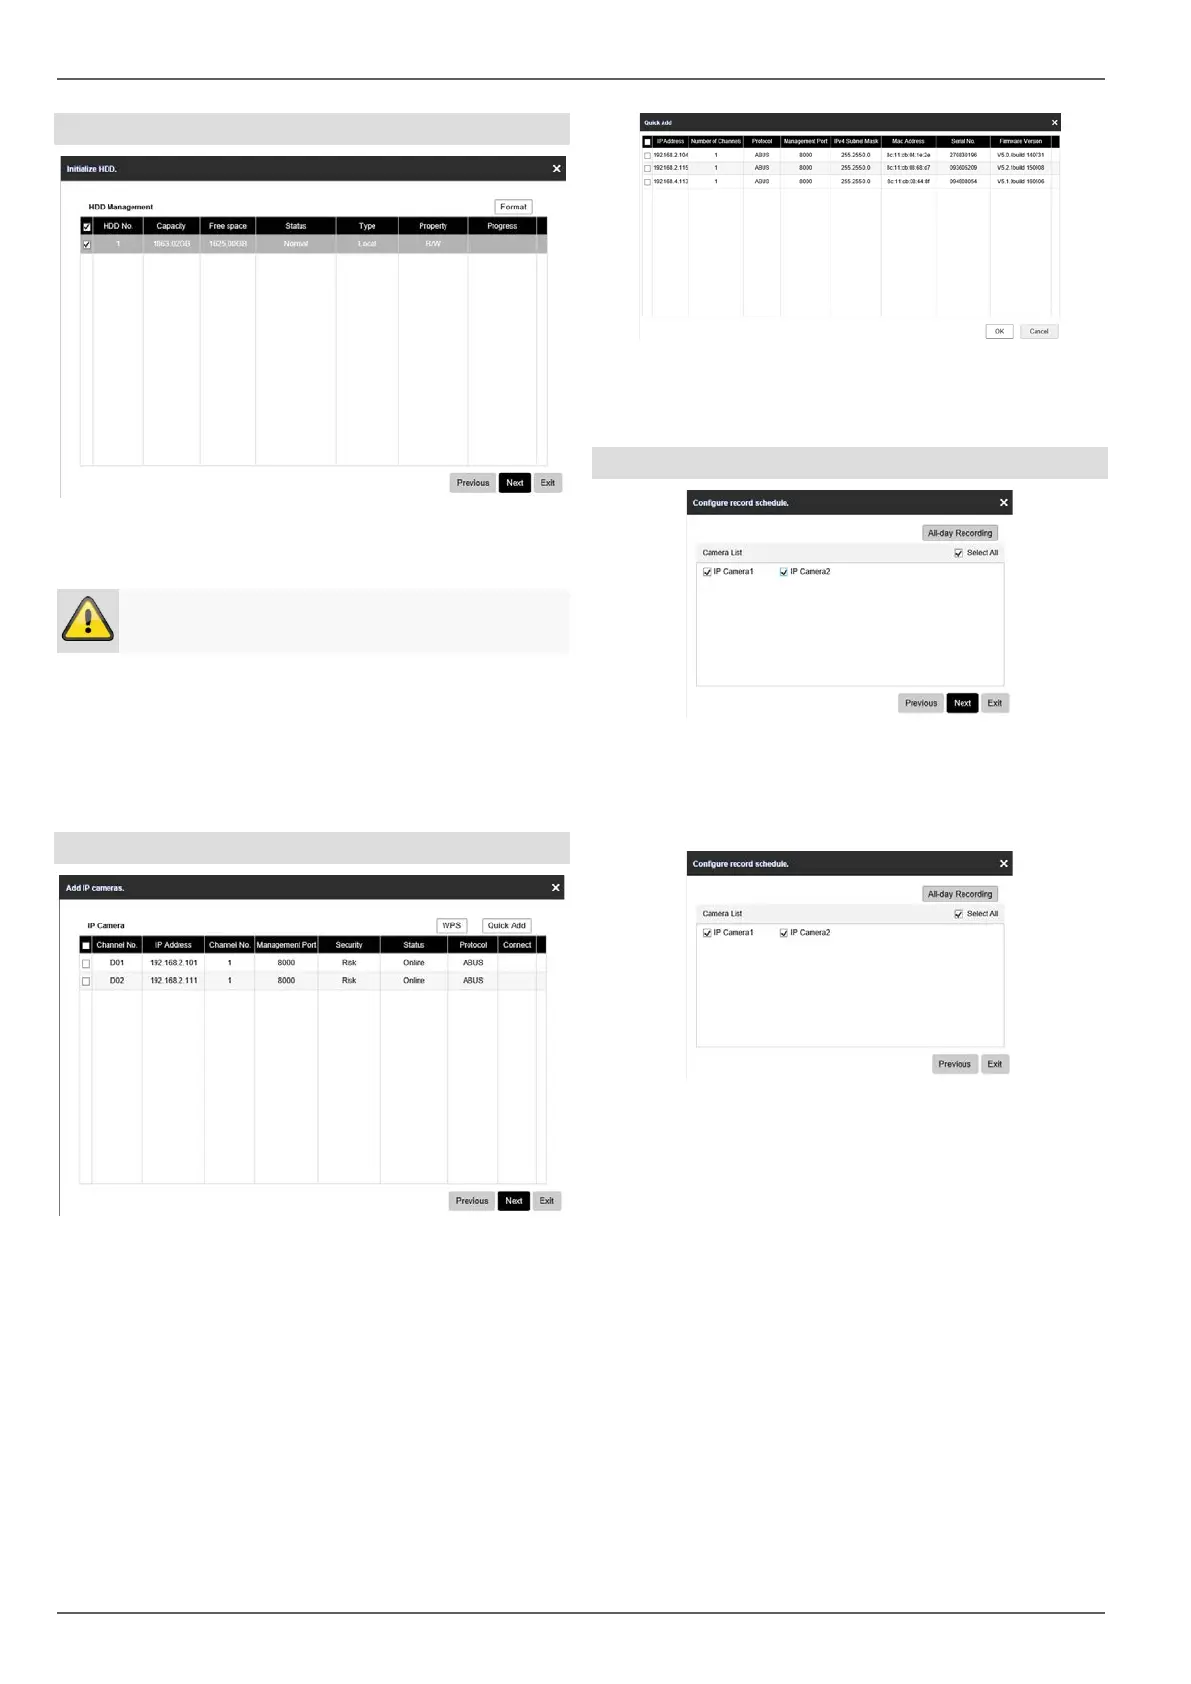
Hard disk drive management
1. To set up a hard disk drive, enable the ‘checkbox’
with a left click and then click on Format.
Warning
This will delete all data found on the disc.
2. Click on OK to acknowledge the security prompt.
The hard disk drive is set up for use. Progress is
shown on the status bar.
3. Complete the setting by selecting OK and then click
on Continue.
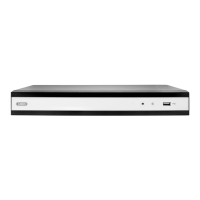
Camera assistant
1. Using WPS you can quickly and easily establish a
Wi-Fi connection between a camera and the re-
corder. To do this, click on the WPS key and follow
the instructions. Before you can then search for and
add the camera, wait the two minutes as displayed
until the camera has established a connection with
the recorder. Only one camera can be connected
during each WPS procedure
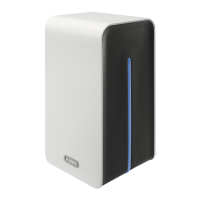
2. Click on Quickadd to display the network cameras in
your network.
3. To add network cameras, make your selection and
click on OK.
4. Click on Continue to continue with the setup.
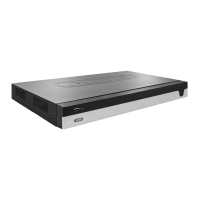
Camera recording
1. Select the desired cameras and click on All-day Re-
cording
to activate continuous recording for
those cameras.
2.
Then click on Continue.
3. Complete the setting and the setup wizard by select-
ing Exit.
20