9
English
English
Note: To ensure the projector works well with your computer, please
make sure the timing of the display mode is compatible with the
projector.
Note: * indicates an optional item.
Turning the projector on/off
Turning the projector on
1 Ensure that the power cord and signal cable are securely connected. The
power indicator LED will light blue.
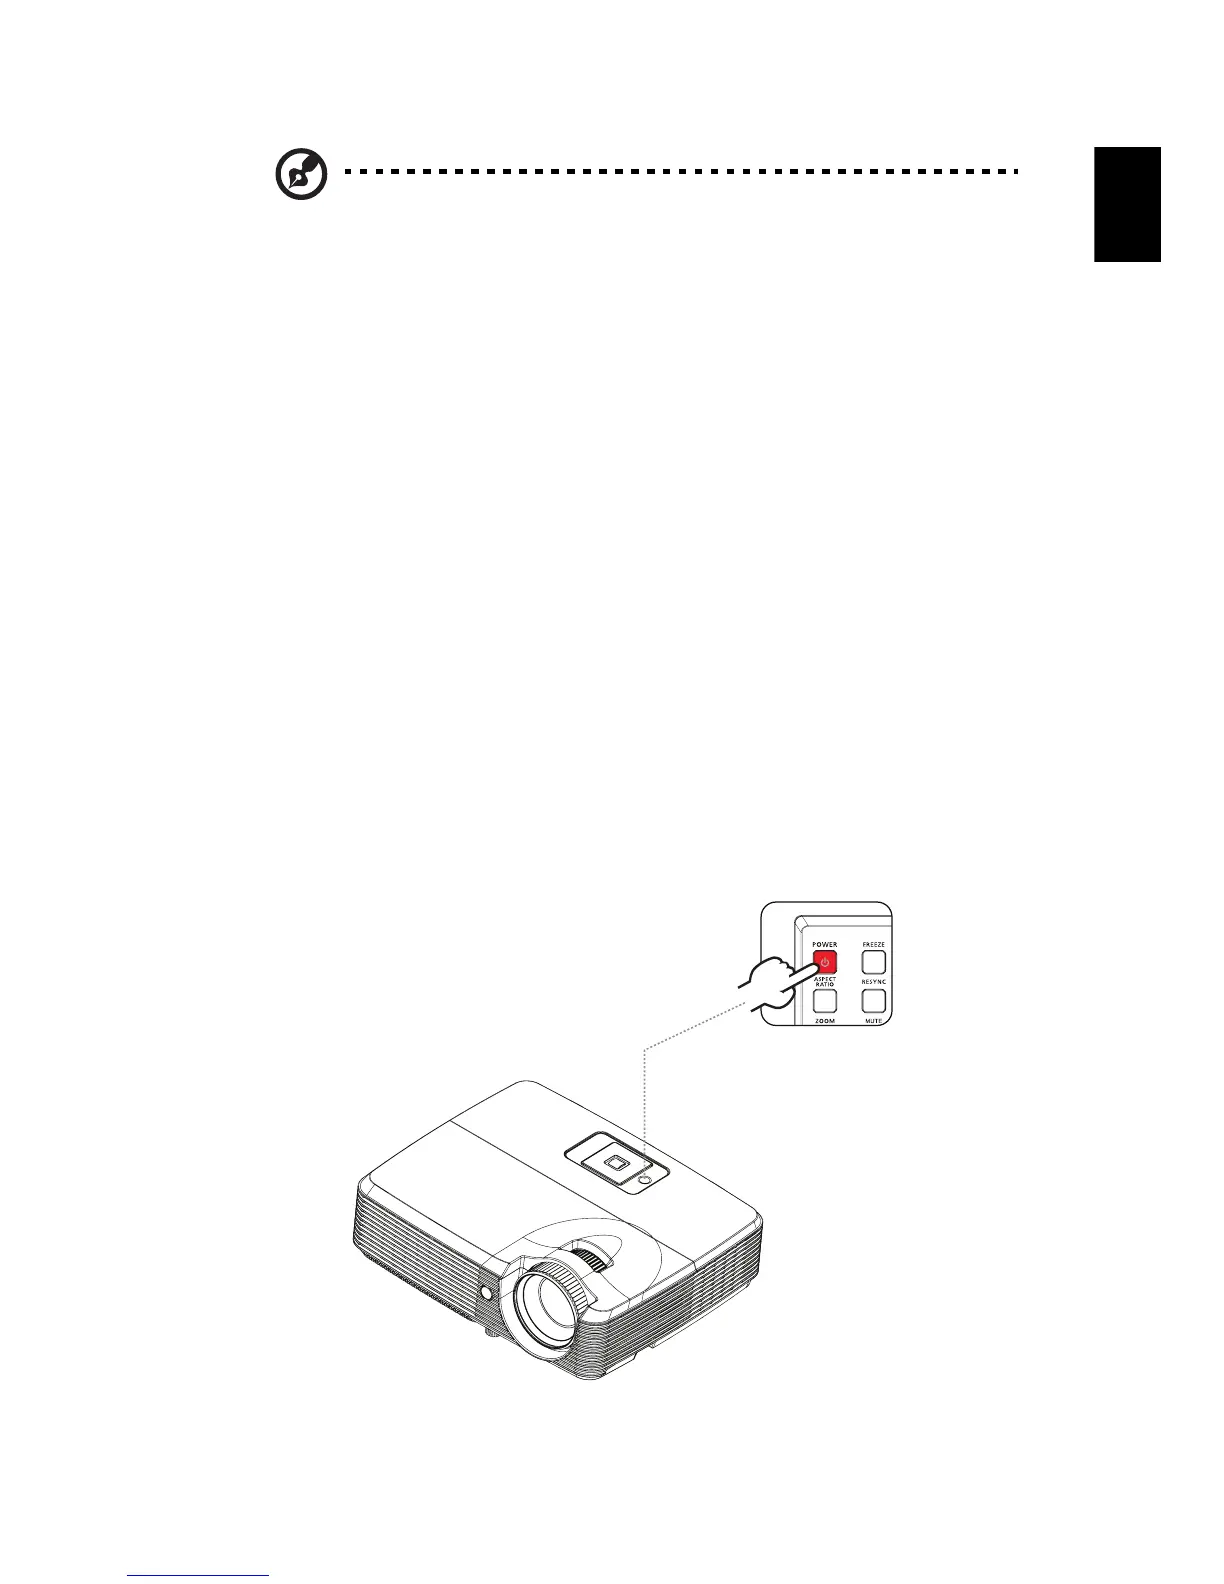
2 Turn on the projector by pressing the POWER button on the control panel. The
power indicator LED will flash and then turn blue.
3 Turn on your source (computer, notebook, video player ,etc.). The projector
will detect your source automatically.
• If the screen displays the Lock and Source icons, it means the projector is
locked onto a specific source type and that input signal type is not
detected.
• If the screen displays No Signal, please make sure the signal cables are
securely connected.
• If you connect to multiple sources at the same time, use the SOURCE
button on the remote control to switch between inputs.
Power button

 Loading...