45 Chapter 4
No Step Specification Procedure Photo
1 Reset
After final QC Step, please do OSD reset to erase all saved change again and restore the
factory defaults. The following actions will allow you to erase all end-user’s settings and
restore the original setting:
1. Please enter the service mode.
2. Choose “Factory Reset” then choose “Yes” and press “Enter” to see if it works.
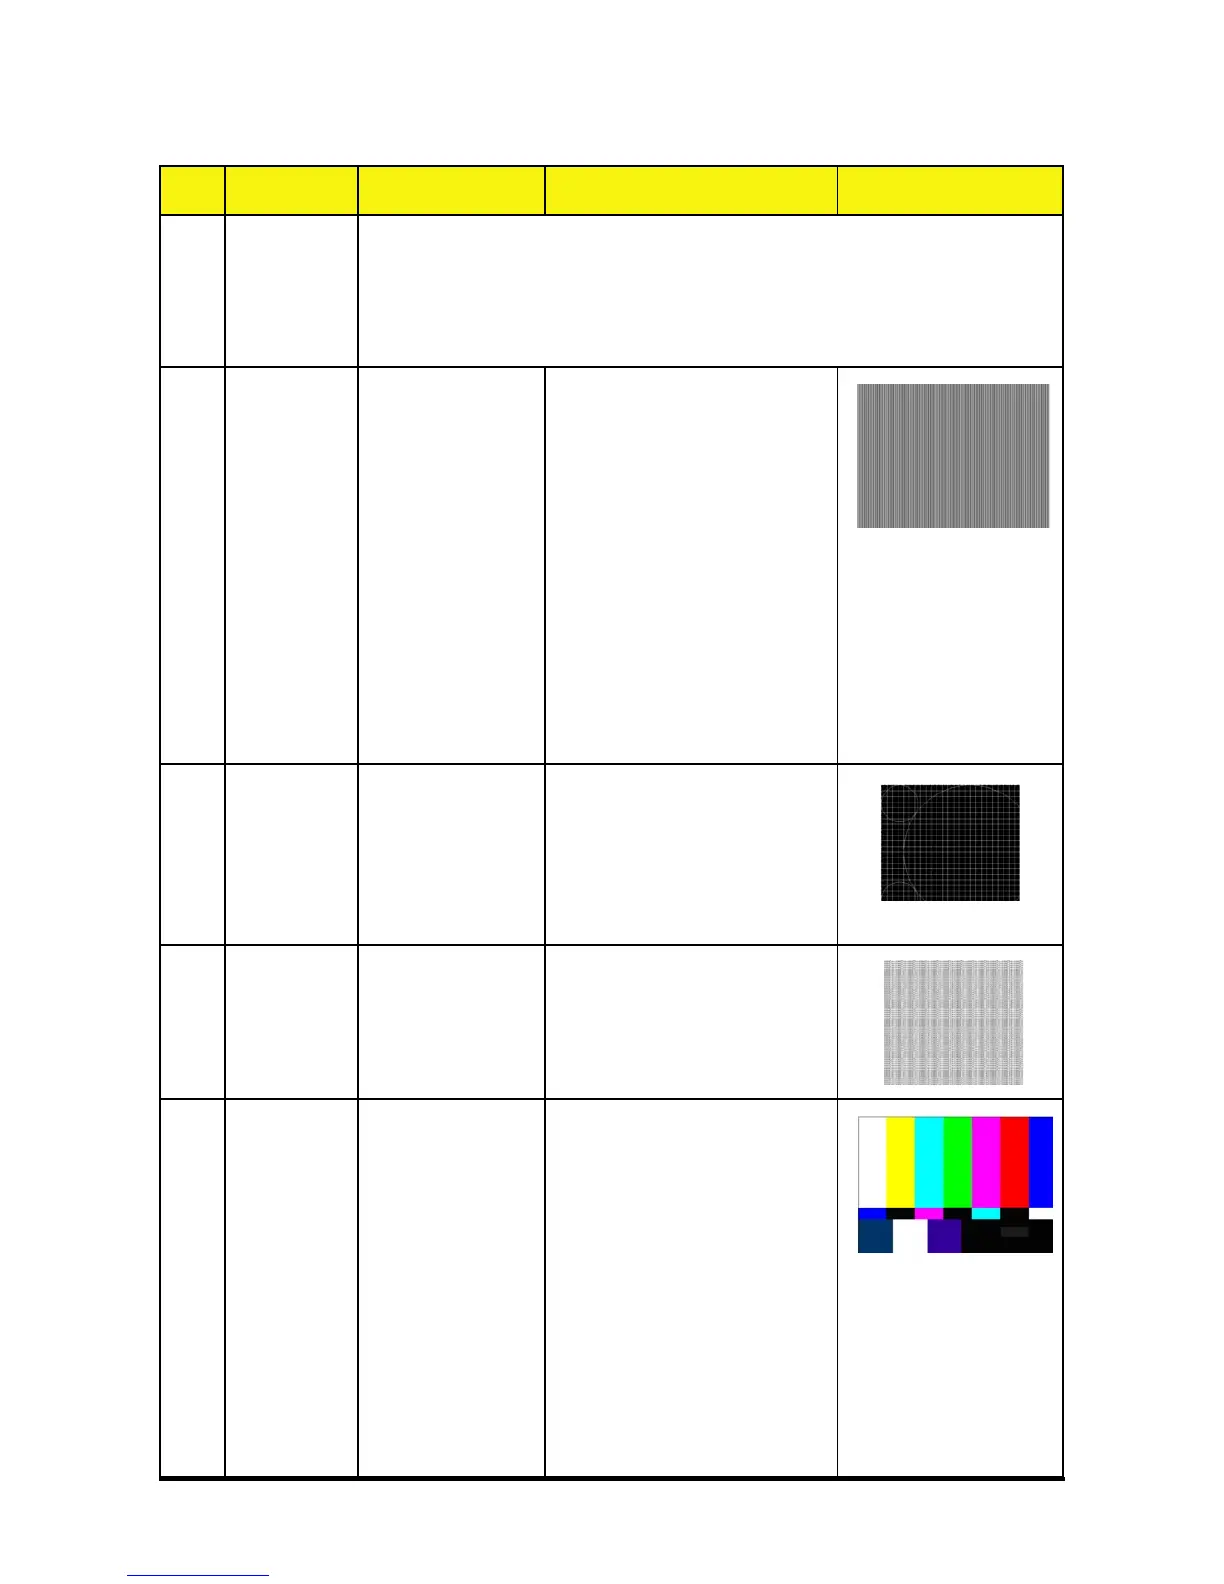
1 Frequency
and Track-
ing
Eliminate visual
wavy noise by
Rsync, Frequency
or Tracking selec-
tion.
- Test Signal :1280x768@60Hz
- Test Pattern : Line Moire Pattern
- check and see if image
sharpness and focus are
well-performed.
- If not, re-adjust by the following
steps:
(1) Select “Frequency” function
to adjust the total pixel number of
pixel clock in one line period.
(2) Then, select “Tracking” func-
tion and use right or left arrow key
to adjust the vgalue to minimize
video flicker.
2 Boundary Horz. And Vert.
position of video
should be adjust-
able to be the
screen frame.
- Test Signal : 1280x768@60Hz
- Test Pattern : Boundary Frame
- Adjust Resync or Frequency /
Tracking / H. Position /
V. Position to the inner of the
screen.
3 Focus The text in the
corner should be
clear after adjust
the focus ring.
- Test Signal : 1280x768@60Hz
- Test Pattern : Text Pattern
- Adjust the center clearly;
meanwhile, one slightly vague
corner in the image is allowed.
4 HDTV No discolor
- Test Signal : 480P, 720P, 1080i
- Test Pattern : Color Bar
- Equipment: Quantum Data 802B
or CHROMA2327
*Please refer to page 4~7 to enter
Service Mode. Use 480i signal,
color bar pattern to do video
calibration; then, use 576p signal
by 4:3 screen and 1080i signal
by 16:9 screen. If the test result
was in discoloration or flickering,
please return the unit back to the
repair center.
Inspection Procedure
 Loading...