6 Upgrading your computer54
English
Removing and installing a hard
drive
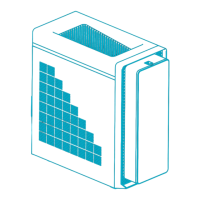
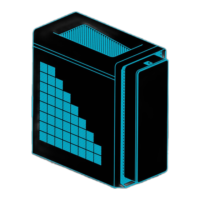
The computer supports up to four easy-swap hard disk drives. Each hard disk is
mounted in a carrier that holds a standard 3.5-inch Serial ATA hard drive and
connects to a SATA interface on the disk cage backplane.
Aspire G7710’s EasySwap technology allows you to replace hard drives without
powering down the system. Easy-swap technology shortens system downtime
for changing the hard disk or performing an upgrade.
To remove a hard drive:
1 Observe the ESD precautions described on page 48.
2 Open the drive bay door.
3 Press the HDD carrier latch, then pull the lever and slide the carrier from
the chassis.
4 Place the HDD carrier on a clean, static-free network surface.

 Loading...