7
English
Getting Started
Connecting the Projector
Note: To ensure the projector works well with your computer,
please make sure the timing of the display mode is compatible
with the projector.
Note: "*" Optional.
# Description # Description
X1161N series: X1261P series:
1Power cord 1Power cord
2 VGA cable 2 VGA cable
8 USB cable 3 Composite video cable
X1161P/X1161PA/X110P/H110P series: 4 RS232 cable
1 Power cord 5 S-Video cable
2 VGA cable
6
*
Audio cable jack/jack
3 Composite video cable
7
*
Audio cable jack/RCA
5S-Video cable
8
*
USB cable
8 USB cable
4
*
RS232 cable
RS232
4
VGA
Y
Y
D-Sub
D-Sub
R
W
D-Sub
D-Sub
USB
USB
RS232
USB
USB
1
2
3
5
6
7
4
2
8
8
S-Video output
Video output
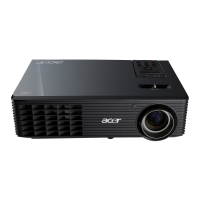
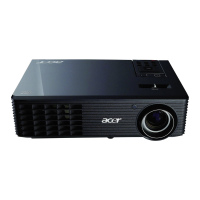
X1161 series
http://www.pureglare.com.au
 Loading...