9
ACORN 80 Installation Manual
SECTION 3
Rail Installation
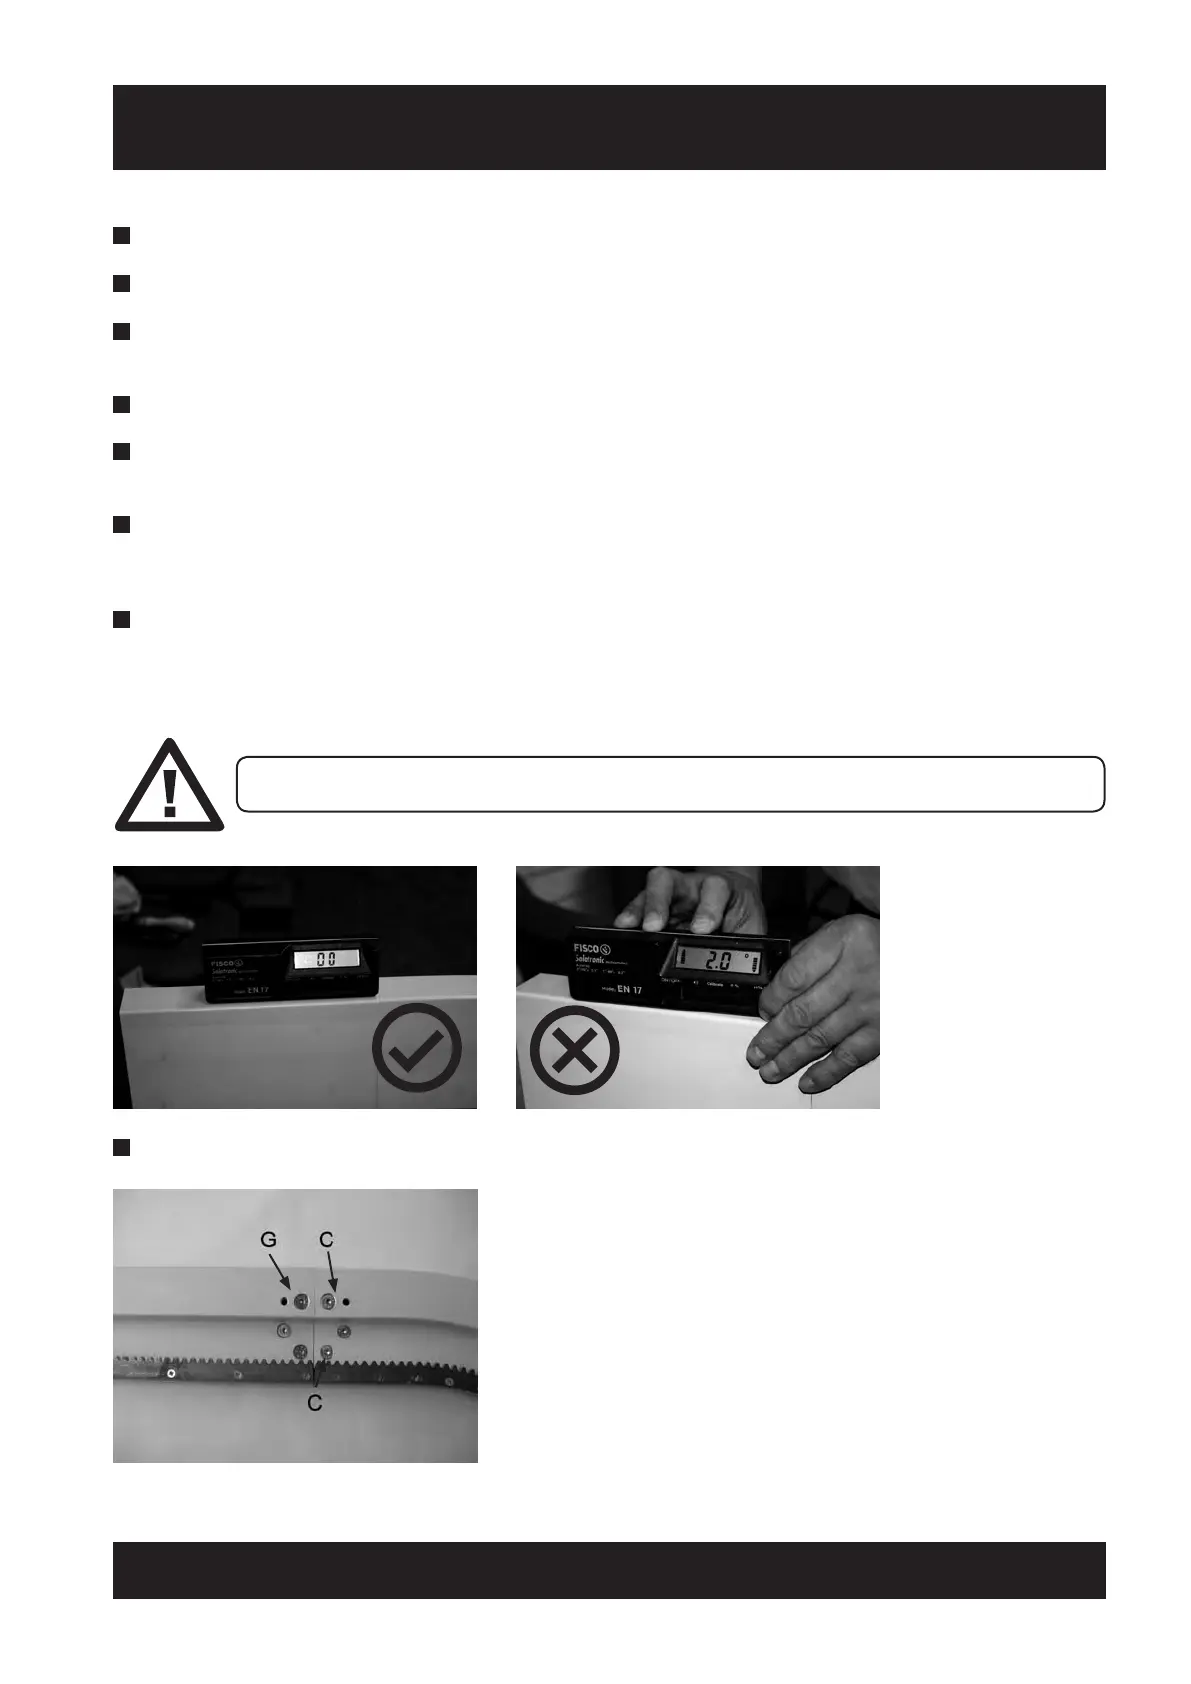
5 Fit the top box countersink screw (C) and grub screw (G).
6 Pull the rail sections together by tightening up both countersink screws (C1).
7 Expand the top joint box inside the rail sections by tightening up both grub screws (G) – this will give the
joint rigidity.
8 Tighten all four countersink screws (C2).
9 Check the rail joints are aligned with no gaps. Some small adjustment may be possible by loosening the
joint box and bottom fixing plate and re-aligning the rail sections.
10 Progressively fit the remaining rail sections, check horizontal sections are level and sloping sections are set
at the correct angle as shown on the installation drawing. (The final rail section may have to be fitted after
the carriage has been put onto the rail.)
11 Once the measurements and angles have been checked, secure the feet of the legs to the floor. Re-check
angles etc and adjust as necessary.
12 Lubricate the rack throughout using Interflon Fin Grease (902231) or equivalent.
HORIZONTAL SECTIONS MUST NEVER BE LESS THAN LEVEL. NO NEGATIVE DECLINE.
1
2
Note: If rail support kit needed see Section 5 (page 12).
 Loading...