Ultrasonic flaw detector А1212 MASTER
Operation Manual
40
ACOUSTIC
CONTROL
SYSTEMS
2
Editing the password is similar to editing processes of the “Time” or “Date” parameters.
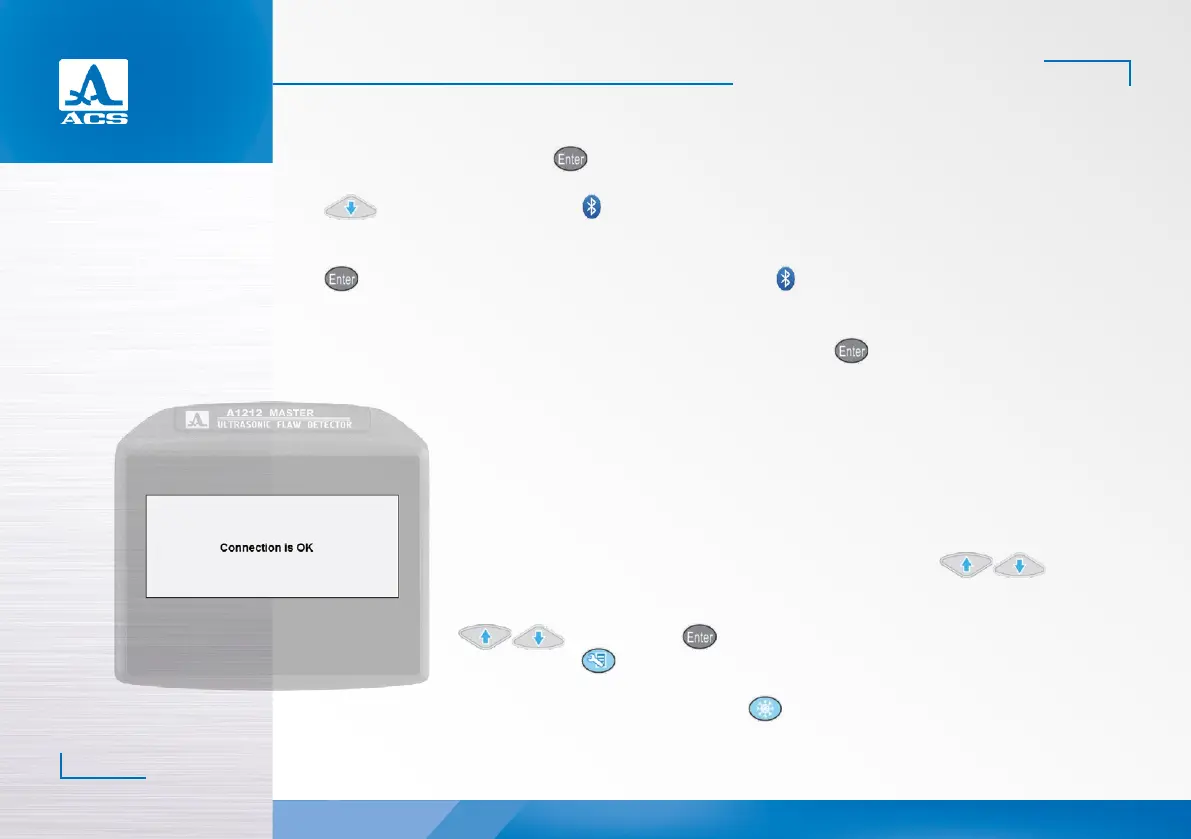
- to confirm the password, press . A confirmation window of device interfacing will be opened (Figure 38).
The list of the system parameters will be populated with a line with the name of the connected headset (upon pressing the
key), and a corresponding icon – will appear in the upper information line.
Switching Off Bluetooth
To switch off the Bluetooth function in the instrument, select the line with the name of the connected headset and press
, the line with the headset name will be changed. The absence of the icon in the upper information line indicates the
switched off Bluetooth function.
Repeated connection of the Bluetooth headset
For repeated connection of the headset, select the “Connect to” line and press . The instrument will automatically
switch on the Bluetooth mode, start searching for the headset and connect it when found.
Figure 38
2.3.1.7 View, create and delete configurations
A line is highlighted in the list of the configuration names when you enter the SETTING mode. This
is the line of the currently used configuration, i.e. current configuration. At that all parameters of this
configuration will be displayed (Figure 39) to the right in the view mode. The current configuration is
marked with the “✓”sign.
Viewing the parameters of the configuration
To view the parameters of the configuration, select its name by means of the keys.
Selecting the configuration
To work with another configuration from the list, just select its name by means of the
keys and press the key. To go back to the measurement mode using the selected
configuration, press .
Deleting the configuration
To delete the saved configuration, press the key. At that a confirmation window will be opened
(Figure 40).
 Loading...