User User Name PIN Door 1 Door 2
User List
0
1
2
3
4
5
6
7
8
9
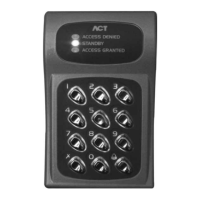
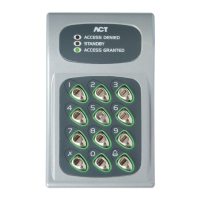
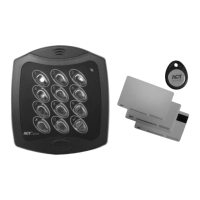
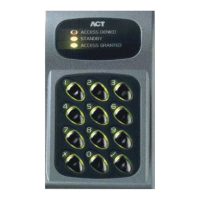
Installation Instructions for
ACT 10 Flush Mount Kit
• Mount back box into wall void or aperture with wood screws provided
• Ensure that the cable comes through the cable entry in the back box
• Remove back plate from the ACT 10 and mount on to the removable cradle with the 3 bolts
provided again bringing the cable through the rear cable entry in the back plate
• Carefully remove the pluggable connector blocks on the ACT 10 and make the required
connections
• Replace the wired connectors in their correct positions and install the front housing of the
ACT 10 on its back plate. Any excess cable can be shoved back into the void between the
cradle and the back box.
• Secure the ACT 10 to its back plate with the security screw.
• Fit the cradle into the back box.
• Fit the front plate to the back box with the 4 security screws provided.
Unit C1, South City Business Centre,
Tallaght, Dublin 24, Ireland
Tel: 353-1-4662570 Fax: 353-1-4520427 UK Locall: 0845 300 5204
Web: http://www.accesscontrol.ie E-mail: tech@accesscontrol.ie
Copyright © 2007 Access Control Technology Ltd.
This manual and user list is available for download from our website, www.accesscontrol.ie