Copyright © 2016 Access Control Technology Ltd. Part No. 18-00099 Issue 1.0
8
ACTpro 1520e and ACTpro 1500e Operating & Installation Instructions
4.3 Defaulting the Static IP address
The static IP address can be reset to the default value of 192.168.1.60.
1. Power down the ACTpro Controller.
2. Important: Ensure nothing is connected to the tamper input terminal and the tamper
spring is not pressed, otherwise the following steps will factory default the controller
losing all information.
3. Set the DHCP DIP switch 1 to OFF
4. Set the DEFAULT DIP switch 2 to ON.
5. Re-apply power - Wait approximately 5 seconds, until the controller conrms default
completed by sounding the buzzer.
6. Remove power.
7. Set the DEFAULT DIP switch 2 to OFF.
8. Re-apply power. Note: The static IP address can be changed via the web interface
or using ACT Software.
4.4 Changing Static IP address on the ACTpro Controller
1. Connect ACTpro Controller to the IP network.
2. Open Web browser on PC (use Microsoft Internet explorer, Chrome, etc.)
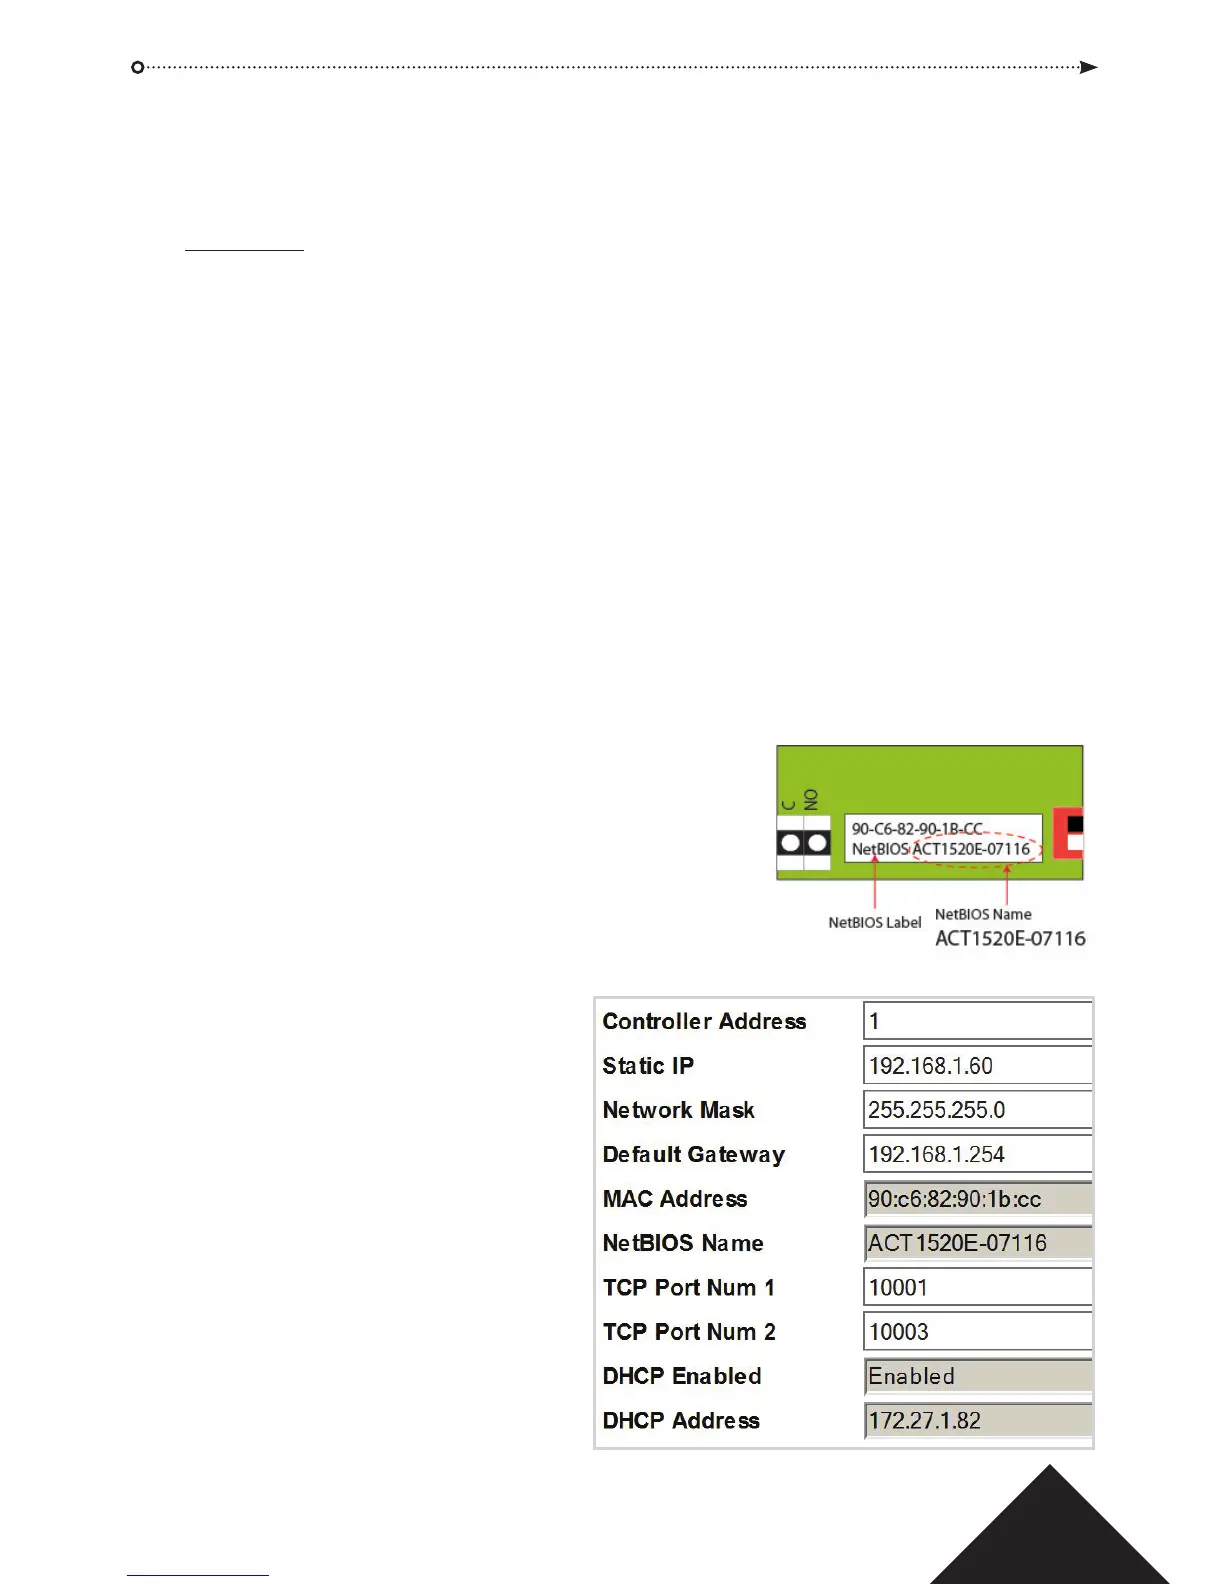
3. Enter http://ACT1520E-(NetBIOS address)
e.g. http://ACT1520E-07116
4. Logon details:
Username: installer
Password: 999999
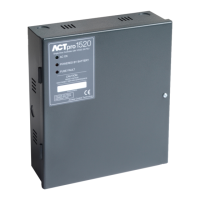
5. Choose Communication menu and set the following:
• Static IP Address
• Network Mask
• Default Gateway
6. Press Save.
Note: use the new IP address
when connecting to the controller.