Hardware Manual
21
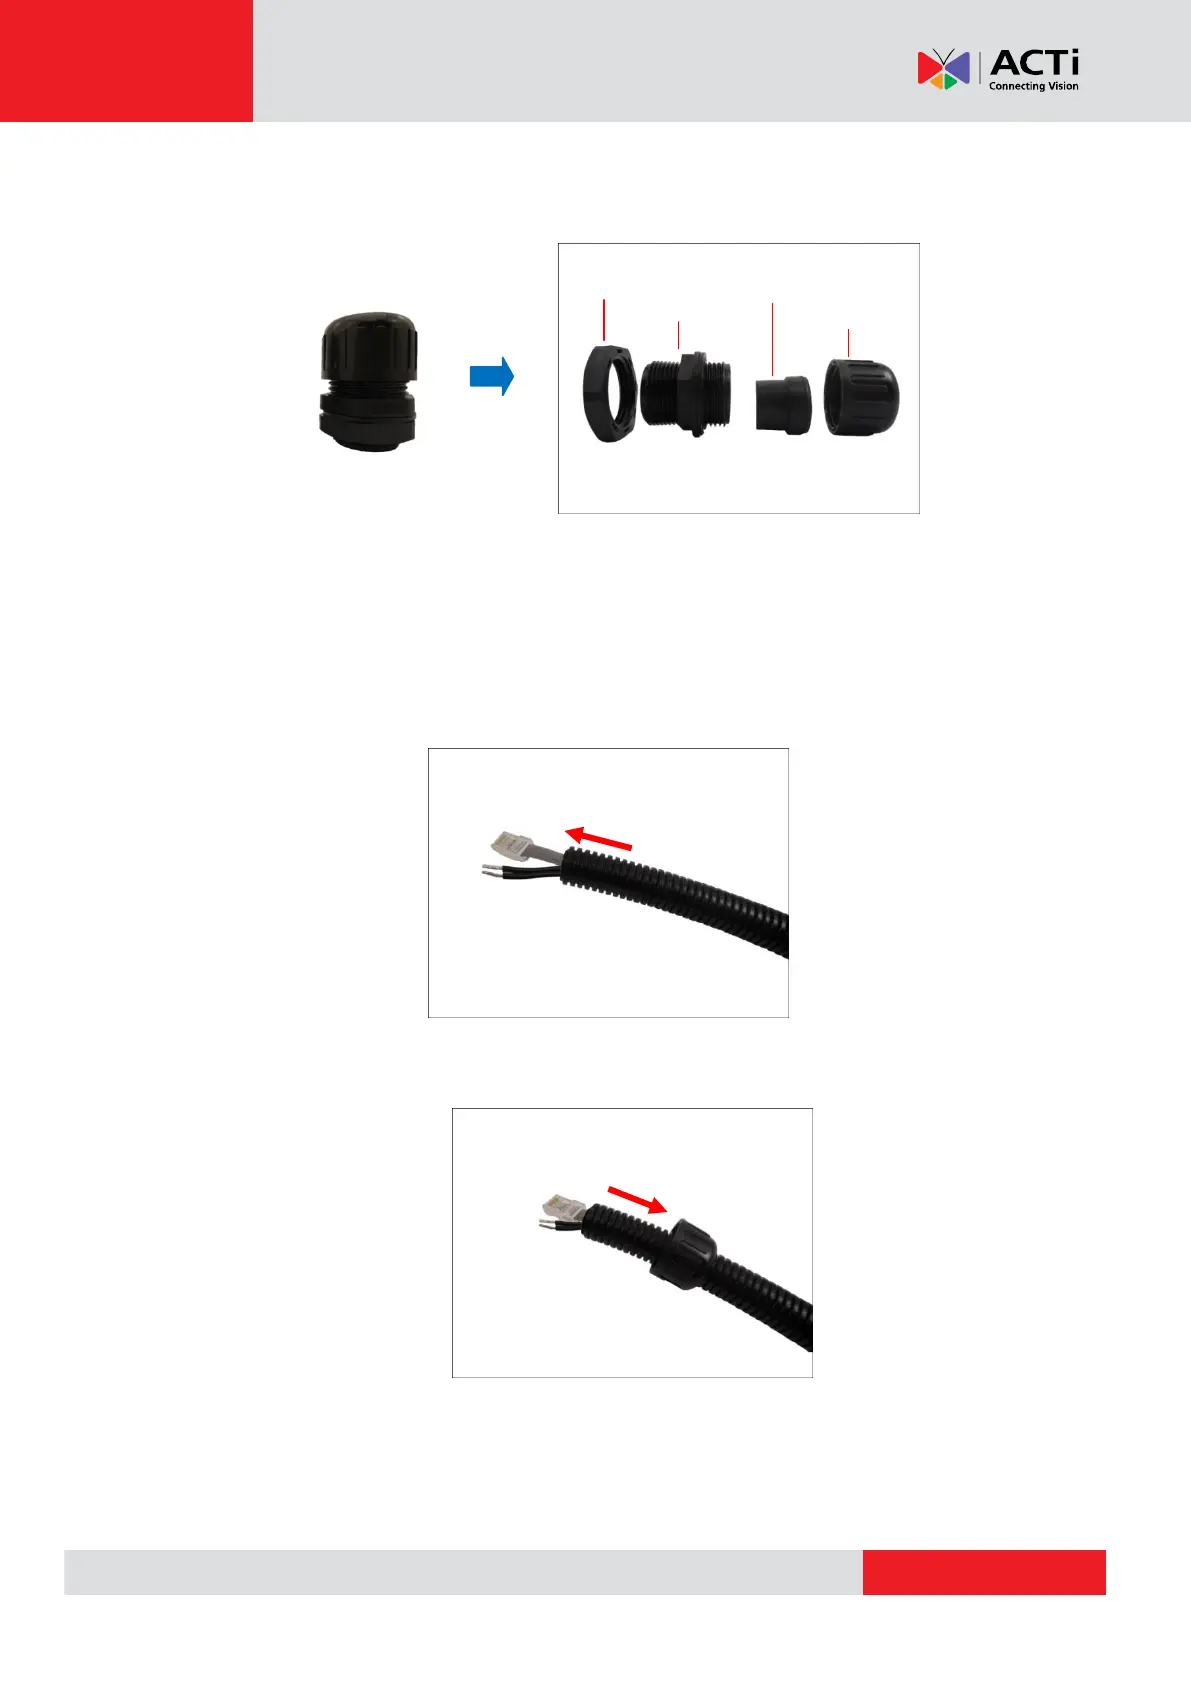
2. Disassemble the bundled conduit gland as shown below:
NOTE: In this installation, the conduit gland body can be securely attached to the mount kit;
therefore the use of lock nut is not necessary. Please set the lock nut aside.
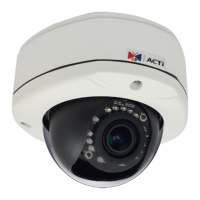
3. Pull the network cable through the flex conduit. If connecting other input/output devices, pull
the cables through the flex conduit without connectors. The terminal blocks will be attached
once the cables pass through the camera hole later.
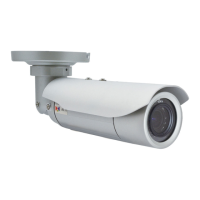
4. Insert the clamping nut through the flex conduit.