Hardware Manual
17
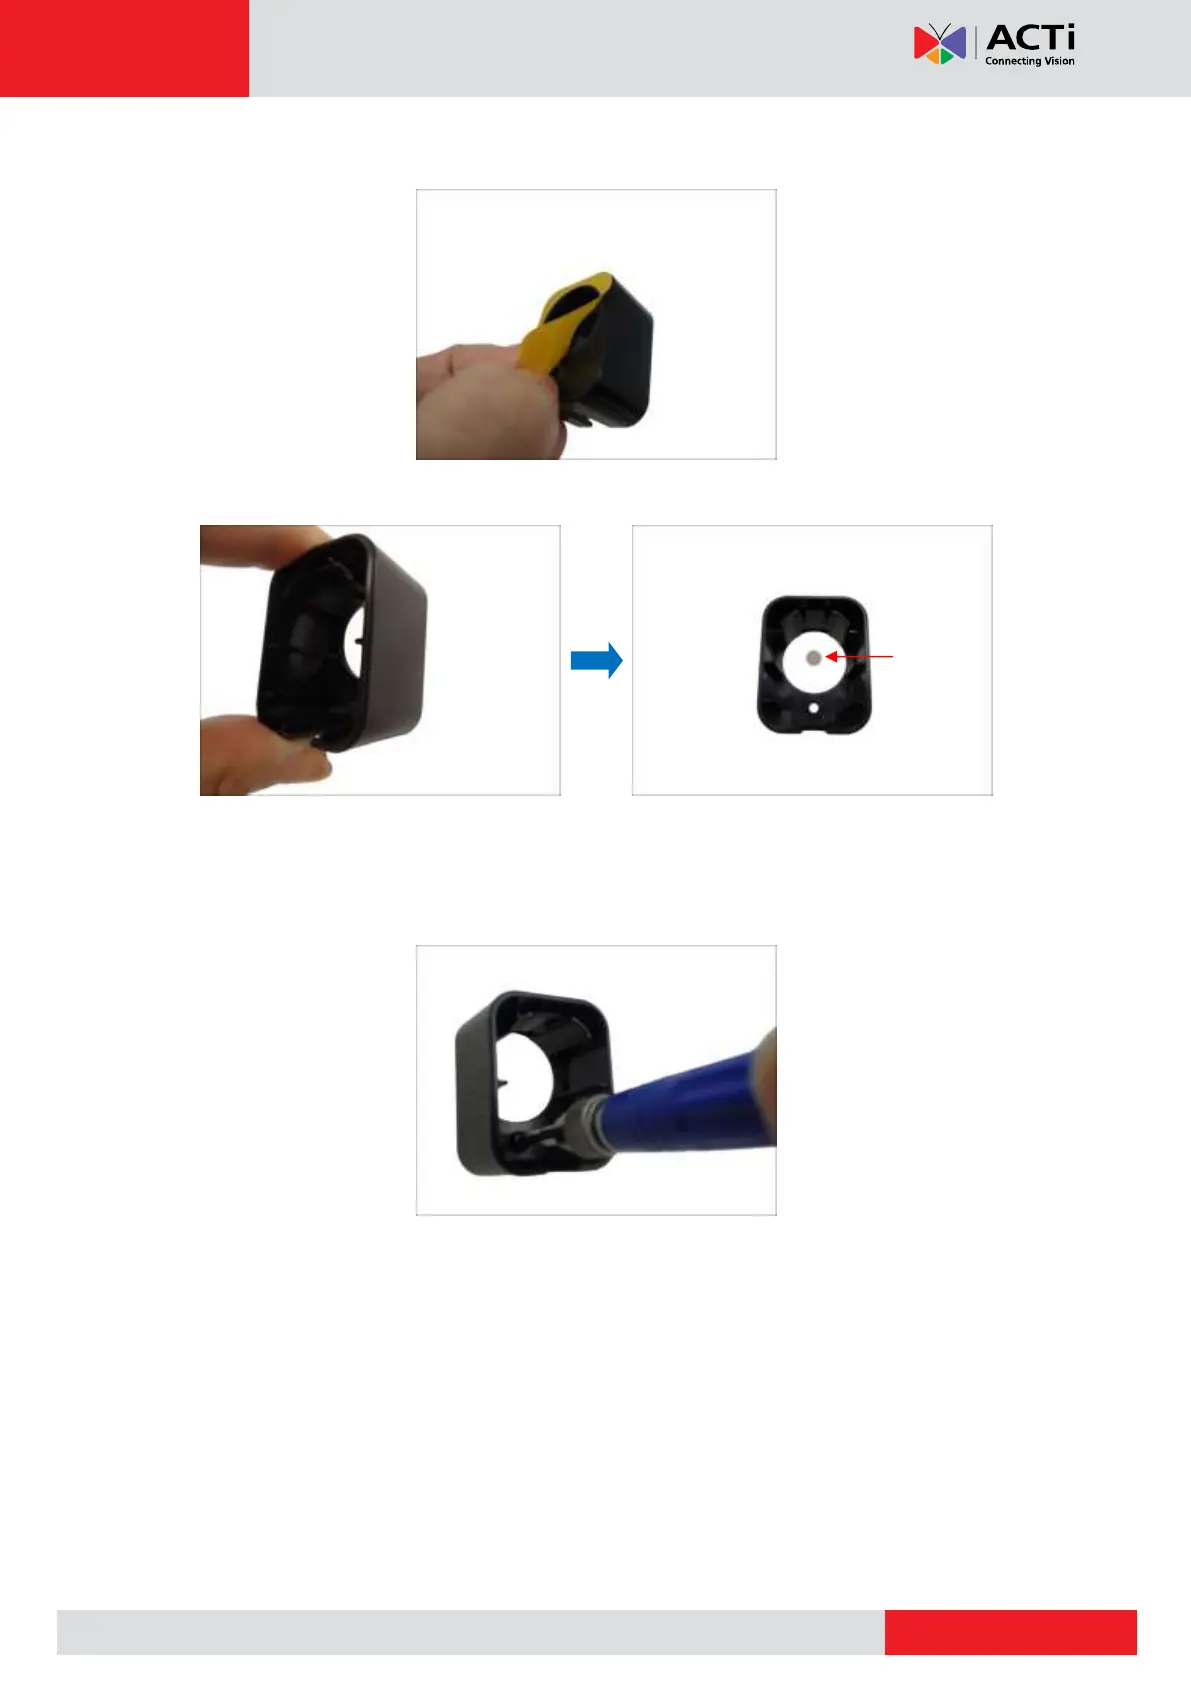
4. Peel off the sticker from the flush mount.
5. Attach the flush mount to the surface according to the marked area.
6. The adhesive on the flush mount is sufficient to hold the mount against most types of
surfaces. Nevertheless, a screw is bundled with the camera package that can be used to
secure the flush mount. Use the screw as needed.