7
b) LED Signals
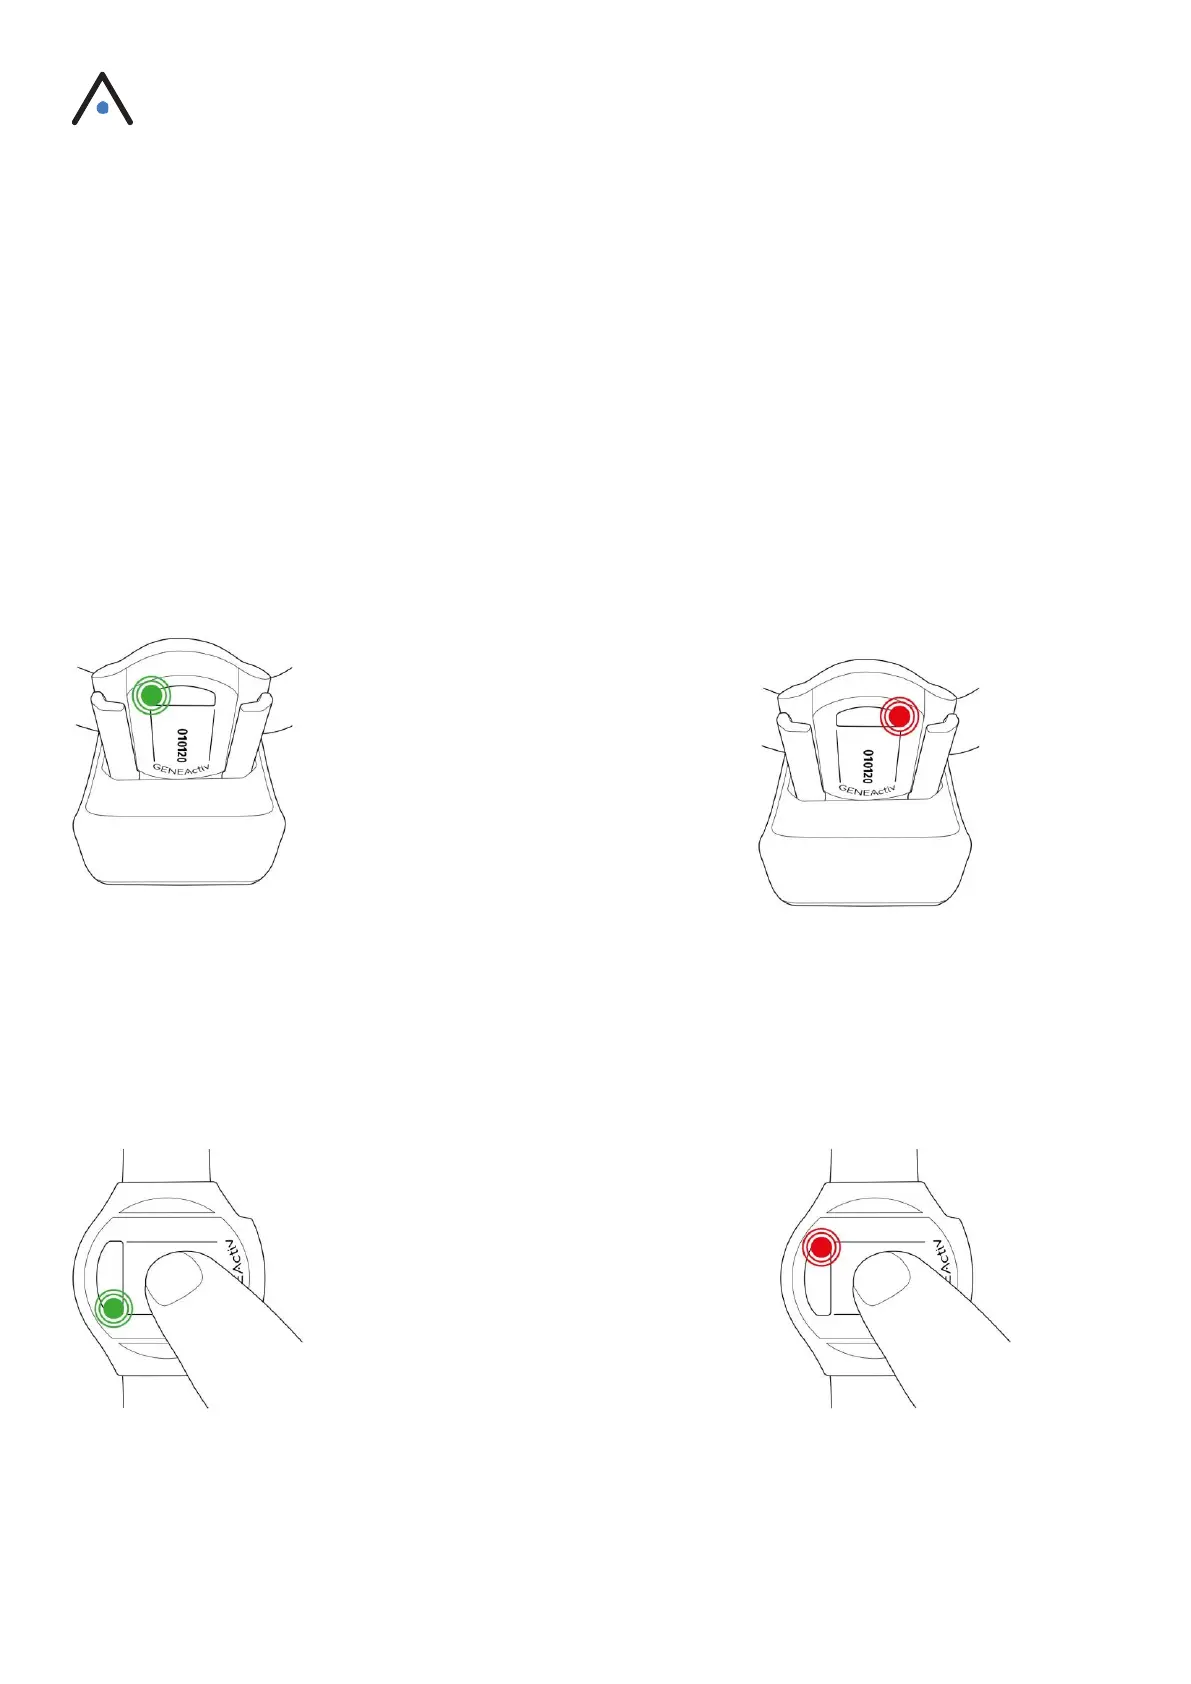
When not recording, the battery charge level can be checked by pressing the button on the device. See
diagram below for LED indicators.
A green flash indicates that the device is OK to go into storage if it is no longer in use. A red flash or no flash
at all means that the device should be charged (this function is not available if a device has been configured
to record).
To ensure that a device is fully charged, it must be left in the cradle for a full 3 hours before deployment. To
check the battery level, connect the device to the software. It should show at least a 90% battery level before
deploying.
Green Flashing = check battery Constant Red = communicating
level in software (after 3 hours charge) Flashing Red = charging
Long Flash (in Button Start Mode)=recording started Long Flash (in button start mode) = recording stopped
Short Flash (when unconfigured) = battery good for storage Short Flash (when unconfigured) = battery needs charging
 Loading...