11
tat
least
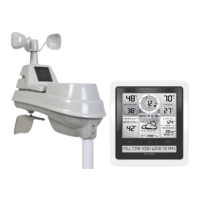
5-in-1 Sensor Installation Guidelines
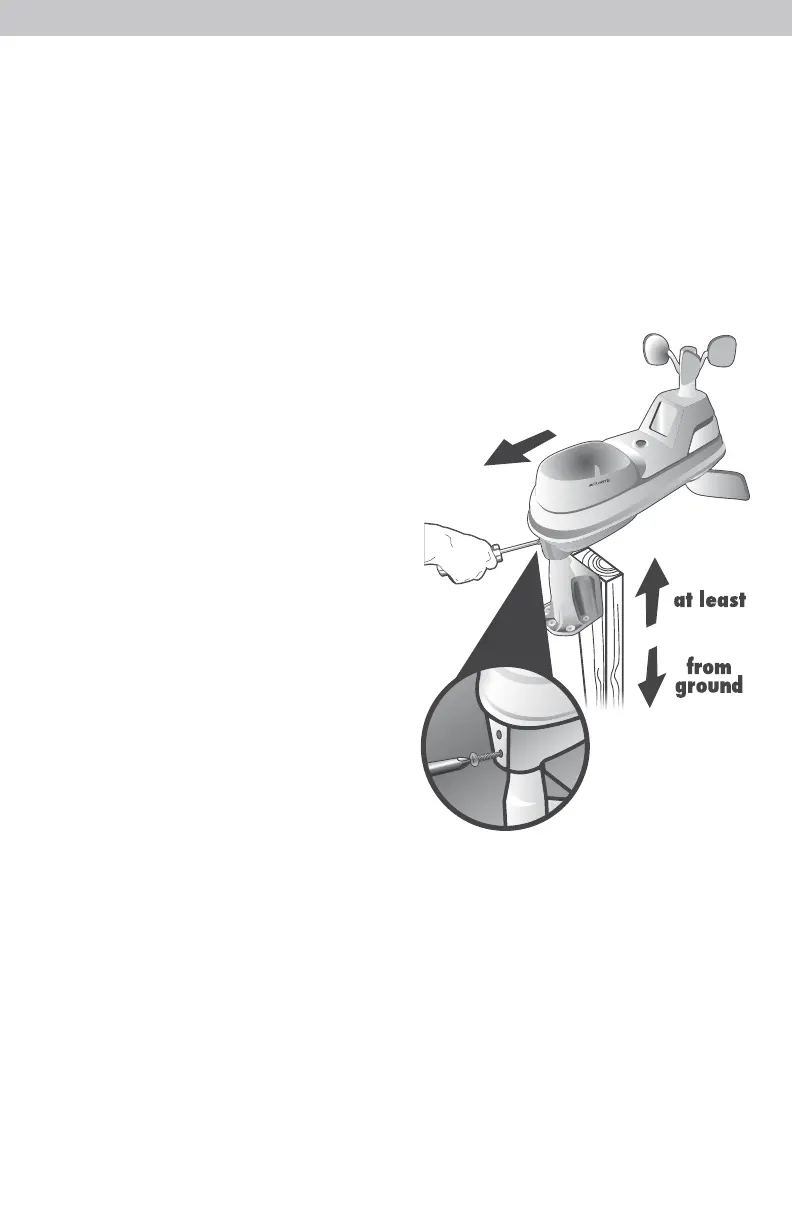
INSTALLATION HEIGHT Mount the sensor at a minimum height of 1.5 metres
(5 feet) off the ground, in an open area. Higher is better for wind measurements
- the National Weather Service recommends 10 metres (33 feet) high!
MOUNTING OPTIONS The included mounting bracket is designed to screw
directly onto wooden posts or surfaces that are 45mm x 95mm (2”x 4”) or
larger. The sensor can also be mounted directly to 20mm (3/4”) steel pipe
(available at hardware stores and home centres).
SOLAR CELL INSTALLATION Install the
sensor with the solar cell facing SOUTH.
This ensures the cell receives as much sun
as possible and orients wind direction.
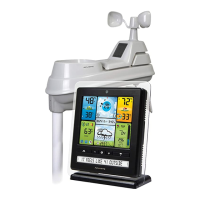
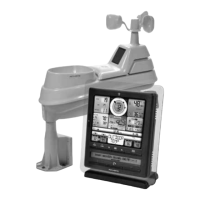
5-in-1 Sensor Installation
1. Fasten mounting base (included) to
a post or pole (not included) using
the 4 longer screws included in the
hardware bag.
2. Insert the mounting base into the hole
on the bottom of the sensor.
3. Make sure the arrows on the top of
the sensor are pointed in the proper
direction and the bubble level is in the
centre. The solar cell should be facing
south to properly orient the wind
direction.
4. Fasten the sensor into the mounting
base using the 2 shorter screws
included in the hardware bag.
SOUTH
NO OBSTRUCTIONS
ABOVE OR AROUND
(5 feet)
1.5 metres
The 5-in-1 sensor is now ready to use.
Clear Data Collected During Installation
When installation is complete, clear erroneous data from the display by
pressing the “CLEAR RECORD/ RESET” button, on the back of the display
inside the battery compartment. This button will clear data recorded since
12:00 am.
Basic Setup is Complete
The 5-in-1 sensor will now synchronize with the display. It may take a few
minutes for synchronization to complete. If both or one of the units appear to
be functioning improperly, please refer to the troubleshooting section.