
P
Patricia NelsonAug 5, 2025
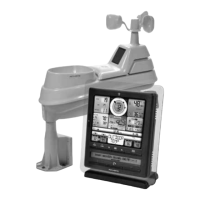
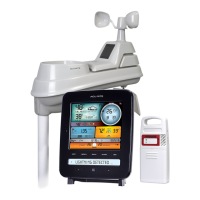
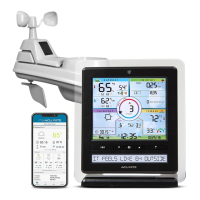
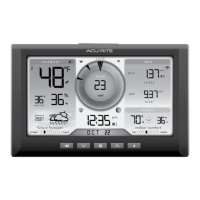
How to fix ACU-RITE Weather Station display not connecting to Wi-Fi?
- Cchristopher49Aug 5, 2025
To resolve the issue of your ACU-RITE Weather Station display not connecting to Wi-Fi: * Ensure that your internet router and the display are within range of each other. Try moving the display closer to the router. * Verify that the network name (SSID) and password you have entered are correct, noting that both are case-sensitive. * Reset the display by pressing and holding the RESET button for 10 seconds; this button is located in the battery compartment. Remember that you will need to enter the date and time after performing a reset. * Confirm that DHCP is enabled on your router, as most routers have this enabled by default. * Make sure your router is broadcasting a 2.4 GHz network, as the weather station display only supports 2.4 GHz wireless networks.