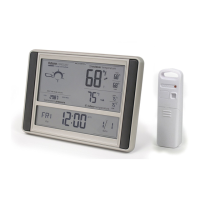
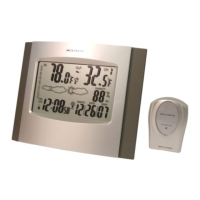
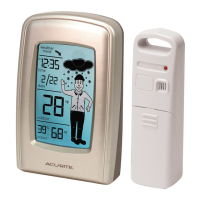
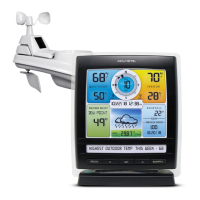
About the Atomic Clock
A clock is considered atomic if it has an accuracy of one second in a million
years. Consumer clocks are considered atomic if they attain this accuracy by
receiving a signal from an atomic clock. In North America, the National Institute
of Standards and Technologies operates an atomic clock in Colorado which
transmit the time codes via the the radio station WWVB. The signal is
transmitted in a very low frequency [60,000 Hz]. The Acurite® clock you have
purchased includes a built-in receiver which picks up the signal from the WWVB
station. Due to solar radiation in the atmosphere, the atomic clock signal is
weak during the day. Most synchronization with the WWVB atomic clock signal
happens at night when there is less interference.
(2 • SETUP
)
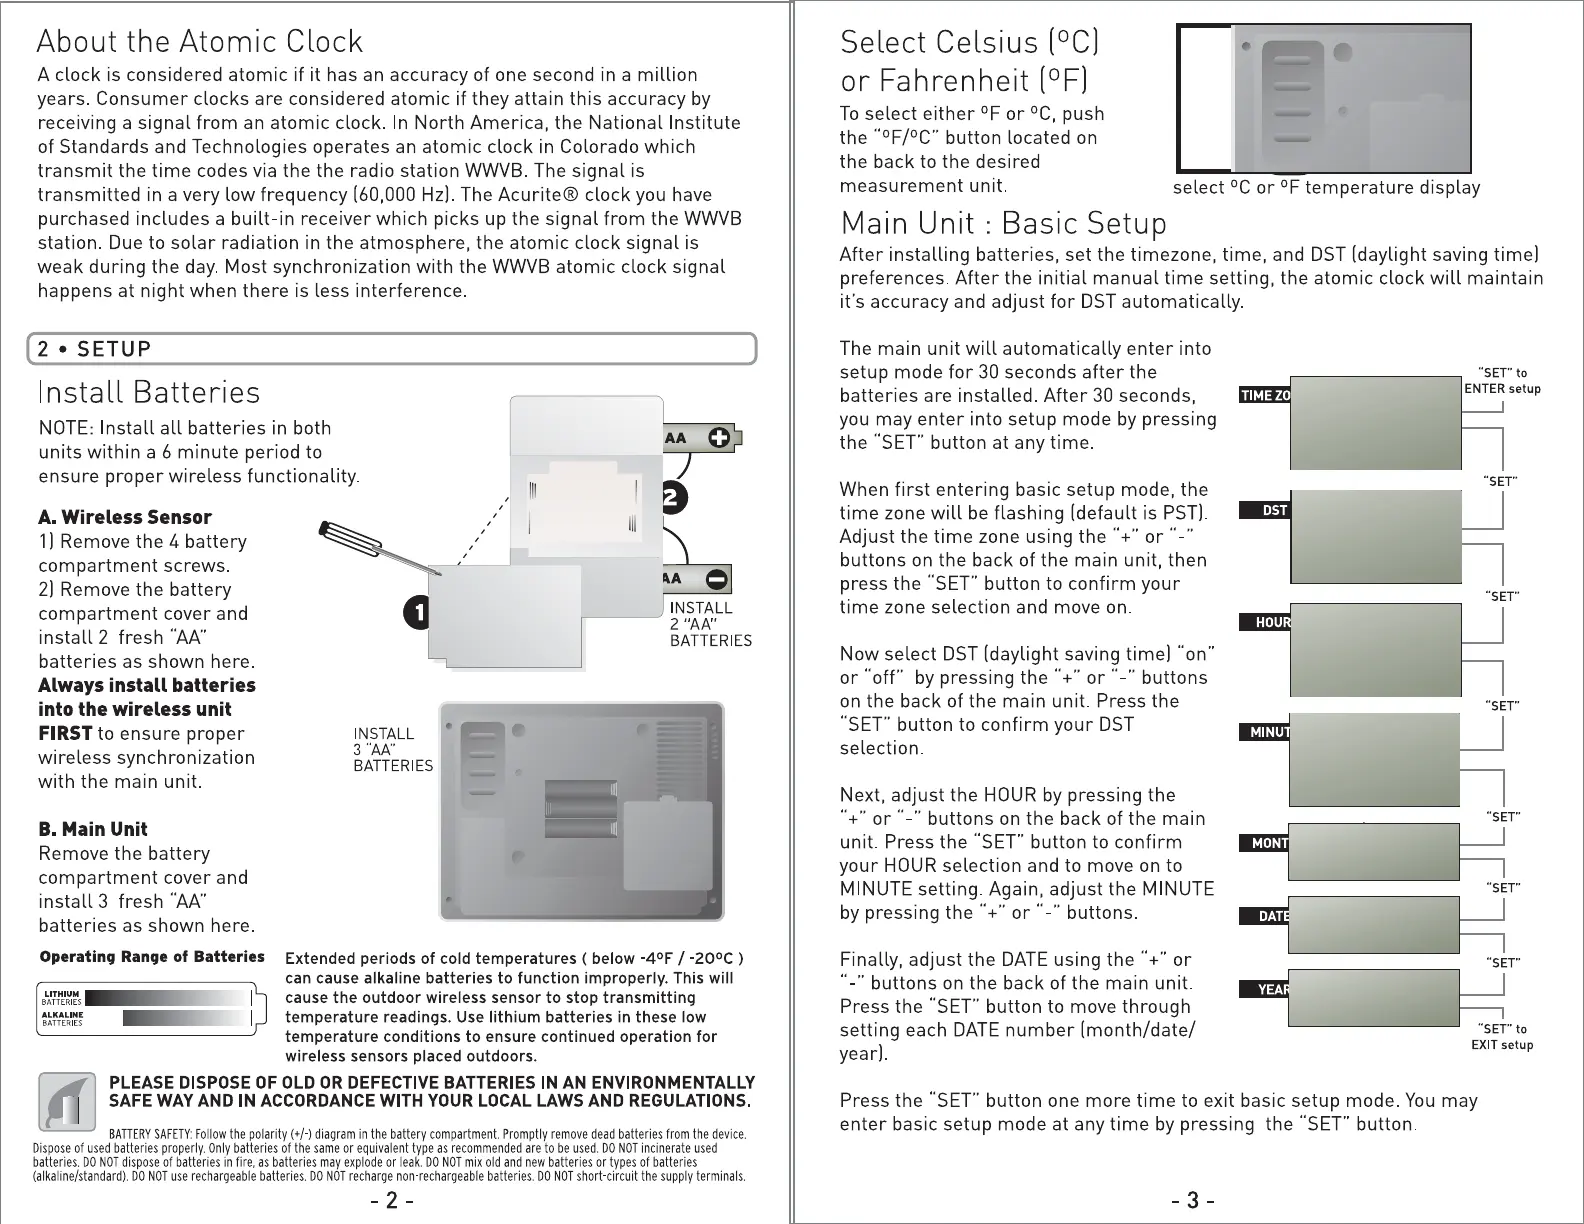
Install Batteries
NOTE: Install all batteries in both
0
units within a 6 minute period to
ABC
,• [§
ensure proper wireless functionality.
, , Iii
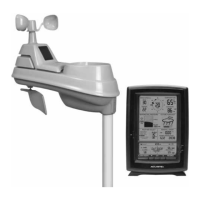
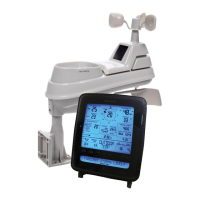
A. Wireless Sensor
1] Remove the 4 battery
compartment screws.
<t>, /(t)
2] Remove the battery
REMOVE 4 SCREWS
compartment cover and
0
TO OPEN BATTERY
2 "AA"
COMPARTMENT
install 2 fresh '"AA"
BATTERIES
,/ \.
(t) (t)
batteries as shown here.
Always install batteries
into the wireless unit
FIRSTto ensure proper
INSTALL
3
"AA"
wireless synchronization
BATTERIES
with the main unit.
B. Main Unit
Remove the battery
compartment cover and
Table Stand
install 3 fresh "AA"
batteries as shown here.
Operating Range of Batteries
Extended periods of cold temperatures ( below -4°F / -20°c )
can cause alkaline batteries to function improperly. This will
cause the outdoor wireless sensor to stop transmitting
temperature readings. Use lithium batteries
in these low
temperature conditions to ensure continued operation for
wireless sensors placed outdoors.
PLEASE DISPOSE OF OLD OR DEFECTIVE BATTERIES IN AN ENVIRONMENTALLY
SAFE WAY AND IN ACCORDANCE WITH YOUR LOCAL LAWS AND REGULATIONS.
BATTERYSAFETY:Followthe polarity(+/·) diagram Promptly dead batteries from the device. in the battery compartment. remove
Disposeof used batteries Only batteries or equivalent are to be used. incinerateusedproperly. of the same type as recommended DO NOT
batteries.DO NOT disposeof batteries in fire, as batteries may explode or leak. DO NOT mix old and new batteriesor types of batteries
DO use rechargeable DO recharge(alkaline/standard).NOT batteries. NOT non-rechargeablebatteries.DO NOT short-circuitthe supply terminals.
- 2 -
Select Celsius (°C]
or Fahrenheit (°F]
To select either °For °C, push
the "°F/°C" button located on
the back to the desired
measurement unit.
select °C or °F temperature display
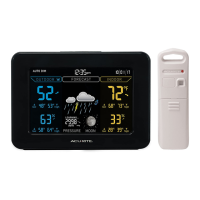
Main Unit : Basic Setup
After installing batteries, set the timezone, time, and DST [daylight saving time)
preferences. After the initial manual time setting, the atomic clock will maintain
ifs accuracy and adjust for DST automatically.
The main unit will automatically enter into
setup mode for 30 seconds after the
"SET"to
ENTERsetup
batteries are installed. After 30 seconds,
you may enter into setup mode by pressing
iii
the "SET" button at any time.
"SET"
When first entering basic setup mode, the
time zone will be flashing [default is PST].
pm
Adjust the time zone using the"+" or .._..
nam
a
buttons on the back of the main unit, then
....
press the "SET" button to confirm your
"SET"
time zone selection and move on.
...
iii
~~
Now select DST [daylight saving time) "on"
12:38
or "off' by pressing the"+" or .._.. buttons
....
..,
on the back of the main unit. Press the
"SET" button to confirm your DST
selection.
Next, adjust the HOUR by pressing the
111' ""
"+"or .._.. buttons on the back of the main
"SET"
unit. Press the "SET" button to confirm
your HOUR selection and to move on to
■
:io111jtito
DAY
!J'Dl~
MINUTE setting. Again, adjust the MINUTE
"SET"
by pressing the"+" or .._.. buttons.
Finally, adjust the DATE using the"+" or
.. -" buttons on the back of the main unit.
Press the "SET" button to move through
setting each DATE number [month/date/
EXIT
setup
year].
Press the "SET" button one more time to exit basic setup mode. You may
enter basic setup mode at any time by pressing the "SET" button.
- 3 -
 Loading...