ADA MP-1 Owner’s manual
1.1 QUICK SET-UP GUIDE
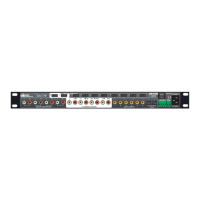
Note: The MP-1 is a preamp and must be connected to a power amp in order to play through
loud speakers.
INITIAL PREPARATION:
1. Connect guitar to front panel input jack.
2. Connect studio (line) level signals to the rear panel input jack.
3. Connect amplifier to one of the two rear panel outputs. For stereo, run both outputs to
separate power amps.
4. If MP-1 outputs are connected to power amps (instead of guitar amps) or a
professional mixing console, flip the top panel slide switch towards the rear panel to
the Line position.
5. Turn power switch ON.
6. Adjust volume with Output Level control.
SELECT MEMORY NUMBER:
1. Use
^ V buttons to scroll thru the memory numbers 1 thru 128.
2. Or select a bank by pressing the BANK button, select bank number 0 thru 12 using
^
V buttons, followed by pressing any button labeled 0 thru 9.
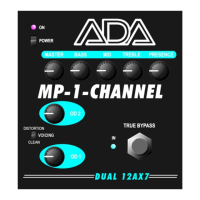
CREATE THE RIGHT TONE:
1. Press EDIT button.
2. Select VOICING button.
3. Use
^ V buttons to select Clean Tube, Distortion Tube,
4. or Solid State circuit.
5. Select Master Gain.
6. Use
^ V buttons to change level of drive from 1 to 10.
7. Repeat steps 4 and 5 for Overdrive 1 and 2. In
8. Solid State mode, the level of Overdrive 2 controls the amount of
compression.
9. Follow the same procedure for shaping Ea.
10. Select Chorus Depth button.
11. Use
^ V buttons to adjust depth from 0 to 100%.
12. Select Chorus Rate button.
13. Use
^ V buttons to adjust rate of sweep from .1 Hz to 10 Hz, or to turn rate
off (0).
14. 12. To abandon this edit session, press EDIT button. LED's turned off and
changes not saved. To store changes, see below.
STORE YOUR TONE:
1. To store the new values that you have set press STORE button.
2. Select the(location (memory numbers 1-128) for storing your program.
Page 4 of 26