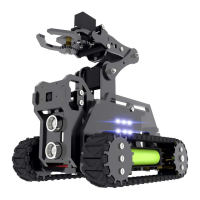
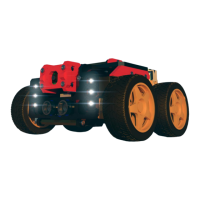
Lesson 13 Camera Stabilization Function
In this lesson, we will learn how to use PiCarPro's camera stabilization function
and its application scenarios.
13.1 Camera application scenarios
When the car is driving on a non-level ground, in order for the camera to take a
horizontal picture, the camera stabilization function is required.
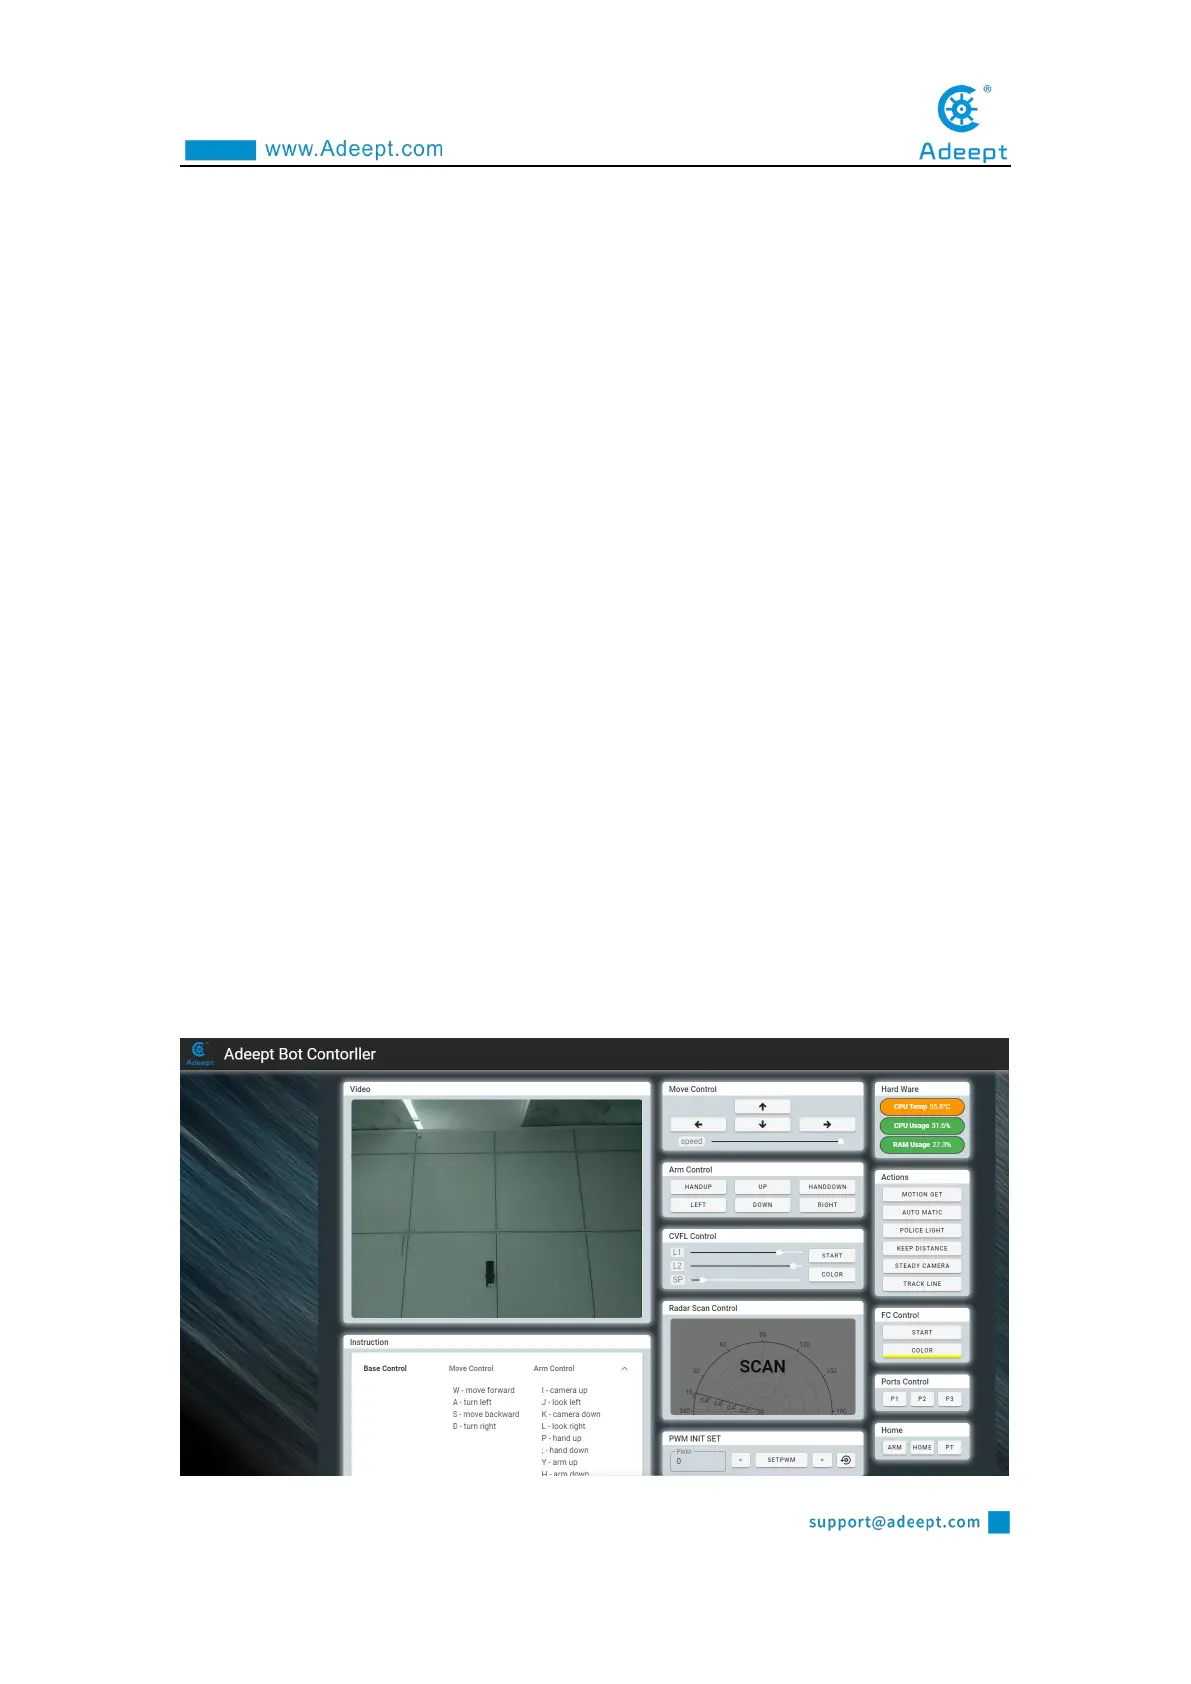
13.2 Turning on camera stabilization
13.2.1 Running camera stabilization program
1. Turn on PiCarPro, the boot time is about 1 minute.
2. After PiCarPro is turned on, enter the IP address of your Raspberry Pi with the
Google browser of your mobile phone or computer, and access port 5000, for example:
192.168.3.44:5000 (see lesson 2 for detailed steps). The web controller will then be
displayed on the browser.