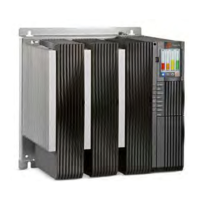
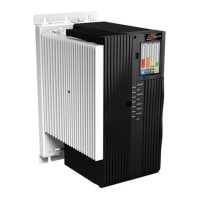
FIRST TIME OPERATION
On delivery, the device is parameterized to the respective power section, and the
TAKT operating mode is set. You should review these standard parameters, and, if
necessary, adjust them for your application.
To Operate the Thyro-PX Unit for the First Time
1. Install the unit according to the installation procedures in this user manual.
The minimum connections are power, load, SETPOINT, and PULSE LOCK
jumper.
☞ Important
By default, the unit is configured to require a customer supplied PULSE
LOCK jumper. The unit may be customer configured to not require this
jumper.
2. Turn on the system circuit breakers and apply AC input to the unit.
When the unit receives AC input, it performs self-diagnostics. If the unit detects
an error, the unit sets the respective fault bits and lights the FAULT LED, or the
light green ON / READY LED if the fault is severe. You will not be able to
apply power to the load until you clear the fault.
3. Verify that the light green ON / READY LED is lit.
4. Verify that the LIMIT LED is not lit.
5. Verify that the PULSE LOCK LED is not lit.
6. Verify that the FAULT LED is not lit.
7. Verify that an increase in setpoint applies power to the load.
If the Thyro-PX unit is delivering power and the LIMIT LED is not lit, the unit is
functioning properly.
☞ Important
AE recommends that you update the firmware to the latest revision using the
Thyro-Tool Pro software.
Related Links
• “Operating Modes” on page 5‑42
• “Thyro‑Touch Display” on page 4‑11
• “Software User Interface” on page 4‑13
Advanced Energy
®
Thyro-PX
®
Power Controller
57010148-00G Installation, Setup, and Operation 5‑41
 Loading...