www.aeg-automotive.com
24
Step 2: Hole for camera cable
Now look for an opening / drill hole near the license
plate opening into the interior of the vehicle to feed
the connector cable plug of the camera (1) into the
installation remove the interior trim near the license
plate. If the vehicle has no opening, drill a hole using
the license plate.
Attention:
be sure there are no electrical wires or other auto-
which could be damaged!
To protect the borehole in the metal panel from
corrosion the metal edges should be coated with
a suitable paint coating (e.g. automaker‘s touchup
Then insert the gasket (8) into the bore from the
outside of the vehicle and secure.
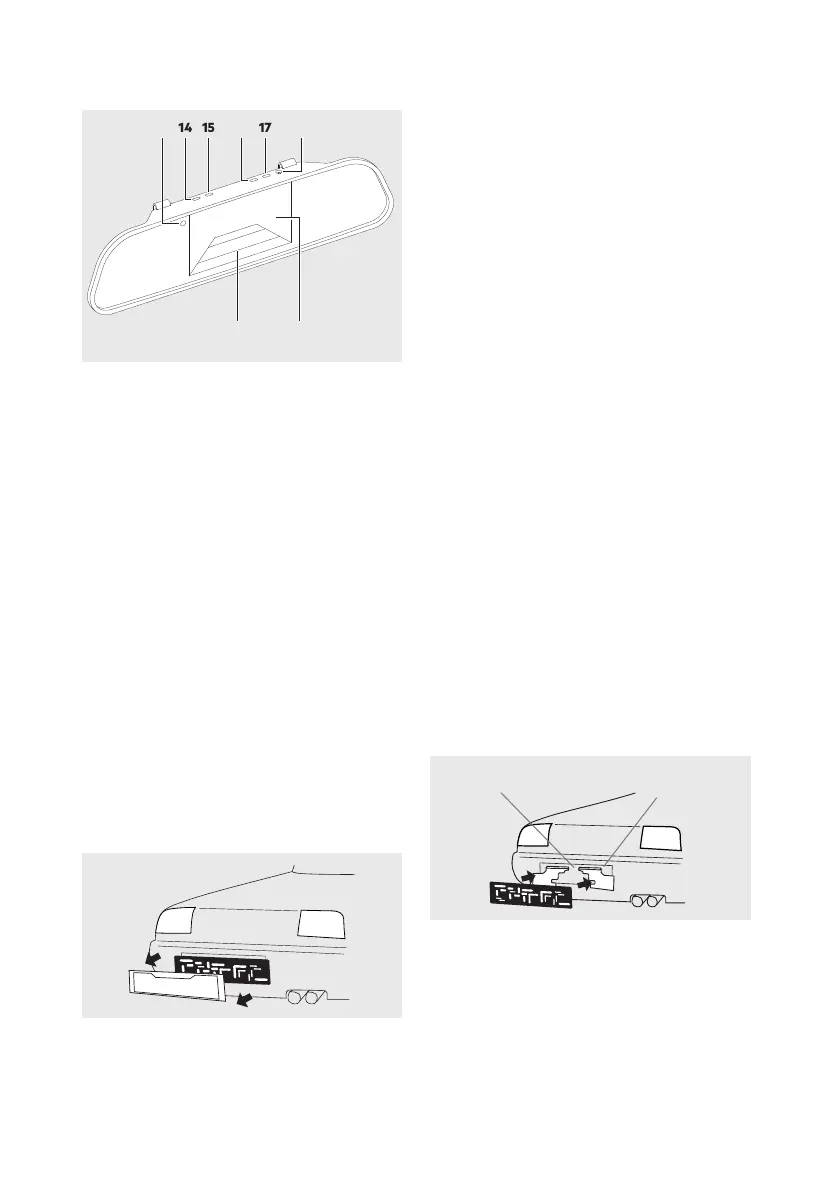
Step 3: Mounting the camera brackets
Mount the two camera brackets (7) and, if appli-
cable, also the number plate frame. Be sure the dis-
tance between the two brackets (7) is no less than
above or below the license number. Image 3 shows
installation above the license number.
Caution!
impairs the license number light mount the camera
on the opposite side.
Step 4: Mounting the camera
Feed the plug for the camera cable (1) through the
gasket (8) into the interior of the vehicle or the boot
lid. Mount the camera (1) to the camera brackets (7)
using the two screws (5) and the two clamping nuts
Minimum distance 4 cm
Image 3
Example: top
mounted camera
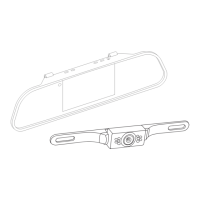
13. Status LED, lights up blue when monitor is on
14.
15. Forward / increase button
16. Menu button for selecting the respective adjust-
ment mode
17. Back / decrease button
18. 12 V car socket
19.
with reversing
20.
INSTALLATION
Installing the backup camera system
Attention:
-
Step 1: Remove license plate
First remove the rear license plate and, if applicable,
also the license plate frame (see image 2).
181716151413
19 20
Image 13
Image 2
 Loading...