www.aeg-automotive.com
26
Step 9: Check the transmitter power supply cable
First engage the hand brake and be sure the vehicle
is not shifted into gear. Vehicles with automatic
transmission must be in “P” for parking lock. Turn
the ignition to II but do not start the engine! Push
the button (14) to power on the monitor. If the
be transmitted to the monitor when putting the
camera‘s viewing range.
hand brake engaged, ignition turned (II) and the
vehicle in reverse with a simple test. Do not start
palms cupped to darken the camera surroundings
and activate the night vision sensor. Leave a slight
palms. If the camera is active, all 7 LEDs around the
camera will light up red. If the LEDs do not light up,
check the camera’s cable and terminal connections.
Also see “Troubleshooting”.
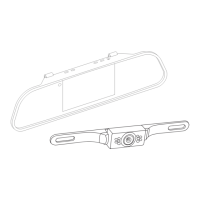
Installing the monitor
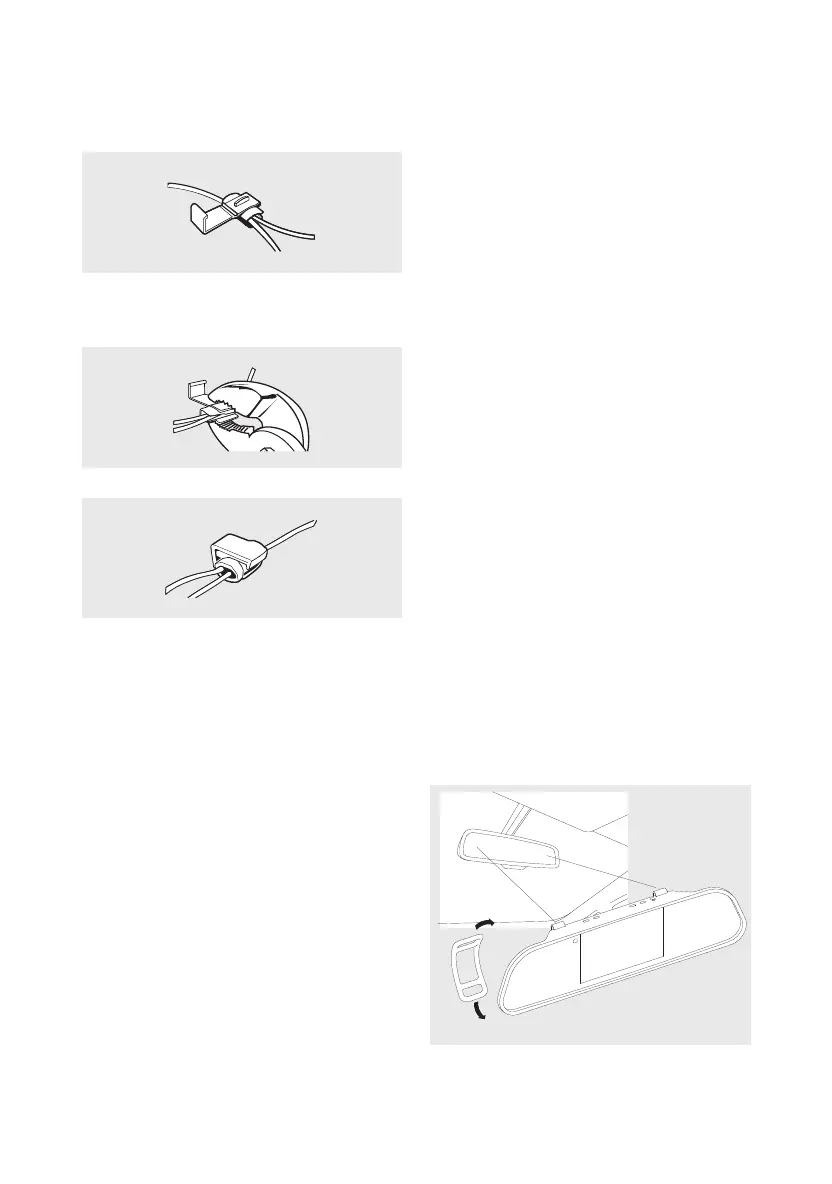
Position the monitor (3) on the rear view mirror (see
image 12). Attach the retaining straps (12) to the top
retaining hook of the monitor (3). Pull the straps
around the back of the rear view mirror and secure
the straps to the bottom of the retaining hook.
Attention!
mirror in the vehicle using the strap and must not
use the monitor if it is not secure.
Image 12
clamp connector (9) (see image 9).
Using a pair of pliers (not included) push the pro-
truding metal contact into the cable clamp (9). This
will connect the two cables.
Close the cable clamp (9) fuse cover.
Using the second cable clamp (9) connect the
vehicle‘s 12 V - (negative) reversing light cable with
the black transmitter cable as shown in images
8 - 11. Then reconnect the negative cable to the
Attention:
connections or are unsure with one of these steps,
please consult a specialist regarding the installa-
injuries!
Step 8: Installing the transmitter
Secure the transmitter with a suitable fastener, e.g.
two cable ties. Be sure there are no electrical loads
impairing the transmission. Now secure the cables
for the camera and transmitter run in the void of
Image 9
Image 10
Image 11
 Loading...