2.
Install the security screw or the
crosshead
screw into the security hole on the bracket and tighten the screw with the
appropriate
Aerohive recommends a variety of
Kens
i
n
gton
lo
cks
.
For more
i
n
f
o
rma
t
io
n,
contact your
sales
representative.
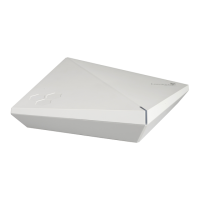
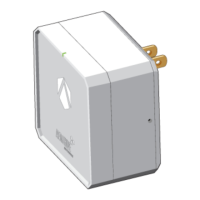
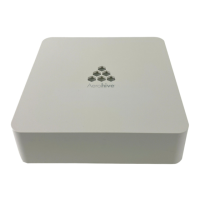
You can see the hardware components of the
AP230
in the
illustration
below and read about them in
t
he
section
s
that
follow.
To meet
fe
der
a
l
r
a
dia
t
io
n
exposure
r
e
qu
ire
m
ents
,
these
devices
s
h
ou
ld
be
insta
ll
e
d at a
m
i
nimu
m
distance of 9.05" (23 cm) from
your
body.
Follow these steps to connect your
AP230
to power and to the
network.
1. Connect a standard
RJ45
E
t
hernet
cable from
ETH0
on the
AP
to a
switch.
2. If the switch provides
PoE
(power over Ethernet), cabling the
AP
to the switch will power-on the
AP
in
a few
seconds.
If
the
swi
t
ch
does not provide
PoE,
use the
AC/DC
power
ad
apter
,
power
s
u
pply,
or
PoE
injector
(all available as
accessories).
For
m
o
r
e
information about Aerohive
ac
ces
s
o
r
i
es,
contact your Aerohiverepresentative.
3. After you power on the AP,
it
automatically tries to get network settings and
co
ntac
t
HiveManager.
This
process
takes about
f
iv
e
minutes. When you see the
AP
listed on the All
Devices
page in the Monitor section of the
HiveManager
GUI, the
initial
s
e
tup
is
compl
e
t
e
and you can begin managing the
AP
with HiveManager.
4. If the
AP
does not appear in the
HiveManager GUI
after about ten minutes, see the Aerohive product documentation and
computer-
based
training modules to understand how
t
he
AP
attempts to contact
HiveManager,
and learn what you can do to help establish
the
connection.
These resources
are available for free at www.aerohive.com/techdocs
.