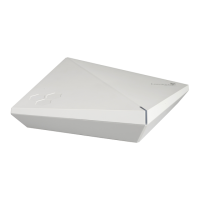
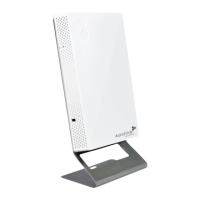
You can mount the
AP230
on a flat surface using the adhesive rubber feet that ship with the device. You can also mount
t
h
ese
devices on a
wall
or to the tracks of a dropped
ceiling grid.
The following
sec
t
io
ns
describe these
ins
t
all
a
ti
on
me
t
hods.
Attach the
AP230
to any vertical or horizontal
sur
f
a
ce
(such as a drywa
ll
ceiling) tha
t
supports its weight (1.6 lb, or 0.73 kg for
either
device), and to which you can install the wall mount
sc
rews
.
The
first
step
i
s
to
ins
t
al
l
the dia
g
ona
l
mount bracket on the
wall
using
the
t
w
o
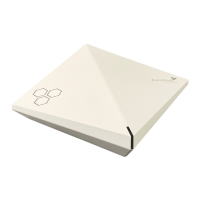
holes in the bracket. Attach the bracke
t
with the bottom (ribbed) side of the bracket facing out as shown below (the top side of
the
bracket
has
the Aerohive logo icon
embossed
on the surface).
Use
the bracket as a template to mark the mounting holes, and
dril
l
corresponding holes in the wall. Install the bracket using
t
w
o
wall
mount screws (and plastic
anchors
if
neces
s
a
r
y).
If
you are
co
nnecti
n
g
t
he
dev
i
ce
to cables
f
r
o
m
i
n
si
d
e
the
wall,
drill an
access
hole for the cables.
Attach the device to the bracket by lining up the mount tabs on the bottom of the device with the corresponding tab
depressions
on
the
bracket. Slip the tabs under the
edges
of the tab
depressions
and rotate the device
until it
clicks into place on the
bracket.