1919
1919
19
TRIO
High THigh T
High THigh T
High T
echech
echech
ech
U3 - B
U2 - B
U1 - A
Power supply
))
))
)
vis
vis
ELECTRICAL CONNECTIONSELECTRICAL CONNECTIONS
ELECTRICAL CONNECTIONSELECTRICAL CONNECTIONS
ELECTRICAL CONNECTIONS
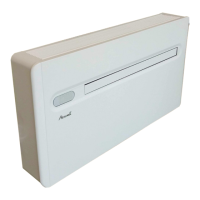
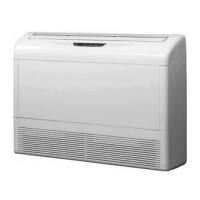
INDOORS UNITS:
Do not take account of the electrical connections instructions contained in the indoors units
Installation Instructions.
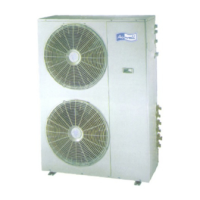
OUTDOORS UNIT:
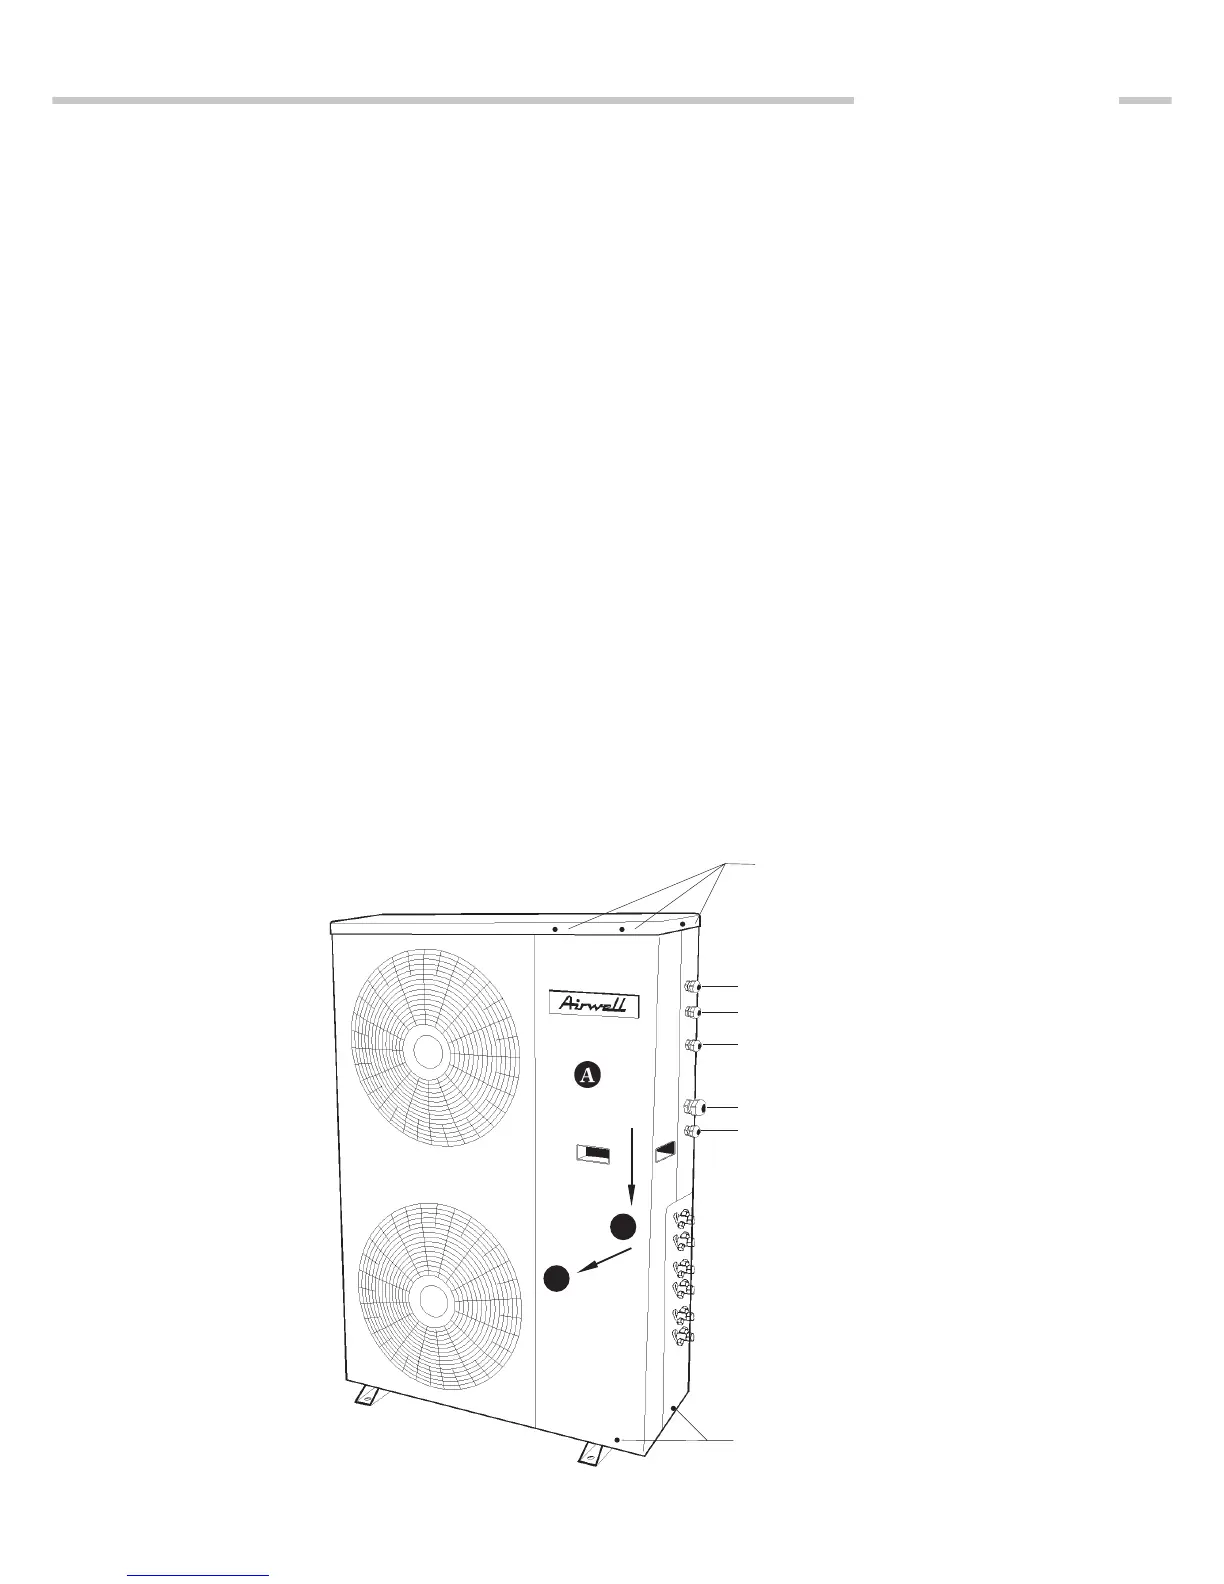
On the TRIO, remove the front panel (Fig. below. Ref.
AA
AA
A - 5 screws).
Connection to the mains power supply is via the TRIO unit.
Mains cable not supplied. (Refer to electrical specifications).
- Pass the cable into the stuffing box (fitted to the unit).
- Block the stuffing box in position.
- Connect this cable to the X terminal block X (Refer to the schematic diagram)
Connecting cable to the indoors units from the TRIO not supplied. (Refer to electrical
specifications).
- Pass the cables into the corresponding stuffing boxes (fitted to the unit).
- Block the stuffing boxes in position.
- Connect the cable to the corresponding terminal blocks: U1A - U2B - U3B.
2
1
 Loading...