
S
Stephanie SloanAug 8, 2025
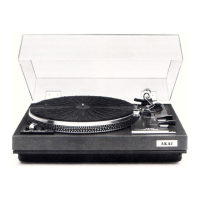
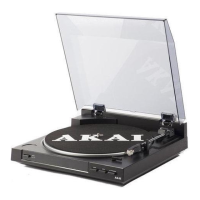
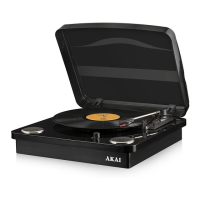
Why is the radio reception poor on my Akai ACP-400 Turntable?
- SSavannah StuartAug 8, 2025
If your Akai Turntable is not receiving radio signals well, make sure the antenna is fully extended and undamaged. If it's broken, extend it or replace it.