For both the “on” and “off” tests, the Tester should examine the LCD and use the indicated
buttons to confirm whether the subtest has passed.
– Test Passed: press the control indicated by “PASS” bubble message.
– Test Failed: press the control indicated by “FAIL” bubble message.
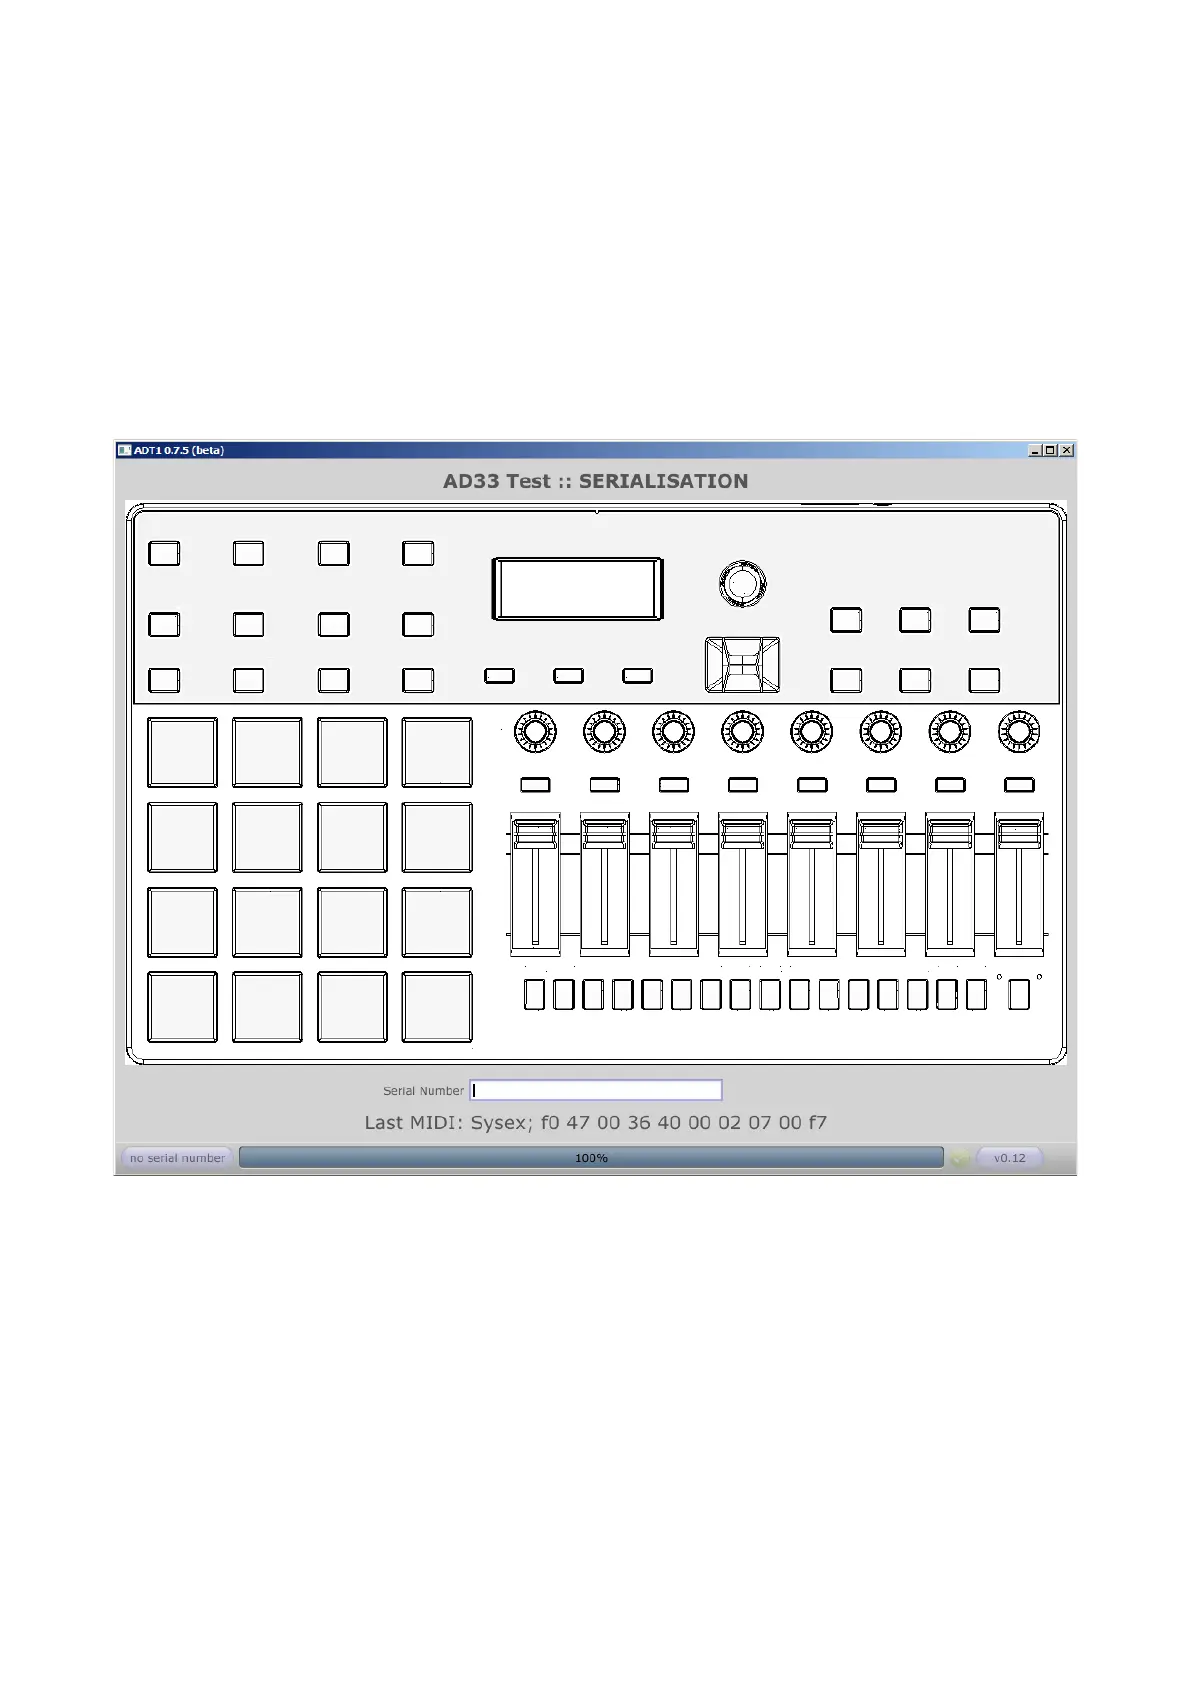
Serialisation
When all the subtest have been successfully completed, the subtest buttons on the User
Interface will be removed and replaced with a text box. This text box should be used to
program the Serial Number into the MPD232.
The Tester can type the Serial Number, followed by Carriage Return, but it is preferred that
a USB Barcode Reader is used to scan the serial number barcode on the MPD232.
When the Serialisation has completed successfully, the display will update.
– The word “Programmed will appear next to the Serial Number box
– The new Serial Number will appear in the bottom left corner (this is important)
– A green tick will appear next to the Progress Bar
– The top line will say “PASSED”

 Loading...