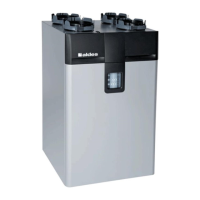
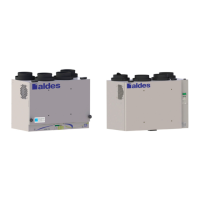
Residential HRV/ERV
26
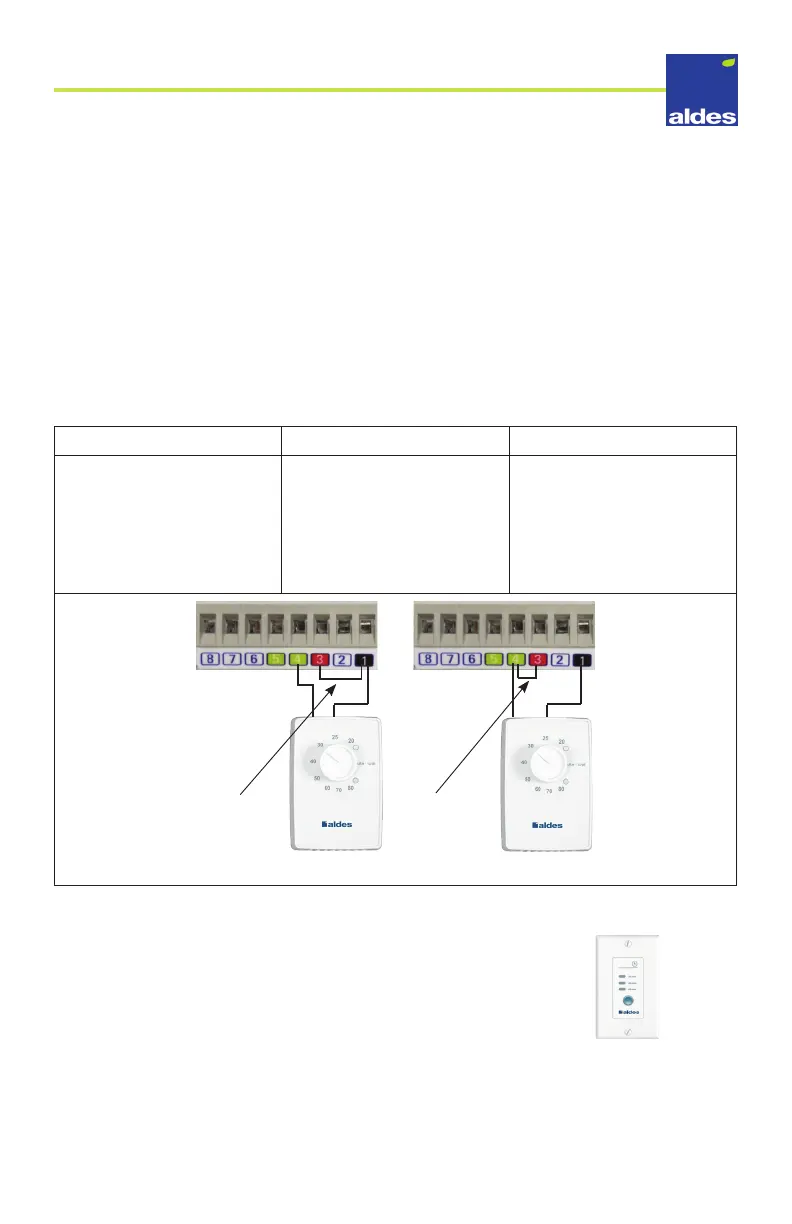
2. Connect each conductor to the humidistat’s wires, then to the terminal board
located on the appliance’s housing. SEE THE 3 OPTIONS BELOW FOR WIRING. These
wires carry a 24V current.
3. Screw the backside of the control panel to the wall. Use the mounting screws to
secure the plastic lid and button into place.
When used with an electronic HRV/ERV, the Humidity Controls can be connected in one
of three ways, depending on the user’s needs. In each case, the HRV/ERV eliminates
excess humidity by switching to high-speed exterior exchange mode whenever the
humidity rate in the room climbs above the humidistat’s recommended level. These
options are designed for the device’s default mode (e.g., when the humidity rate drops
below the recommended level).
OPTION#1 OPTION #2 OPTION #3
Units WITH and WITHOUT
recirculation: To set the
device’s default settings
to low-speed exterior
exchange, follow these
instructions.
Units WITH low-speed
recirculation: To set the
device’s default settings to
low-speed recirculation,
follow these instructions.
Units WITHOUT
recirculation: By
withholding the additional
cable (cabling), the device
will shut down by default.
Cabling Cabling
Note: The timer must be connected according to the terminal’s color code.
Installing the 20/40/60 Minute Timer (P/N 611228)
This controller provides the ventilation unit with high-speed
exterior exchange for the following durations:
• 20 minutes
• 40 minutes
• 60 minutes
A service box is recommended when installing the timer switch.
1. Run a 3-conductor wire through the wall until it reaches the device.
2. Connect each conductor to the timer switch according to its respective colors.
20/40/60 Timer
(P/N 611228)