Residential HRV/ERV
27
3. Connect the 3-conductor wire to the device’s terminal according to its respective
colors. See page 24 Section “Electrical Interface”. These wires carry a 24V current.
4. Screw the backside of the control panel to the wall. Use the mounting screws to
secure the top section into place.
Installing the Speed Control (P/N 611229) or Mode Control (P/N 611230)
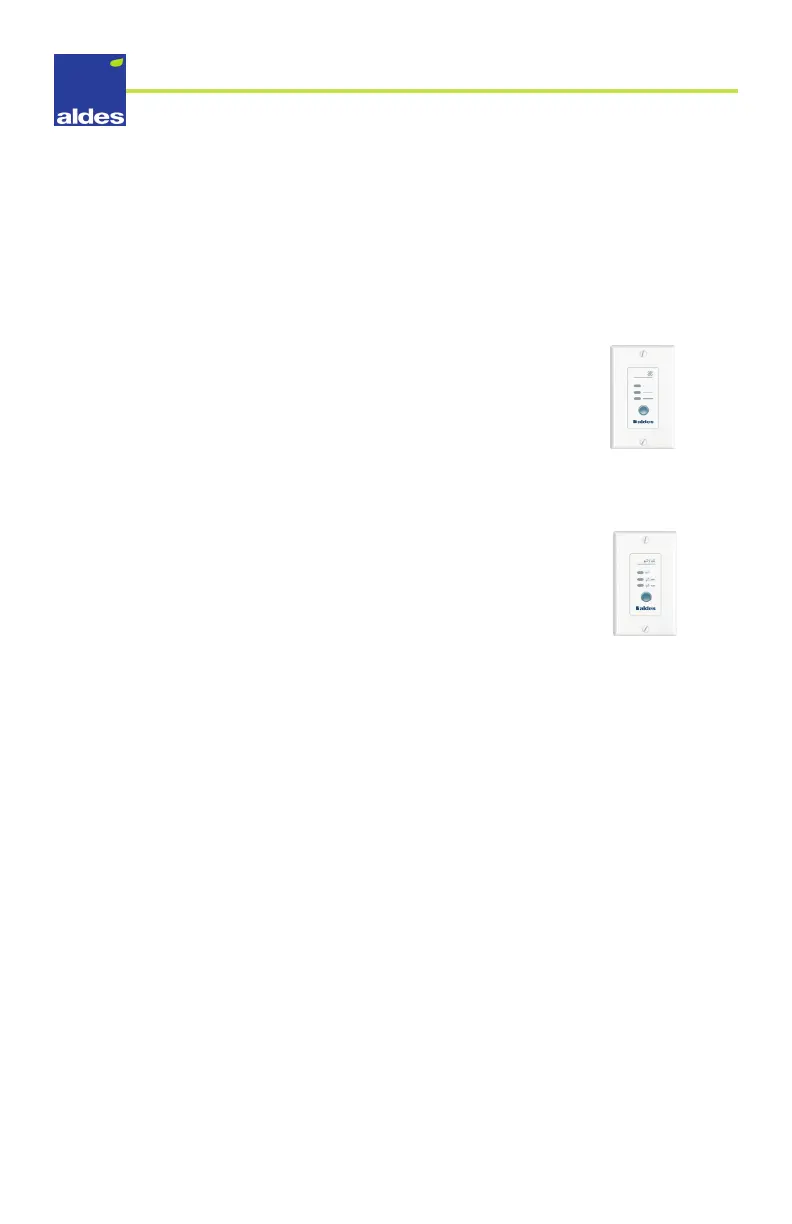
Speed Control (P/N 611229)
This controller provides the ventilation unit with 4 modes of operation:
• Intermittent mode; successive cycles, low-speed 20-min
exchange, 40-min stop mode or recirculation
• Low-speed exterior exchange mode
• High-speed exterior exchange mode
• Stop mode or recirculation (indicator lights are off)
Mode Control (P/N 611230)
This controller provides the ventilation unit with 4 modes of operation:
• Recirculation mode
• Low-speed exterior exchange mode
• High-speed exterior exchange mode
• Stop mode (indicator lights are o)
Note: This controller is not compatible with models H/E110-TF.
1. Run a 4-conductor electrical wire through the wall until it
reaches the device.
2. Connect the control wires to the 4-conductor wire according to its respective colors.
3. Next, connect the 4-conductor wire to the device’s terminal according to its
respective colors. See page 24 Section “Electrical Interface”. These wires carry a 24V
current.
4. Screw the backside of the control panel to the wall. Use the mounting screws to
secure the top section into place.
Speed Control
(P/N 611229)
Mode Control
(P/N 611230)