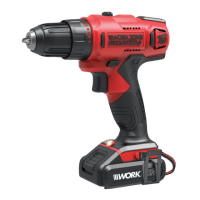
16V Lithium-ion Cordless Drill
AFTER SALES SUPPORT
(toll free) MODEL No.: CDT214XA • 05/2019 • 1956
e-mail: info.aldi@positecgroup.com
AUS
19
1300 889 028
AUS
to enter the jaws of the chuck.
2. Ensure the drill/driver bit is fully inserted, so that the chuck jaws grip the straight
section of the bit. Rotate the chuck clock-wise until the jaws tighten on the drill/
driver bit.
The collar of the chuck needs to be tightened rmly to ensure the drill/driver bit is
held securely.
To remove the drill/driver bit, rotate the chuck sharply in an anticlockwise
direction, suciently enough to allow the drill/driver bit to be removed.
NOTE: This device is tted with spindle lock and the chuck is a one handed
operation.
Drill/driving
Drill/driving metals
• Always clamp sheet metal.
• Support thin metal with a block of wood to avoid distorting it.
• Use a punch to mark the centre of the hole.
• Use a suitable lubricant for the material you are working on.
USE: FOR:
Oil Steel
Turpentine or paran Aluminium
Do not lubricate Brass, copper or cast iron
Do not lubricate Concrete based material
Drill/driving plastics and plastic coated chipboard
• Use high speed drill/driver bits
• See drill/driving wood below
Drill/driving wood
• Clamp a piece of scrap wood to the back of your work to prevent splintering.
All drill/driving operations
• Mark o the centre of the hole using a centre punch or nail
• Don’t force the drill/driver, let it work at its own pace.
Operation