lease the side ejector cover (11).
3. To remove the side ejector adaptor (10), raise the side ejector cover (11), and
remove the side side ejector adaptor (10). Lower / release the side ejector cover
(11).
VIII. Preparing for operation
Charging the batteries (Fig. 7)
Attention! Both batteries must be fully charged before usage.
1. Check that your mains voltage is the same as that marked on the rating plate of
the charger (17). Insert the power plug of the charger (17) into the socket outlet.
The red LED will then begin to ash.
2. Insert the battery (18) into the charger (17).
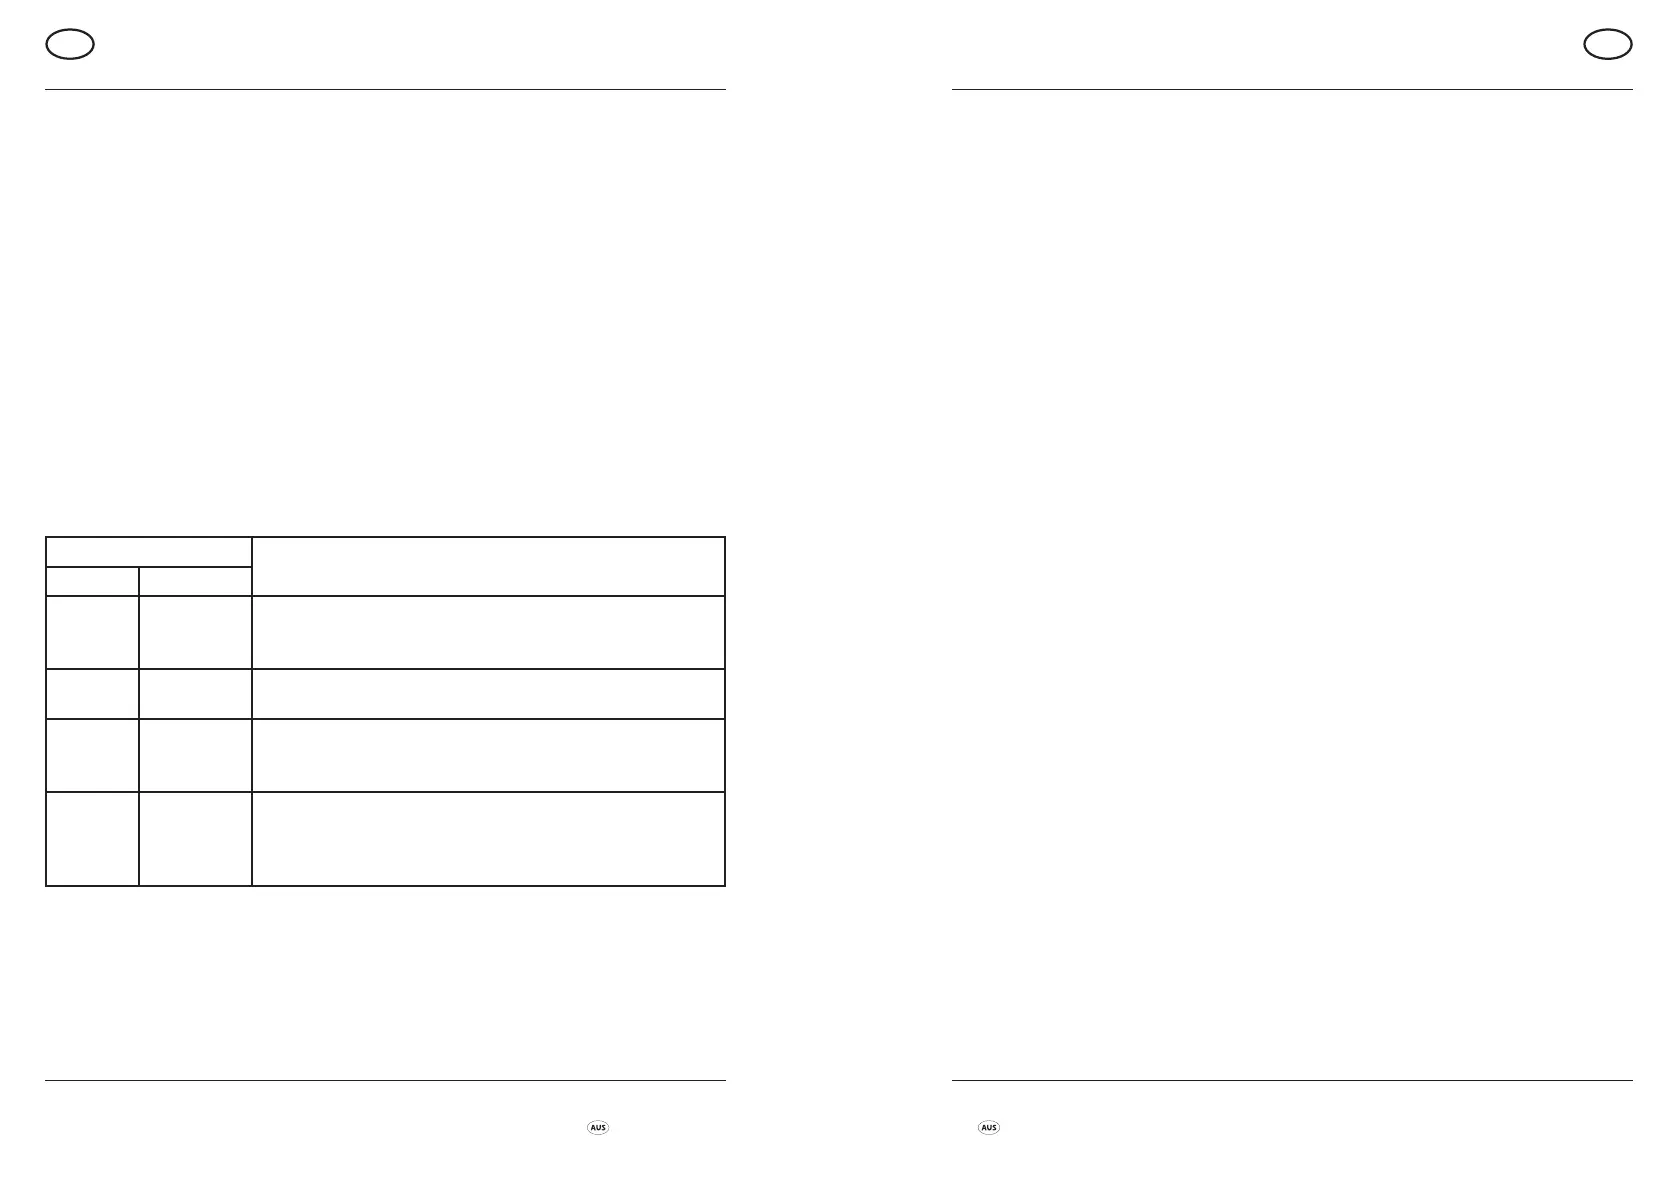
Explanation of battery charging indicator:
Indicator status
Explanations and actions
Red LED Green LED
On O Ready for use
The charger is connected to the mains and is ready for
use; there is no battery in the charger
On Flashing Charging
The charger is charging the battery pack. mode.
O On The battery is charged and ready for use.
Action: Take the battery out of the charger. Disconnect
the charger from the mains supply.
Flashing Flashing Fault
Charging is no longer possible. The battery is defective.
Action: Never charge a defective battery.
Take the battery out of the charger.
The battery pack can become a little warm during the charging. This is normal.
Battery capacity indicator (Fig. 8)
Press the switch for the battery capacity indicator (A). The battery capacity indicator
(B) shows the charge status of the battery using 4 LEDs.
Caution! Do not park the lawn mower in the sun. Batteries which have been inserted
could heat up to inadmissible levels.
Installing the batteries (Fig. 1 / 9)
1. Open the battery cover (12) by lifting up.
2. Insert the batteries (18) in the two intended slots till the button (C) click in place .
Important!
Use only batteries which are charged to the same level. Never combine full and half-
full batteries.
The equipment‘s operating time depends on the battery with the lower charge level.
The two/all batteries must always be fully charged before use.
Close the battery cover (12) by swinging it down, and make sure that it latches in place
correctly.
Removing the batteries (Fig. 1 / 9)
1. Open the battery cover (12) by lifting up.
2. Press the button (C) and pull out the batteries (18).
Mulch and mowing (Fig. 1 / 10)
Using the lawn mower without the grass catcher (8) attached: the lawn mower will
mulch as it cuts and and the ne grass clippings are distributed back onto the grass
surface without leaving piles of grass clippings.
m WARNING! Ensure the lawn mower is NOT operating when undertaking this task.
1. Remove the grass catcher (8) by lifting the ejector ap (13) and releasing the
grass catcher (8).
2. Lift the ejector ap (13), insert the mulching block (16) into position, then release
and close the ejector ap (13).
3. Ensure the side ejector cover (11) is in the closed position. Do NOT use the side
ejector adaptor (10) when mulch and mowing.
AUS
FBLM-1000 E1 Preparing for operation
AUS
Before rst use/Preparing for operation FBLM-1000 E1
AFTER SALES SUPPORT
23
1300 855 831
support@scheppach.com.au
MODEL: FBLM-1000 E1 PRODUCT CODE: 706547 09/2021
22
AFTER SALES SUPPORT
support@scheppach.com.au
1300 855 831
MODEL: FBLM-1000 E1 PRODUCT CODE: 706547 09/2021