AUS
GS650F <Chapter>
AUS
<Chapter> GS650F
Tex tTex t
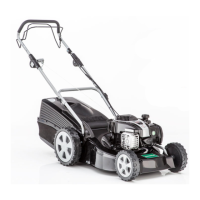
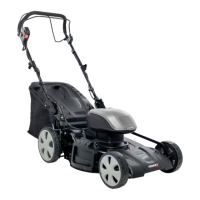
VI. Technical data
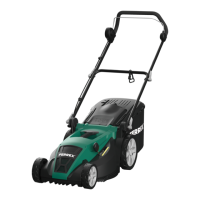
Rated voltage 116 d.c.
Rated no-load speed 2850 min
-1
Cutting diameter 510 mm
Cutting height positions 10 (30-88 mm)
Grass collection capacity 65 L
Product Dimensions 930x550x410 mm
Machine weight 28 kg
Charger model number FBCH-1000 E1
Charger input 220-240 V~ 50/60 Hz; 145 W
Charger output 58V DC, 2A
Charger protection class II
Battery model number FBBT-1000 E1
Battery voltage 58 d.c.
Battery capacity 2.5 Ah
Charging time approx. 85 min
Degree of protection against water IPX4
Subject to technical changes!
Information concerning noise emission measured according to relevant standards:
Sound pressure level L
pA
= 72.96 dB(A)
Sound power level L
WA
= 92.96 dB(A)
Guaranteed sound power level L
WA =
98 dB(A)
Wear ear-mus.
The impact of noise can cause damage to hearing.
VII. Before rst use
Before starting the equipment
Assembling the components
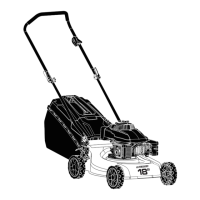
Some parts of the lawn mower come disassembled. For quick and easy assembly,
read and follow the instructions below.
Assembly of the handles (Fig. 3, 4)
1. Take the lawn mower and attachment parts out of the packaging and check that
all parts are present.
2. Attach the two push bar holder (7) with its star grip nuts to the lawn mower.
3. Attach the top push bar (2) on the two push bar holder (7) and x it with the screws
with star grip nut (6).
Assembly of the grass catcher (Fig. 5 / 6)
1. Mount the handle (14) with the two screws (Fig. 1 / 15) at the grass catcher (8) by
using a screwdriver (not included).
2. Lift the ejector ap (13) in order to position the assembled grass catcher (8).
NOTE: Do NOT ever start the lawn mower if the ejector ap (13) does not fully
return to the close position if the grass catcher (8) is not tted.
3. Plug in the grass catcher (8) until it locks in place.
4. Release the ejector ap (13) to secure the grass catcher (8) into place.
NOTE: Always empty the grass catcher (8) before it has reached maximum ca-
pacity, otherwise it will decrease the performance of the lawn mower.
TIP: Do not leave grass clippings in the grass catcher (8) for extended periods of
time.
Assembly of the side ejector adaptor (Fig. 1)
m WARNING! Ensure the lawn mower is NOT operating when tting the side ejector
adaptor (10).
Do not operate or have the lawn mower when the side ejector cover (11) is opened and
the side ejector adaptor (10) is not tted.
NOTE: The side ejector adaptor (10) is used to distribute grass clippings from the
side of the lawn mower while the lawn mower is in use. To use this function, the grass
catcher (8) is NOT required to be assembled on the lawn mower.
1. Raise the side ejector cover (11) to be able to position the side ejector adaptor
(10) onto the side of the deck of the lawn mower.
2. Place the side ejector adaptor (10) into position on the side of the deck and re-
AUS
FBLM-1000 E1 Before rst use
AUS
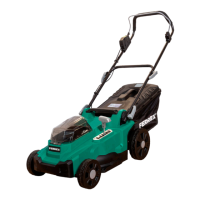
Technical data FBLM-1000 E1
AFTER SALES SUPPORT
21
1300 855 831
support@scheppach.com.au
MODEL: FBLM-1000 E1 PRODUCT CODE: 706547 09/2021
20
AFTER SALES SUPPORT
support@scheppach.com.au
1300 855 831
MODEL: FBLM-1000 E1 PRODUCT CODE: 706547 09/2021