Maintenance English
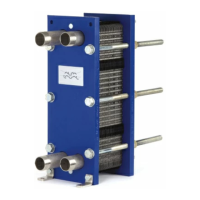
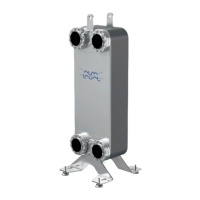
Plate Heat Exchanger 9
EN
EN
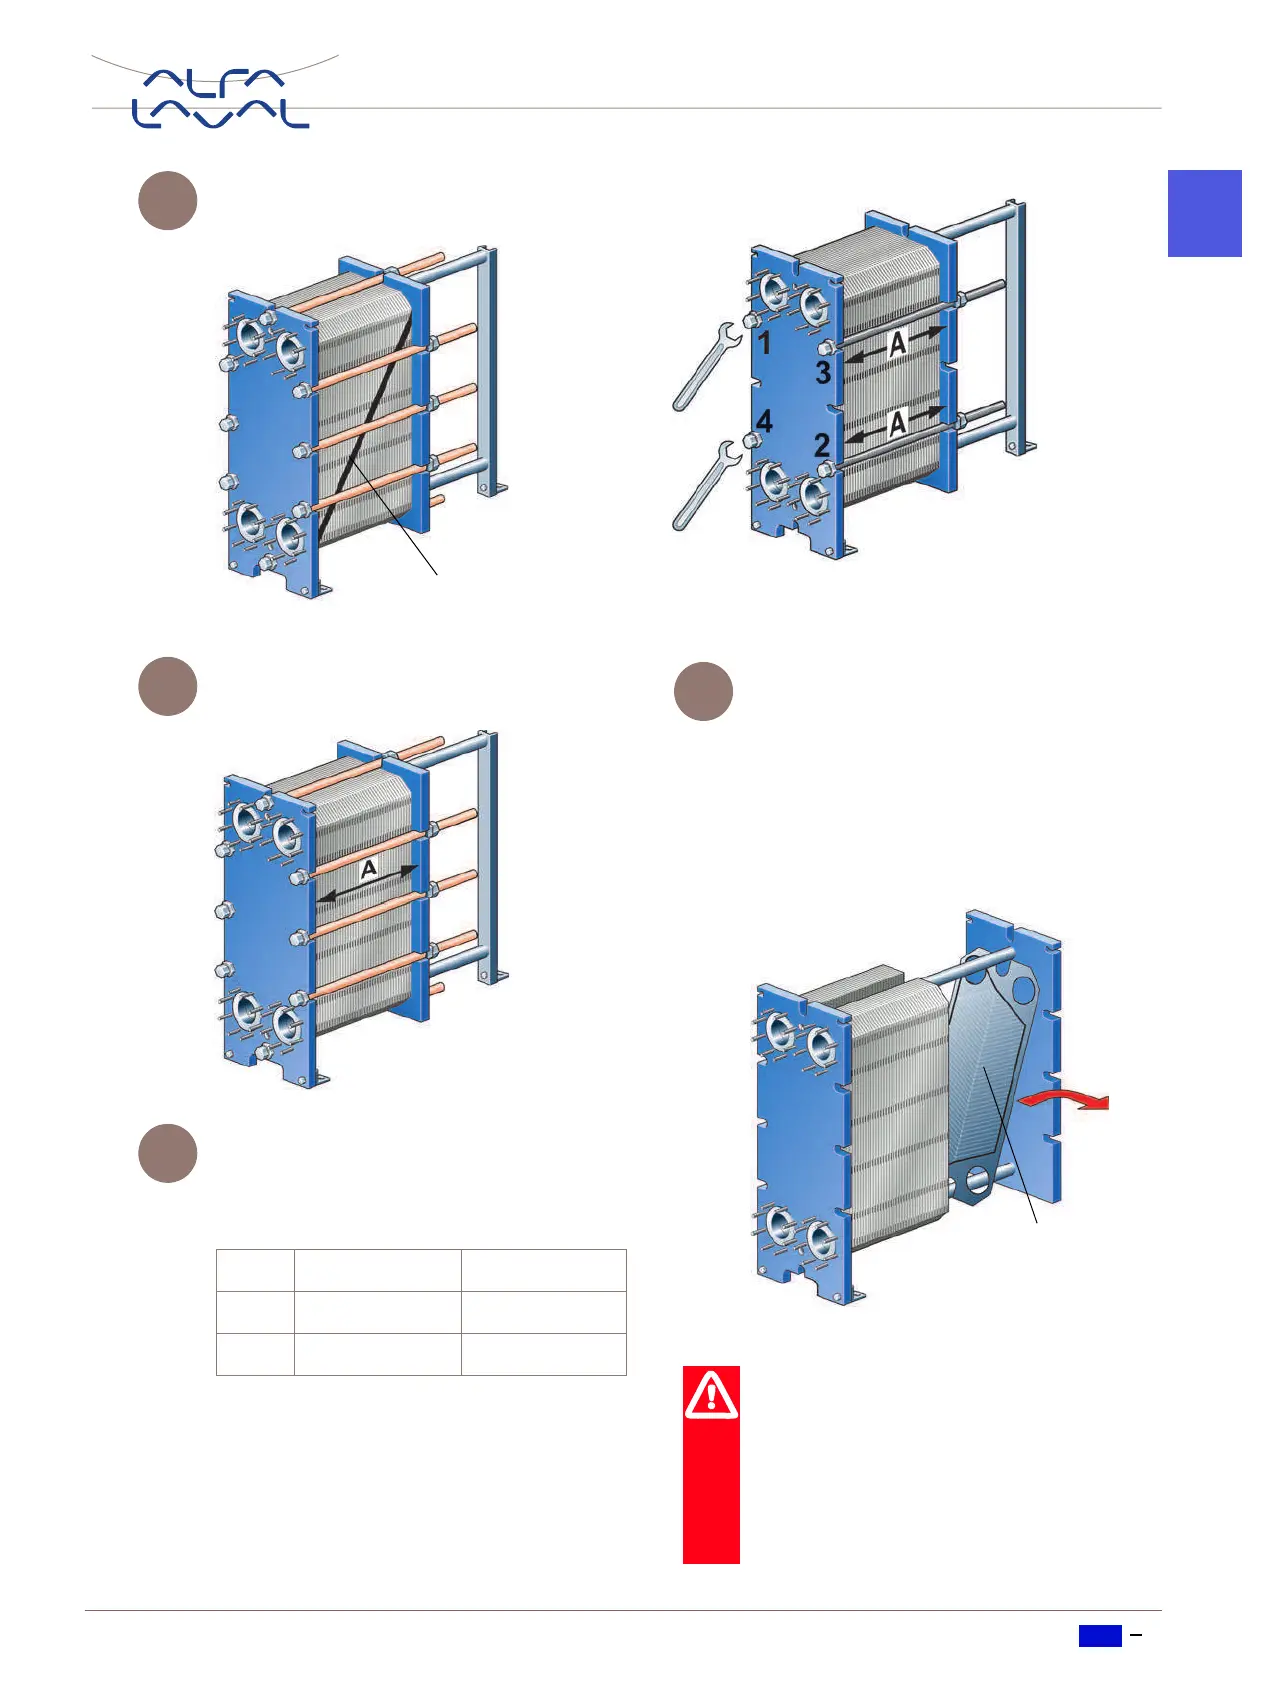
Mark the plate assembly on the outside by
a diagonal line.
Measure and note down the dimension A.
Loosen and remove all bolts except the 4
at the positions indicated below. Use
these remaining 4 bolts to open the plate
pack according to the following scheme.
Be careful so that the plate and pressure
plate are always in parallel. Skewing of the
pressure plate during opening must not ex-
ceed 10 mm (2 turns per bolt) across the
with and 25 mm (5 turns per bolt) vertically.
See also point 5 under part “Closing”.
Open the plate pack by letting the pressure
plate glide on the carrying bar.
If plates are to be numbered, do this before
removing the plates.
Plates need not to be removed if cleaning
is done using only water, i.e. without clean-
ing agent.
Step Bolt No. To dimension
1 1–2–3–4 1,05A
2 1–2 or 3–4 Opening
3
Mark
4
5
6
Remove
the plates
Warning!
The plate pack may still contain a small re-
sidual amount of liquid after draining. De-
pending on the type of product and type of
installation special arrangments, e.g.
drainage box, may be necessary to avoid
damages on personnel and equipment.
 Loading...