3 Installation
Study the instructions carefully and pay special attention to the warnings!
The valve has ends for welding as standard but can also be supplied with fittings.
Step 3
Fittings: Ensure that the connections are tight.
Remember seal rings!
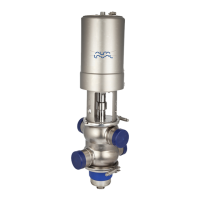
Step 4
Air connection: R 1/8” (BSP).
AC1: Cleaning of upper seat.
AC2: Open valve.
AC3: Cleaning of lower seat.
TD 449-047_1
AC3
AC2
AC1
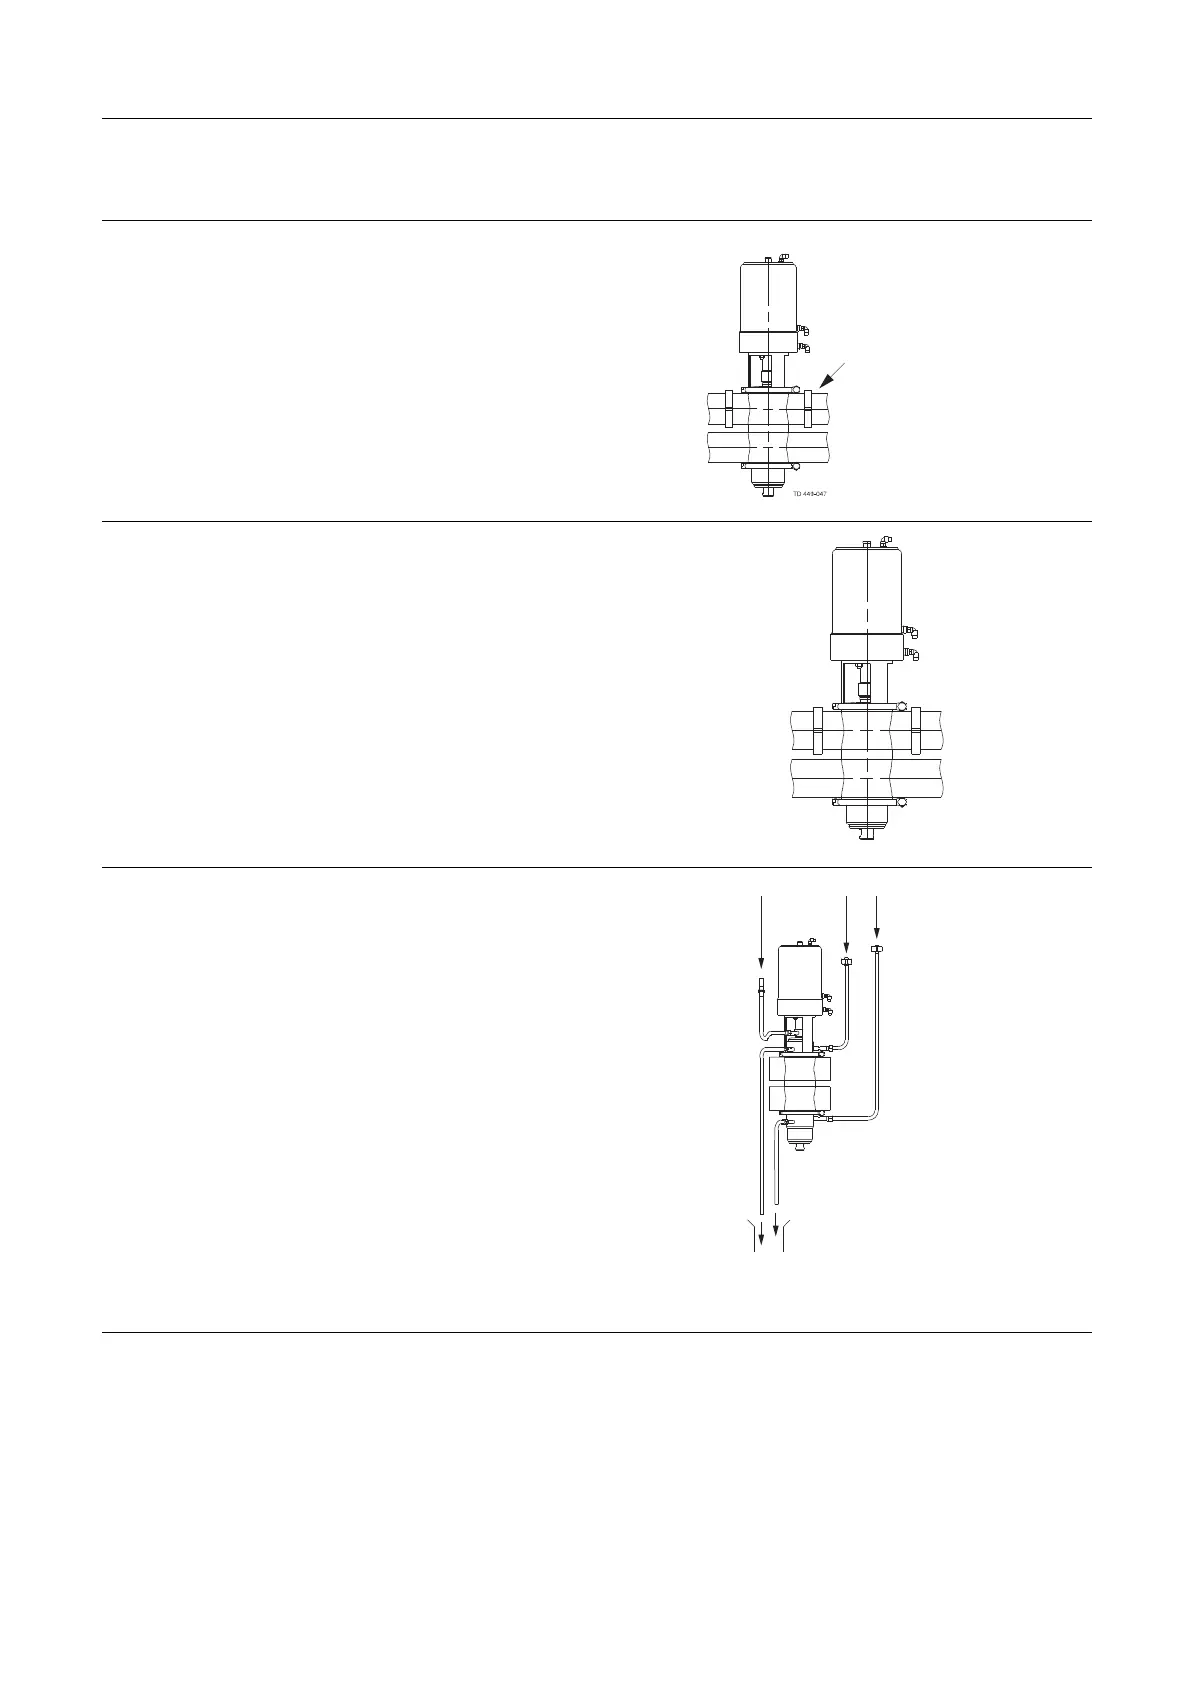
Step 5
CIP connection (optional extra):
1. See description of cleaning in section 4.3 Recommended
cleaning.
2. Connect CIP correctly.
CIP in CIP in
R3/8”(BSP),
external thread
TD 449-048_1
CIP out
11