3 Installation
Study the instructions carefully and pay special attention to the warnings!
The valve has ends for welding as standard but can also be supplied with fittings.
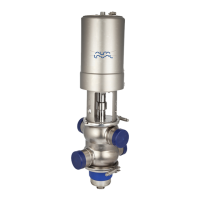
Step 9
1. Place actuator part in the box.
2. Add supports.
3. Close box and store.
Advise!
Mark the valve body and box with the same number before
intermediate storage.
TD 449-024_1
3.2 General in
formation
Step 1
Always read the technical data carefully.
See section 6.1 Technical data
Always release compressed air after use.
Never touch the clip assembly or the actuator piston rod if the actuator is supplied with compressed air (see the warning label).
CAUTION
Fit the supplied warning label on the valve so that it is normally visible.
Alfa Lav
al cannot be held responsible for incorrect installation.
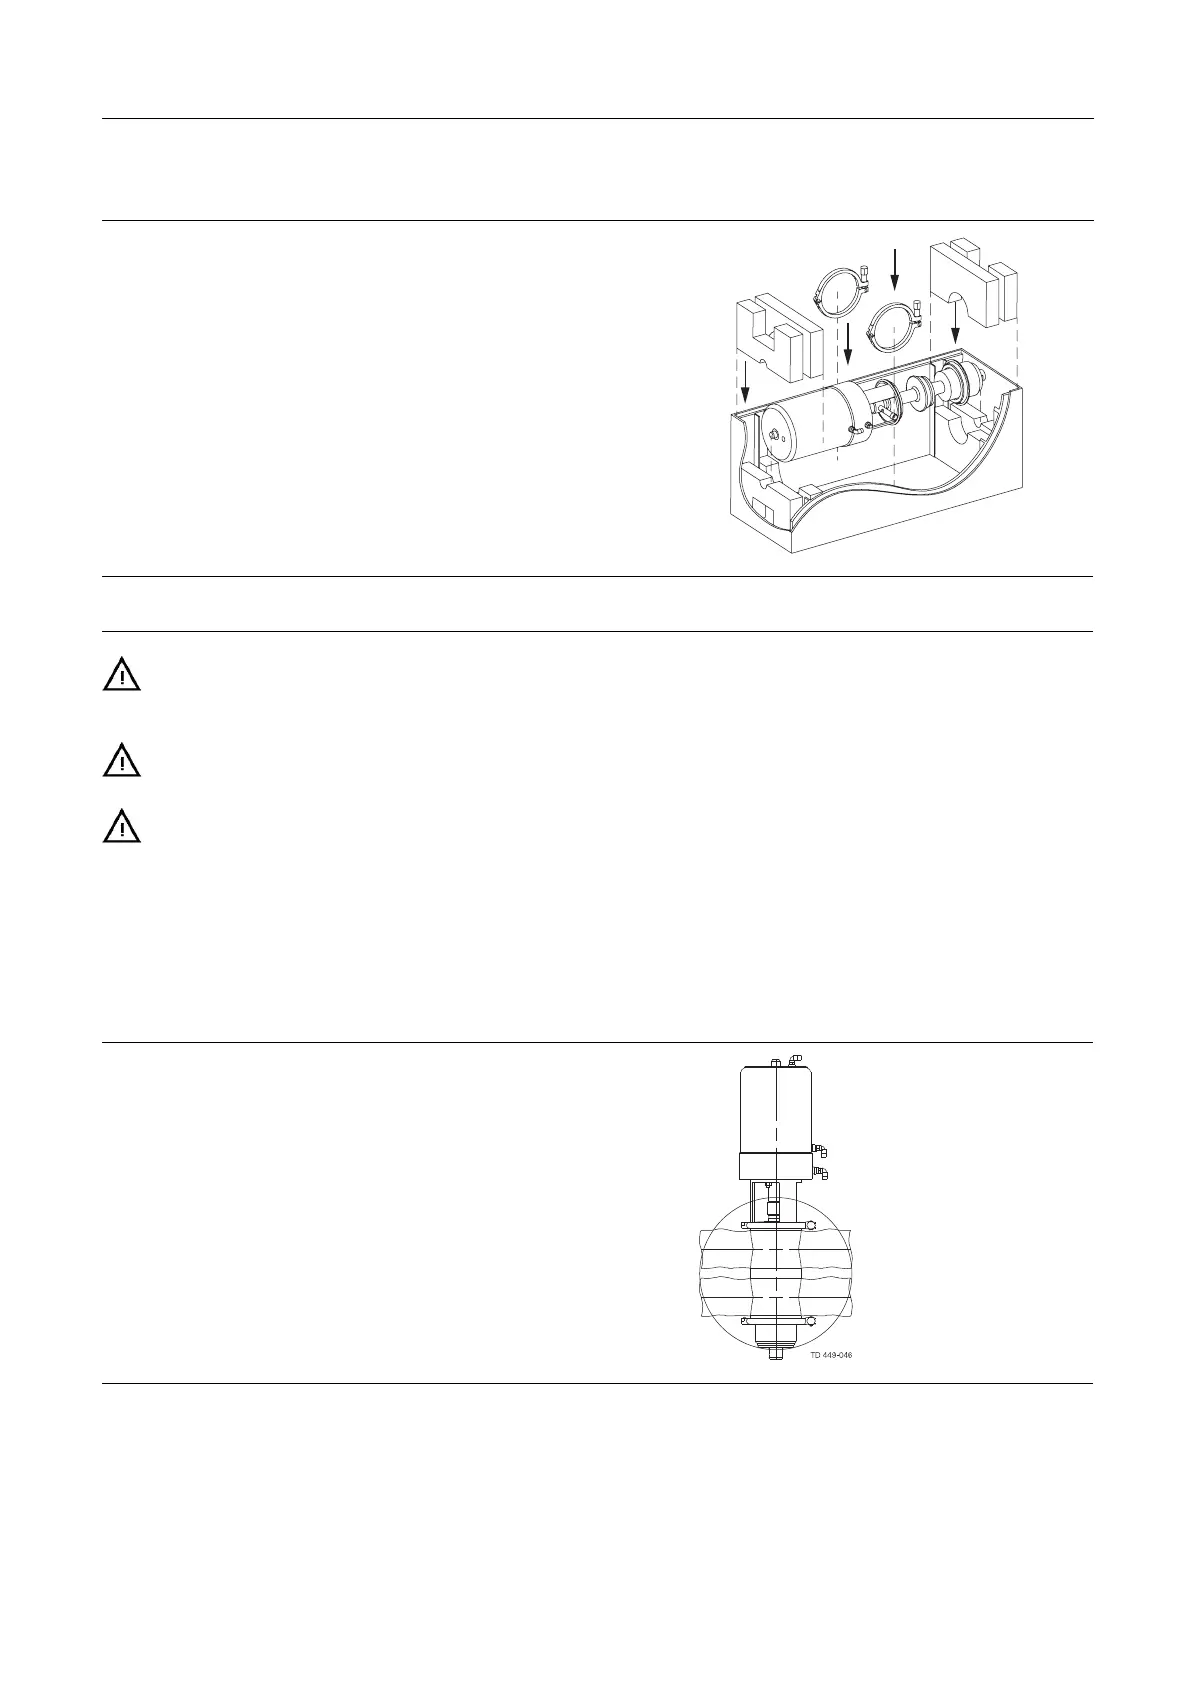
NOTE
Always install the valve vertically.
The leakage outlet must be turned downwards!
Step 2
Avoid stressing the valve as this can result in deformation of
the sealing area and misfunction of the valve (leakage or faulty
indication).
Pay special attention to:
-Vibrations.
- Thermal expansion of the tubes.
- Excessive welding.
- Overloading of the pipelines.
Risk of damage!
10