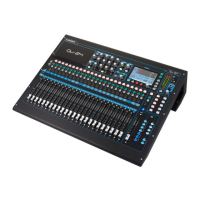
. Each of the 8 input channels has
its own compressor. You can control the amount of
compression applied to each channel in the same
screen. Use the compressor to control the dynamic
range of the signal, for example to reduce excessive
peaks when vocal miking. Or use it to create effects,
for example to achieve a more ‘punchy’ bass guitar.
Three controls are available:
•
= How much compression is applied.
•
= How fast the compressor responds.
•
= How sharp the threshold point is.
Press the
key once to display the compressor
screen. For each channel adjust its soft strip
control to determine how much compression is
applied from 0 (no compression) to 25 (maximum).
This combines the threshold, ratio and make-up gain
parameters into one easy to use control.
Press the
key again to display the
screen. For each channel adjust its soft strip control
to determine how fast the compressor responds to the
music signal from 1 (fast attack and release) to 25
(slow attack and release).
Press the
key again to display the
screen.
For each channel the soft strip control switches the
compressor between
(soft knee) and
(hard knee).
This control has most effect when the drive control is
set high.
High compression drive and slow response
on certain types of music can result in a higher
overall signal level. Reduce the channel gain if the
indicator flashes.
. Each of the 8 input channels has its
own noise gate. The gate turns the channel off when
the signal drops below the threshold level. You can
control the gate settings for each channel in the same
screen. Use this to eliminate problems with source
noise such as keyboards hiss or microphone ambient
pickup, or to create effects such as gated drums or
guitars. Repeated pressing of the
key accesses
the three parameters available:
•
= Threshold from off to 0dB.
•
= From 1 (fast) to 25 (slow).
•
= From 1 (fast) to 25 (slow).
Press
to set the controls to their default values.
Press
to restore the previous settings or those
marked by pressing
.
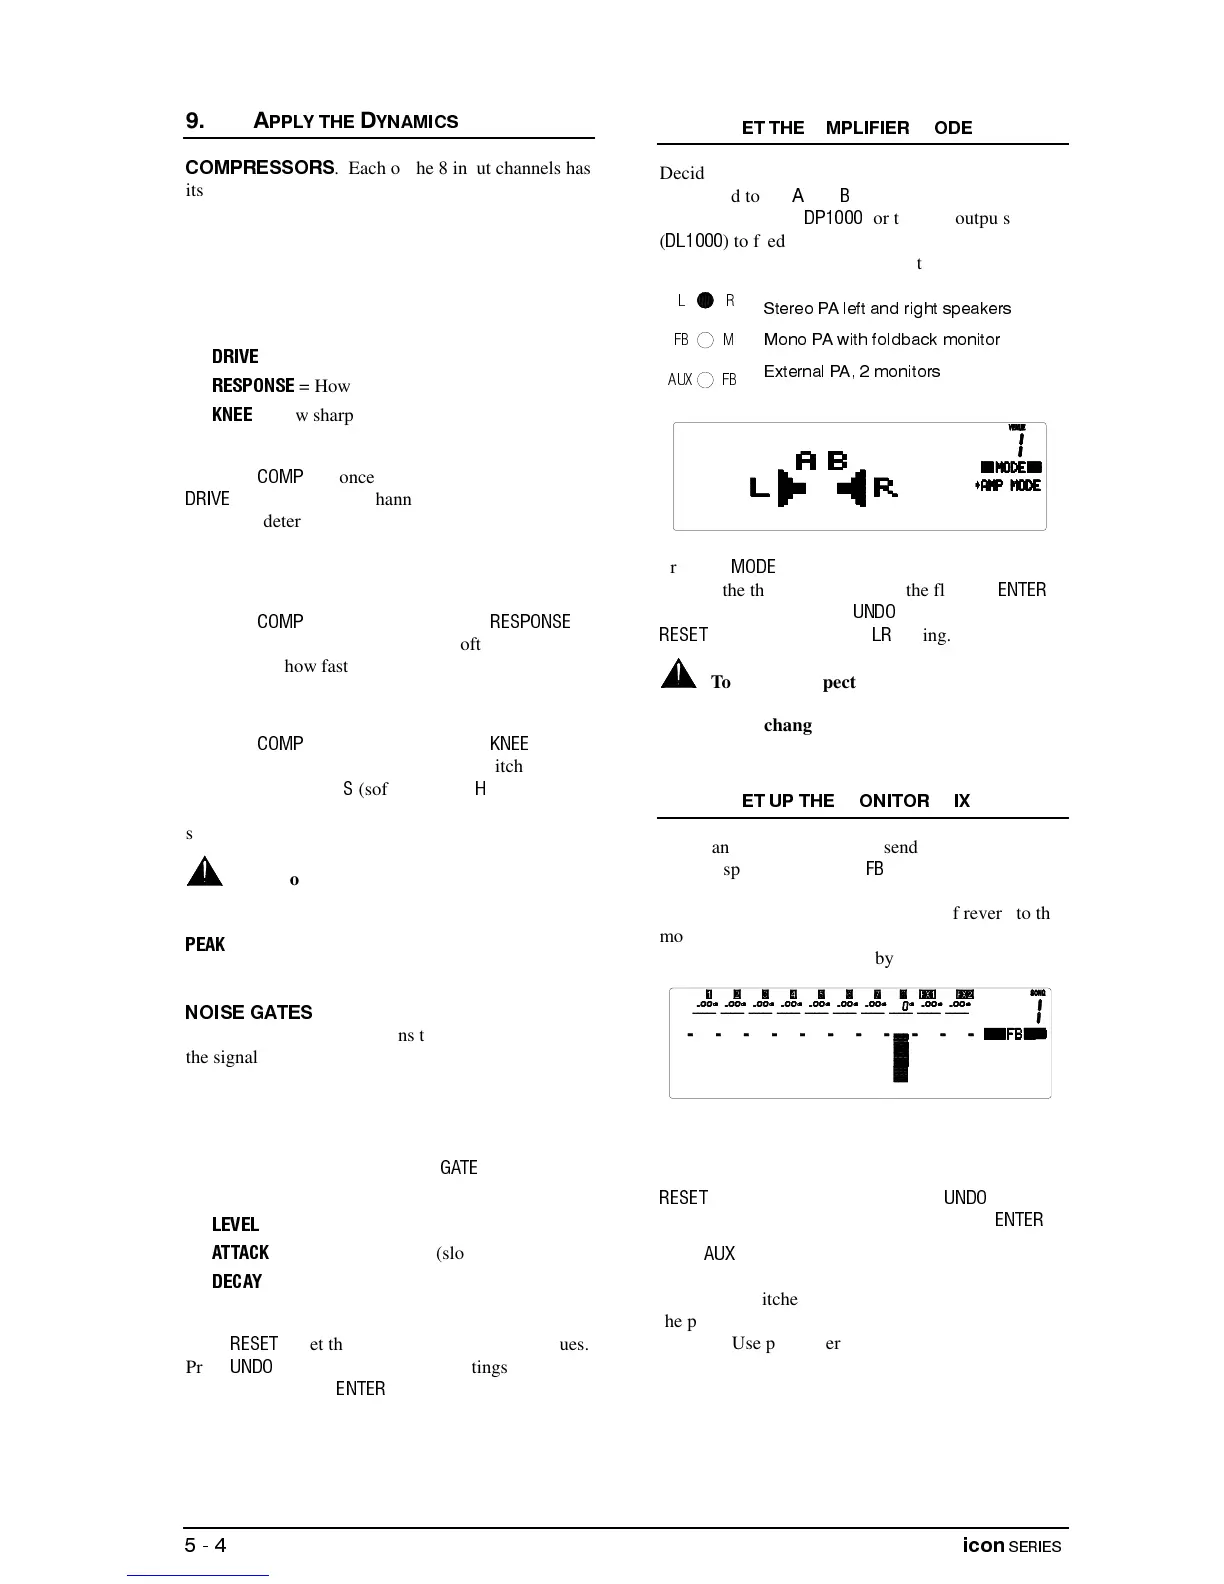
Decide which of the console mix busses is to be
configured to the
and
outputs. These route to the
built in amplifiers (
) or to XLR outputs
(
) to feed external amplifiers. The current
mode is displayed between the meters.
Press the
key. Press the keys to scroll
through the three options. Press the flashing
key to accept the change,
to escape. Press
to restore the default
setting.
To avoid unexpected changes in volume
make sure the amplifier level controls are turned
down before changing the mode.
Set up an independent mix to send to the foldback
monitor speaker. Press the
key to display the level
from each channel. You can also send the effects so
that you can add the required amount of reverb to the
monitor mix. The sends are pre fader so that the
monitor level is not affected by the channel fader.
The soft strip becomes the foldback send controls,
one for each channel. The normal operating level is
0dB but 6dB of gain is available if required. Press
to turn all the sends off. Press
to restore
the last settings or those marked by pressing
.
Press
to display the level sent to the independent
auxiliary output. This is similar to the foldback mix
but can be switched globally pre or post fader. Use
the pre fader setting when you require an additional
monitor. Use post fader when you require an
additional effects or recording mix.
 Loading...