Rockwell Automation Publication 193-UM013B-EN-P - December 2019 9
Chapter 2
System Operation and Configuration
This chapter provides instructions about how to operate and configure an E100™
Electronic Overload Relay system. It contains instructions about how to set the
Trip Current and Trip Class. This chapter also describes the accessory modules
that are available for the Advanced (193/592-1EF) E100 relay.
Before You Begin
Before you configure the E100 relay, you must install it onto a contactor or DIN
Rail, or mount it on a panel. See page 5
for a list of related installation
instructions. You can search for and download literature at rok.auto/literature
.
Configure the Device
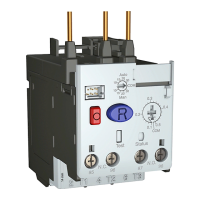
Use the rotary dials on the front of the unit to select the trip class and adjust the
trip current.
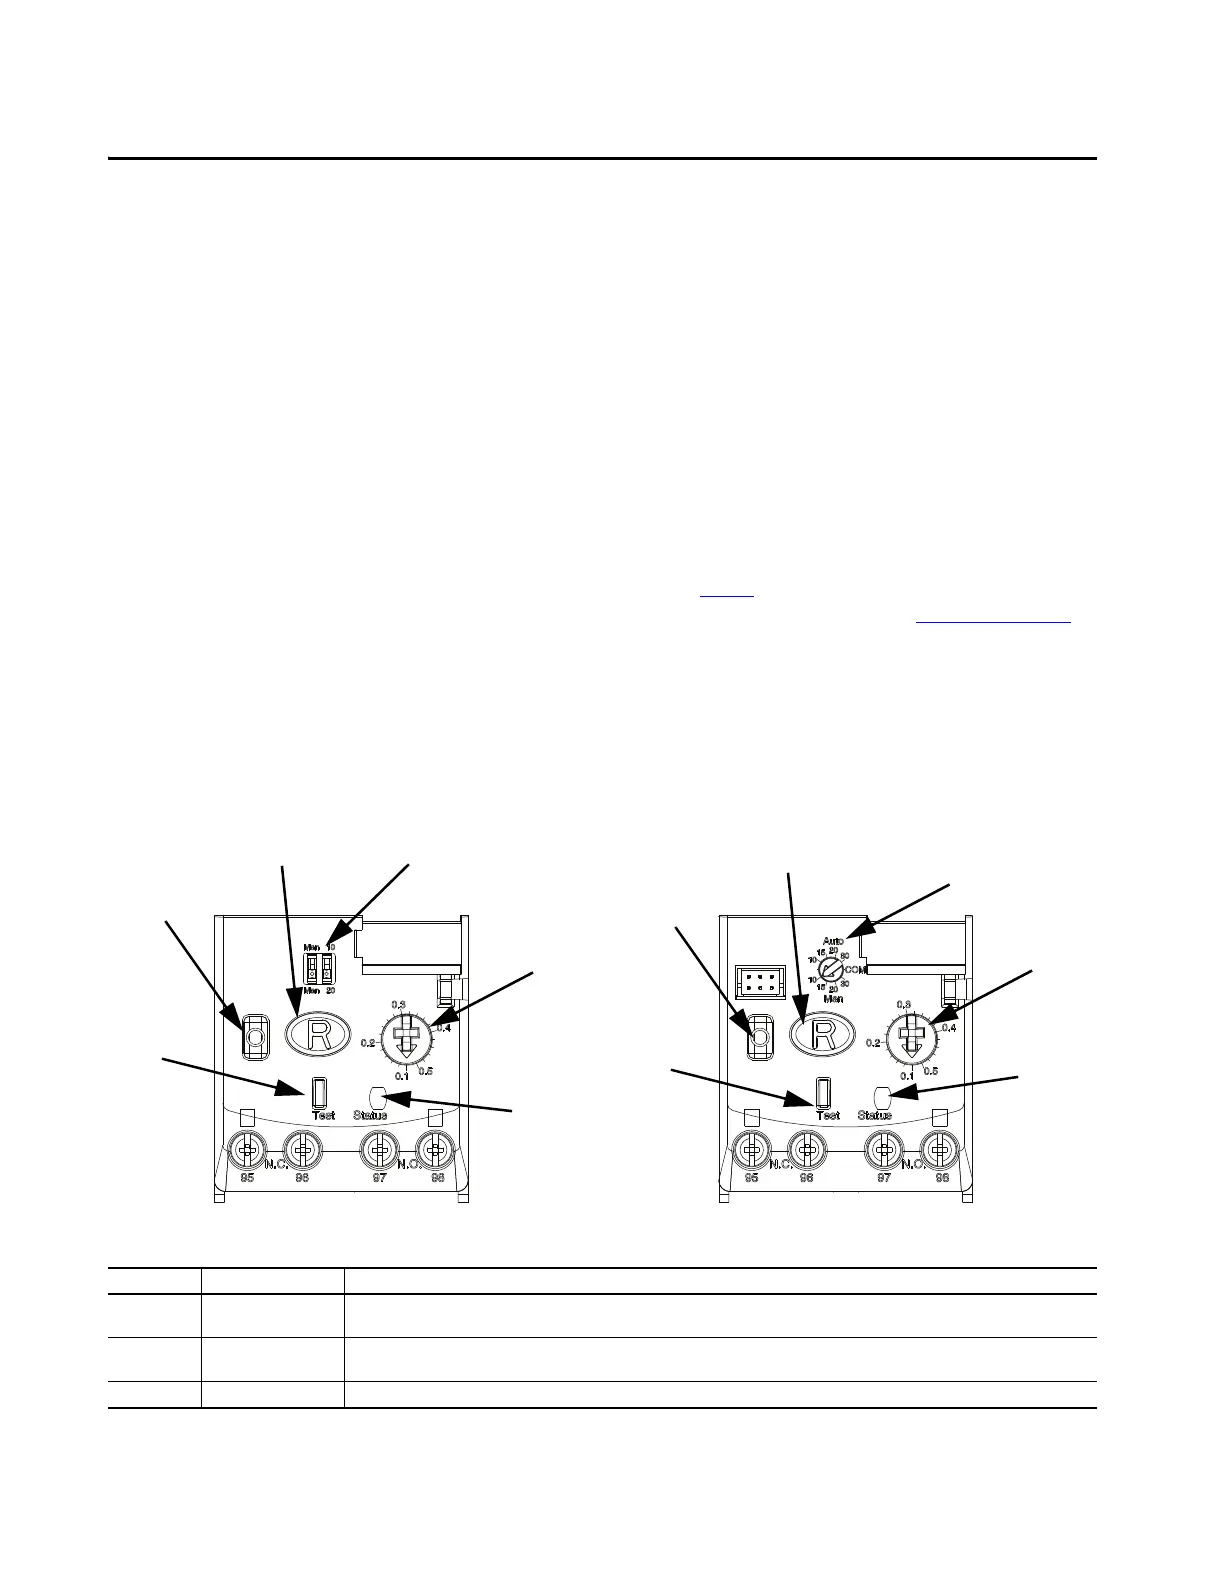
Figure 1 - E100 Overload Relay Settings
Basic Unit, 193-1EE… Advanced Unit, 193/592-1EF…
Trip Current Selection
(1)
Trip Current
Selection
(1)
Trip Class Selection
(2)
Trip Class Selection
(2)
Reset
Reset
Push to Stop
Push to Stop
Push to Test
Push to Test
Trip Indicator Window
(3)
Trip Indicator
Window
(3)
Note Number Feature Information
1 Trip Current Selection
To adjust the trip current, turn the dial until the desired current is aligned with the pointer. Trip rating is 120% of dial setting value.
Minimum setting is 0.1 FLA.
2 Trip Class Selection
Use this setting to select the desired trip class. Basic units only support manual reset operations. Manual DIP switch position is
independent of relay function and trip class. On advanced units, use this setting to select between automatic and manual reset modes.
3 Trip Indicator Window The red status indicator is illuminated when the unit has tripped.
 Loading...