12
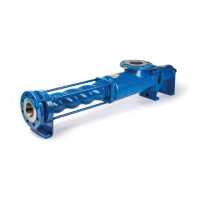
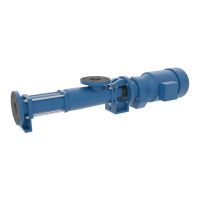
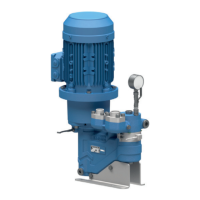
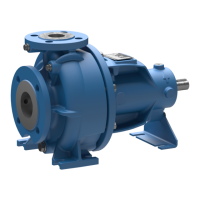
Series AE1L, AE.E, AE.N, AE.H, AE.V, AED1E, AED2N
Design ID, ZD
7.2 Repair (dismounting and mounting instructions)
General
Qualified customer service fitters are available for as-
sembly and repair work upon request.
Prior to repairs performed by your own personnel or
our expert fitters, make sure that the pump is com-
pletely empty and clean.
This especially applies to pumps, which are sent to
our factory or one of our authorized repair shops for
repair.
We will not accept repair orders for pumps filled with
conveyor media for reasons of protecting our employ-
ees and the environment. Otherwise we will charge
the customer/operator the costs for environmentally-
conform disposal.
In case of pumps operated with dangerous sub-
stances ① and/or conveyor media that are dangerous
to the environment, the customer/operator has to in-
form his own respectively our fitters on-site in case of
repairs or our factory respectively authorized work-
shop in case of returning the pump about this circum-
stance. In these cases, you need to submit a con-
veyor media certificate, e.g. in the shape of a DIN
safety data sheet together with your request for a fit-
ter.
① Dangerous substances are:
! toxic substances
! substances detrimental to health
! caustic substances
! irritating substances
! explosive materials
! fire-promoting, highly, easily and normally in-
flamable materials
! carcinogenic substances
! embryo-damaging substances
! substances that damage the genetic material
! substances which are dangerous for human be-
ings in any other way
With all work on-site, the owner's own respectively our
fitters have to be informed about dangers that may
arise in connection with repairs.
These instructions contain the most important disas-
sembly and assembly work. The assembly steps de-
scribed in the individual chapters have to be observed
under all circumstances.
7.2.1 Dismounting of the eccentric screw pump
The following work steps have to be performed prior
to disassembly:
! Detach the power supply cables to the motor. It
must not be possible to turn the motor on.
! All shut-off devices in the feed and pressure pipes
have to be closed.
! Drain the conveyor liquid from the suction casing.
Unscrew the screw plug for that purpose (502).
Note: Use a receiver.
! Dismantle the contact protection.
! Deinstall all feed and pressure pipes as well as all
auxiliary pipelines.
! Loosen the screws on the pump feet and take
them off.
7.2.1.1 Dismounting the stator
! Remove the hexagon nuts (609) and disks (610)
from the clamp bolts (611).
! Pull off the pressure casing (504).
! Remove the clamp bolts (611) and supports
(612), if provided.
! Pull the stator (402) off the rotor (401).
Note: In case of difficulties with dismounting, turn
the stator (402) with pliers at the same time. To do
so, arrest the drive shaft (118).
! In case of stators made of plastic or metal, take off
the stator seals (403) and (404).
! Remove the reducing flange (512) and O-ring
(513), if provided.
7.2.1.2 Dismounting the rotor and rotor-side joint
Dismounting the rotor and the rotor-side joint takes
place after dismounting the stator (402). See Chapter
7.2.1.1.
! Remove the hexagon nuts (607) and serrated lock
washers (608) as well as the hexagon screws
(606).
! Pull the suction casing (505) across the rotor
(401). Make sure that the finely crafted rotor is not
damaged.
! Take off the g
asket for suction casing (501).
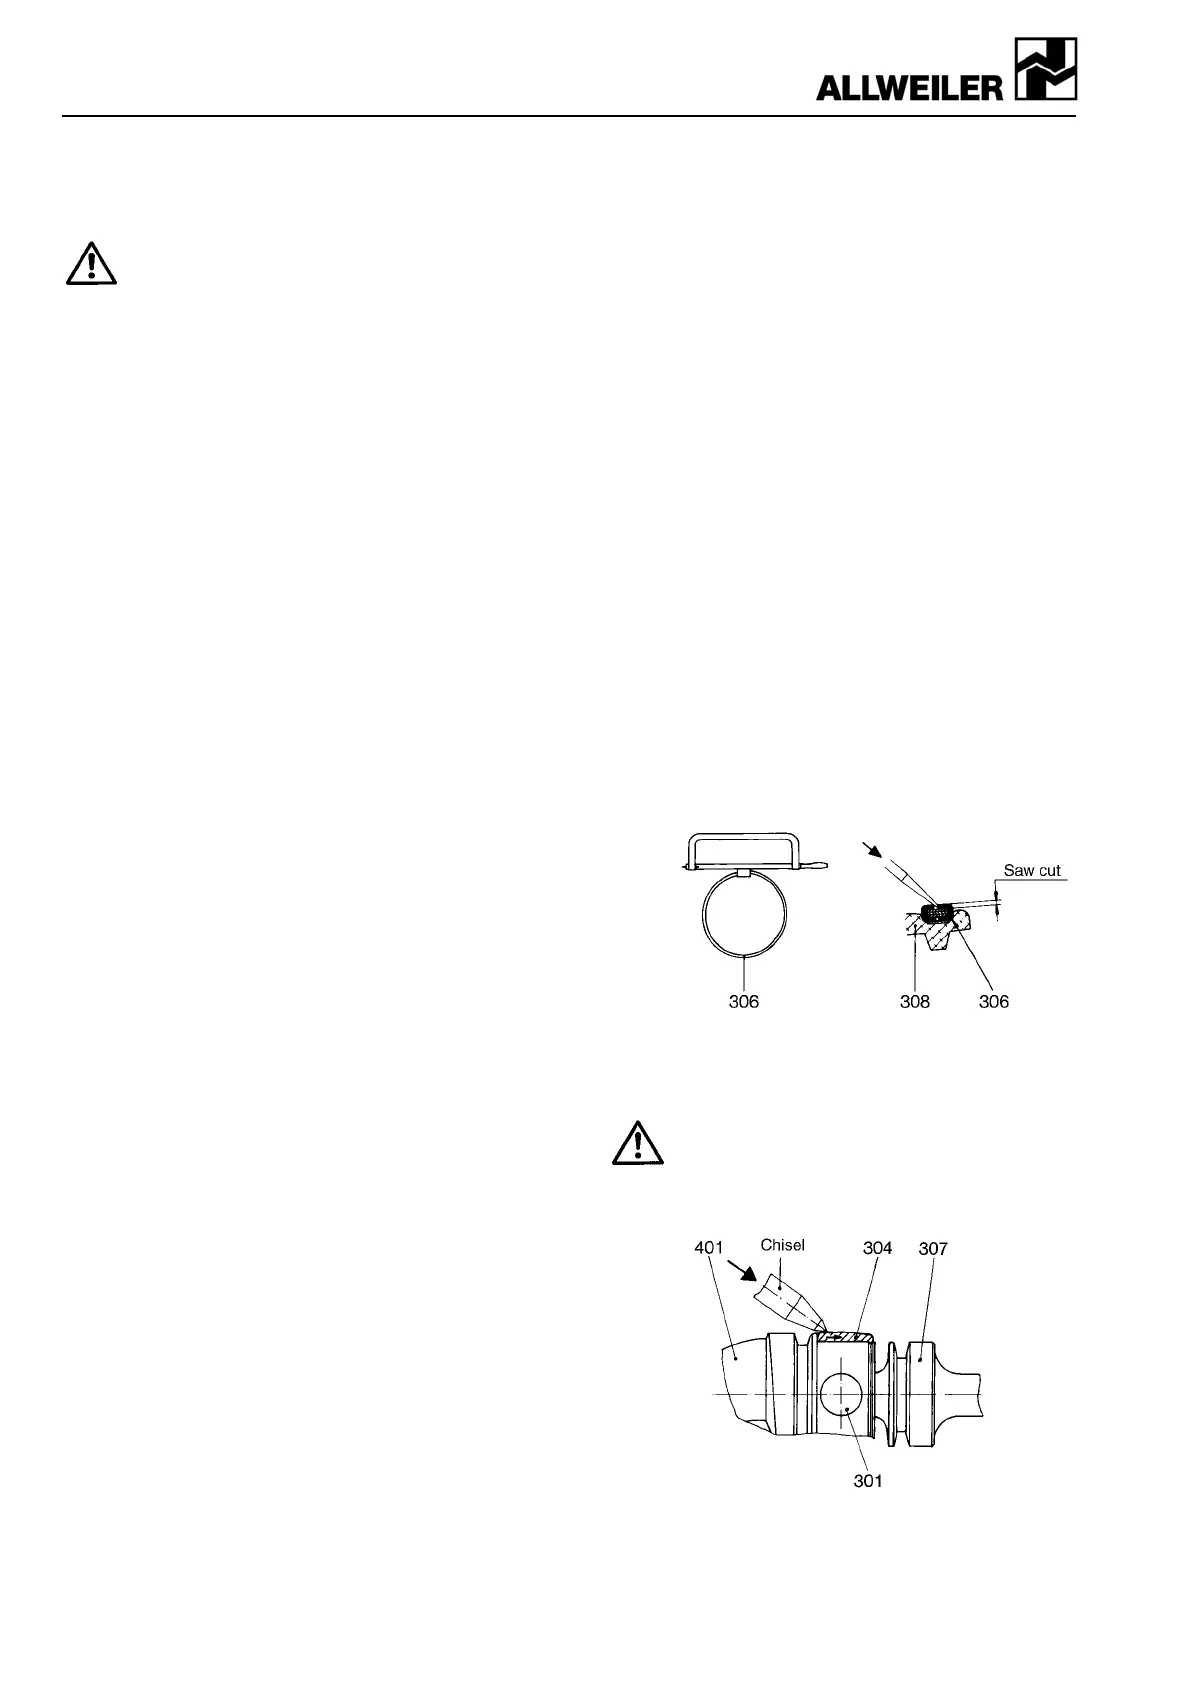
! Saw open the lock on the joint clamp (306) with a
metal saw and press it out on both sides with a
screwdriver. Take the joint clamp (306) off the
joint collar (308) (see figure 2).
Figure 2: Removing the joint clamp
! Lift the joint collar (308) with a screwdriver and
pull it off axially towards the joint shaft (307).
! Catch the oil filling in a container.
! Drive the joint collar (304) across the collar of the
joint shaft (307). Do not deflect the joint shaft
(307) (see figure 3).
Figure 3: Dismounting the joint collar
 Loading...