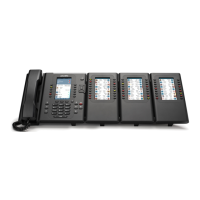
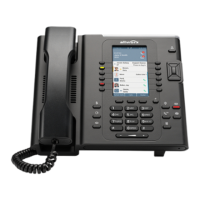
Phone Guide – 9224
Toll Free 1-866-ALLWORX • 585-421-3850 • www.allworx.com
Revised: April 16, 2013
Page 4
a. Navigate to www.Allworx.com.
b. Click the Support button, and then click Resources.
c. Scroll to the Documentation section and locate the IP Phones
section of the table, the specific phone model section, and then the
template.
d. Follow the instructions to create the PFK labels.
.
4. Position the label onto the plastic label cover. Hold the label in place and
snap the cover in place on the phone. 0.
2.3 Volume Adjustment
The volume of the incoming ring, handset, speakerphone, and the headset is
adjustable.
To adjust the incoming call volume:
1. Locate the volume bar at the bottom of the phone. Do not lift the handset
or turn on speakerphone.
2. Press the volume bar on the left (decrease) or right (increase) to adjust
the incoming ring. The phone plays the audio tone.
0.
To adjust all other volumes:
1. Pick up the handset or turn on the speakerphone. Locate the volume bar
at the bottom of the phone.
2. Press the – (decrease) or + (increase) on the volume bar to adjust the
incoming ring. 0.
2.4 Wall Mounting (Optional)
Mounting the Allworx phone requires a wall mounting plate. Use mounting
plates that meet standard TIA-570-B, Section 5. These are available from the
local telephone company or local retailer.
Caution: If using a standard telephone wall mount plate, DO NOT connect
to the RJ 11 jack. This connection is for analog phones and may cause
damage to the Allworx phone, which voids the warranty.