SERVICING
42
PREVEN NRELIALE PERAIN R EQIPMEN DAMAGE E
GAS MANILD PRESSRE MS E AS SPECIIED N E NI
RAING PLAE
NL MINR ADJSMENS SLD E MADE
ADJSING E GAS VALVE PRESSRE REGLAR
Use adapter kit #0151K00000S to measure gas
pressure on White-Rodgers 36J22 gas valves.
Only small variations in gas pressure should be made by
adjusting the gas valve pressure regulator. The manifold
pressure must be measured with the burners operating. To
measure and adjust the manifold pressure, use the following
procedure.
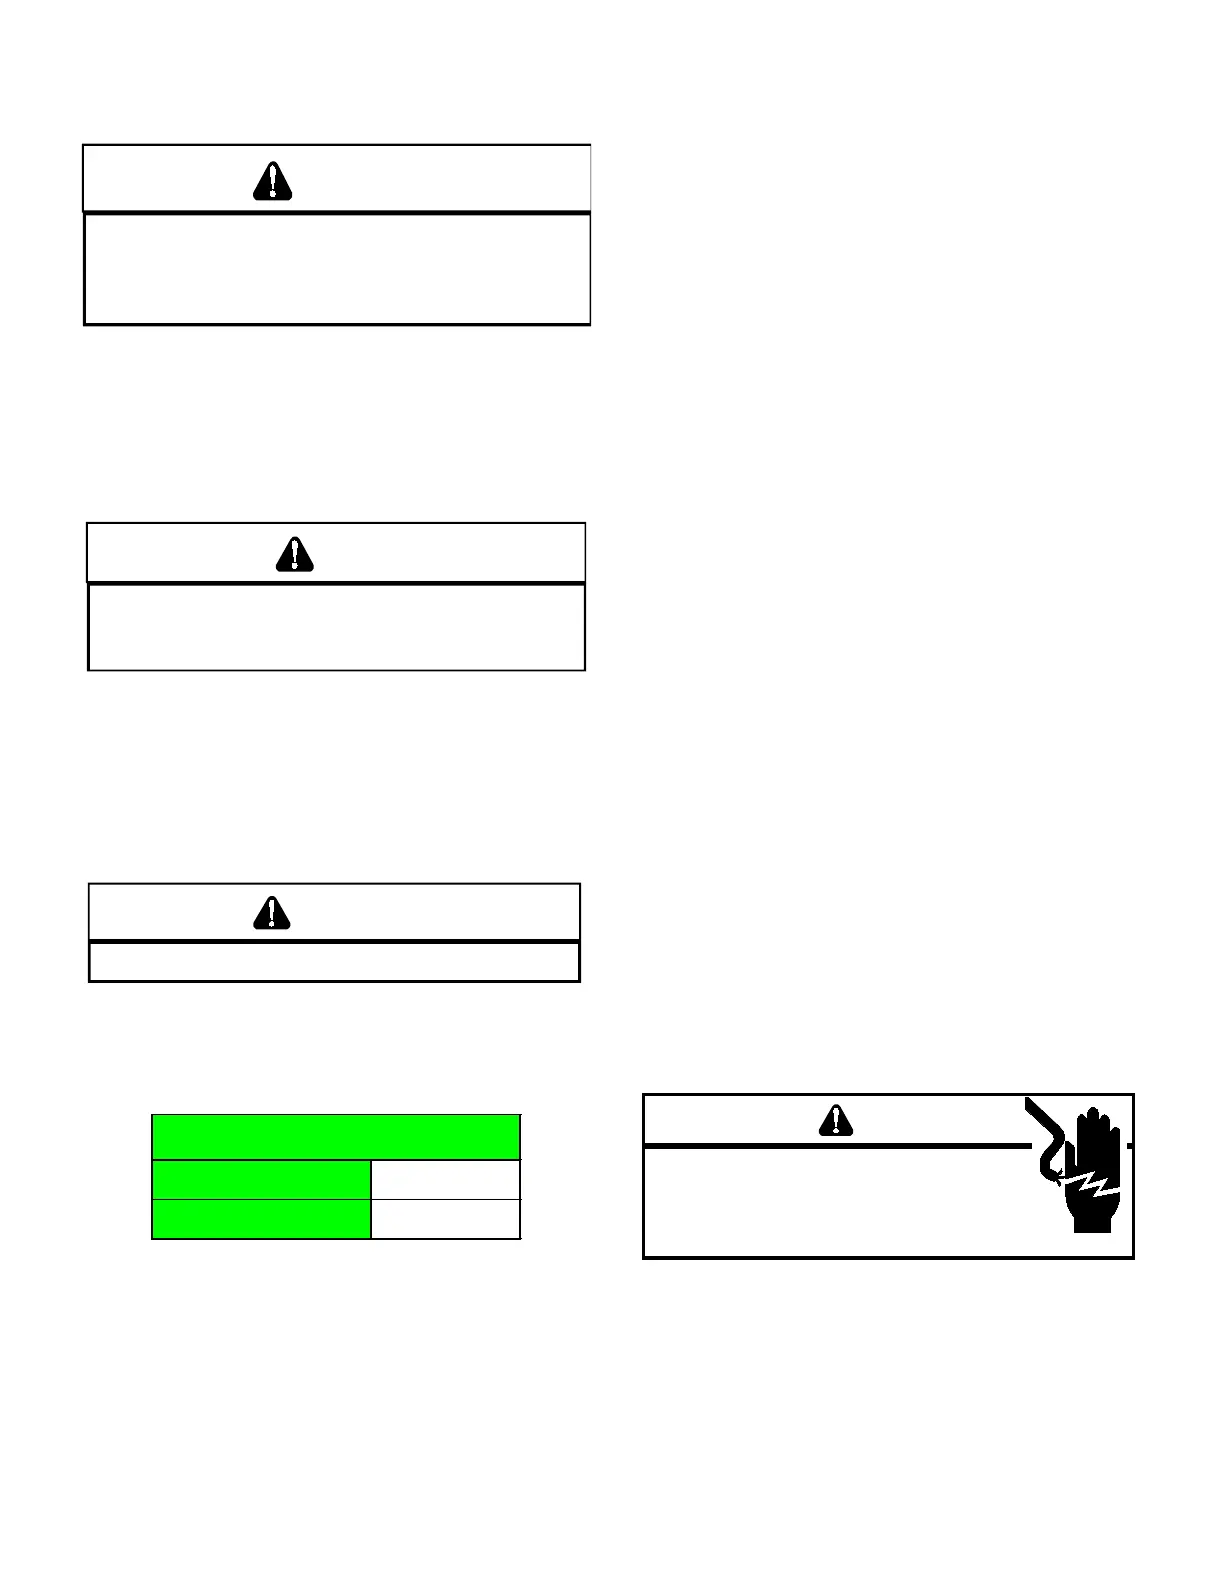
WARNING
IG VLAGE
DISCNNEC ALL ELECRICAL PWER AND S GAS SPPL
ERE SERVICING R INSALLING
1. After turning o gas to furnace at the manual gas shuto
valve external to the furnace, remove burner compartment
door to gain access to the gas valve.
2. Connect a calibrated water manometer (or appropriate
gas pressure gauge) at the gas valve outlet pressure
tap. Refer to Measuring Gas Pressure: Single Stage
Valves gure for single stage valve outlet pressure tap
connections.
L
INE VLAGE NW PRESEN
WARNING
3. Turn ON the gas and electrical power supply and operate
the furnace.
4. Measure gas manifold pressure with burners ring. Adjust
manifold pressure using the table below.
3.5" w.c.
10.0" w.c.
The nal manifold pressure must not vary more than ± 0.3
“ w.c. from the above specied pressures. Any necessary
major changes in gas ow rate should be made by changing
the size of the burner orice.
5. White-Rodgers 36J22 Valves:
a. Back outlet pressure test screw (inlet/outlet pressure
boss) out one turn (counterclockwise, not more than
one turn).
b. Attach a hose and manometer to the outlet pressure
outlet pressure boss.
c. Turn ON the gas supply.
d. Turn on power and close thermostat “R” and “W1”
contacts to provide a call for heat.
e. Measure the gas manifold pressure with burners ring.
Adjust manifold pressure using the Manifold Gas
Pressure table shown below.
f. Remove regulator cover screw from the outlet pressure
regulator adjust tower and turn screw clockwise to
increase pressure or counterclockwise to decrease
pressure. Replace regulator cover screw.
i. Turn o all electrical power and gas supply to the
system.
j. Remove the manometer hose from the hose barb tting
or outlet pressure boss.
k. Turn outlet pressure test screw in to seal pressure port
(clockwise, 7 in-lb minimum).
6. Honeywell VR8215 Valve:
a. Remove the outlet pressure boss plug. Install an 1/8”
NPT hose barb tting into the outlet pressure tap.
b. Attach a hose and manometer to the outlet pressure
barb tting.
c. Turn ON the gas supply.
d. Turn on power and close thermostat “R” and “W1”
contacts to provide a call for low stage heat.
e. Measure the gas manifold pressure with burners ring.
Adjust manifold pressure using the Manifold Gas
Pressure table shown.
f. Remove regulator cover screw from the outlet pressure
regulator adjust tower and turn screw clockwise to
increase pressure or counterclockwise to decrease
pressure. Replace regulator cover screw.
i. Turn o all electrical power and gas supply to the
system.
j. Remove the manometer hose from the hose barb tting
or outlet pressure boss.
k. Remove the 1/8” NPT hose barb tting from the outlet
pressure tap. Replace the outlet pressure boss plug
and seal with a high quality thread sealer.
WARNING
IG
VLAGE
D
ISCNNEC
ALL
ELECRICAL PWER AND S GAS
SPPL ERE SERVICING R INSALLING IS NI
M
LIPLE PWER SRCES MA E PRESEN
AILRE
D S MA CASE PRPER DAMAGE PERSNAL INJR R DEA
7. Turn on gas to furnace and check for leaks. If leaks are
found, repair and then reinstall burner compartment door.
8. Turn on electrical power and verify proper unit operation.
 Loading...