Do you have a question about the Amphenol Surlok Plus SLPPA16BSR and is the answer not in the manual?
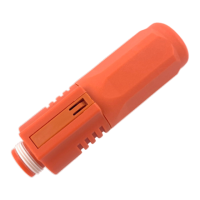
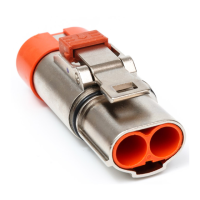
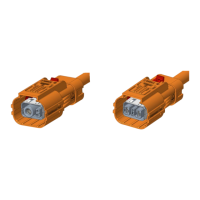
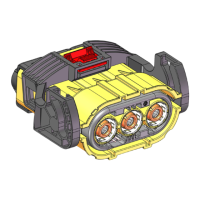
The main component of the connector assembly.
Optional seals for the connector, included only when sealing is required.
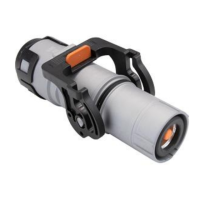
A sleeve specifically used for 16mm² cable size.
A rubber seal, optional based on sealing requirements.
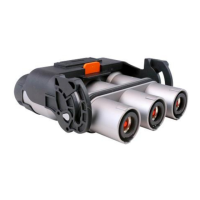
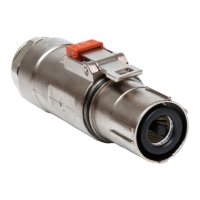
The outer protective cover for the cable assembly.
Prepare the cable by cutting and stripping the conductor to specified lengths.
Slide the grommet (item 3) and back shell (item 4) onto the cable, ensuring correct orientation.
Insert the cable conductor and barrel into the connector lug for crimping.
Crimp the connector lug onto the cable conductor with specified dimensions and force.
Assemble the grommet and tighten the back shell onto the connector body with specified torque.
| Product Type | Connector |
|---|---|
| Series | Surlok Plus |
| Gender | Receptacle |
| Mounting Type | Panel Mount |
| Number of Positions | 1 |
| Termination Method | Crimp |
| Color | Black |
| Contact Gender | Female |
| Shell Size | 16 |
| Shell Material | Thermoplastic |
| Contact Material | Copper Alloy |
| Contact Plating | Silver |
| Termination | Crimp |
| IP Rating | IP67 |
| Operating Temperature | -40°C to 125°C |