8
150 Series
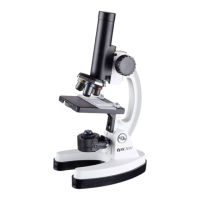
Operation
Setting Up
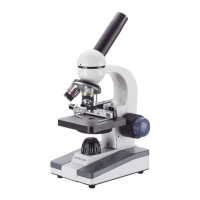
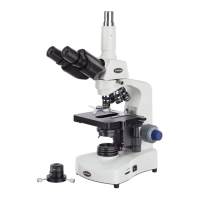
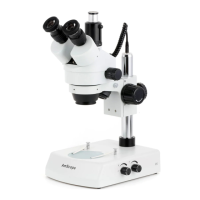
1. Place the specimen to be studied on a glass slide (or use a prepared slide). Place it on the stage, holding it snugly
in place with the metal slide holders (clips) of the mechanical stage.
2. Center the specimen over the stage opening, lining it up with the light and the objective lens.
3. To adjust the illumination, slowly turn the dimmer on the right side of the base until the desired intensity of
light is achieved.
Focusing
1. Turn the nosepiece to choose an objective. It is easiest to use the lowest magnication rst (4x objective) to lo-
cate and focus on the specimen. As you move up in magnication you may need to refocus the image a little each
time.
2. Being focusing by rst looking with one eye through the eyepiece without the diopter. Close your other eye. Use
the coarse focusing knob to adjust the height of the stage until the sample comes into clear focus.
Note: You may loosen the limit-stop knob (located on the read of the stage) in order to give yourself the full range
of motion for ne tuning the focus.
3. Once the image is clear in your eld of view, you will want to use the ne focusing knob to tune it for best results.
Note: Please be careful when moving the mechanical stage if you need to recenter the sample, or if moving the
stage very close to the objectives. e limit stop is designed to prevent impact between objective and slide, so when
it is o you will be able to damage the microscope.
Adjusting The Diaphragm
1. By changing the aperture (hole size) of the iris diaphragm, you can adjust the background brightness. Adjust the
aperture of the iris diaphragm by rotating the disc underneath the stage to the desired aperture.
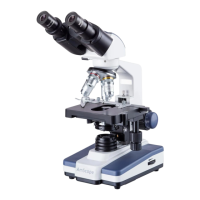
Attaching a Camera / Changing Eyepieces
1. To remove the 10x eyepiece included on the microscope, you will need to remove the small metal screw on the
ocular tube just under where the eyepiece connects to the tube. To do so, you will need a 1mm athead precision
screwdriver (much like what you would use to adjust eye glasses).