Appendix E – Upgrading/Downgrading the System
267
Hardware Reference Manual – Enova DGX 100 Series Digital Media Switchers
Removing 100 Series CPU Board and Installing Enova DGX 8/16/32/64 CPU Board
CAUTION: Do not remove CPU board until you are ready to install the replacement, unless directed to do so by technical support.
Important Information for CPU Downgrade from 100 Series to 8/16/32/64
Do not transfer SD cards from the Enova DGX 100 Series CPU into the Enova DGX 8/16/32/64 CPU.
SD cards from Enova DGX 100 Series CPUs and Enova DGX 8/16/32/64 CPUs have different functions.
Audio Switching Boards are not supported within the Enova DGX 8/16/32/64; therefore, these boards must be removed
prior to using the new CPU.
Endpoint devices bound to the replaced integrated Master (DGX 100 Series CPU) via TCP/UDP connection scheme are not
detectable by the new integrated Master (DGX 8/16/32/64 CPU) until the new Master is configured for the IP address used
by the previous Master. (NDP devices appear in NetLinx Studio’s OnLine Tree as unbound devices.)
Items Required
□ Enova DGX 8/16/32/54 replacement CPU board
□ Phillips #1 screwdriver
□ ESD wristband and cord with an alligator clip
ESD WARNING: To avoid ESD (Electrostatic Discharge) damage to sensitive components, make sure you are properly grounded
before touching any internal Enova DGX materials. Use an ESD wristband and cord with an alligator clip attached to a good
ground source.
To remove and replace an Enova DGX CPU board assembly:
NOTE: If Audio Switching Boards are in the enclosure, remove them before beginning the following instructions.
1. Turn off AC power to the enclosure. Make sure none of the power supply LEDs are illuminated.
2. Disconnect all cables connected to the CPU and unplug the AxLink connector.
3. Remove the screws from CPU faceplate per the locations indicated in FIG. 138 (four screws in Enova DGX 6400, three screws
in Enova DGX 800/1600/3200).
4. Remove the CPU faceplate and set aside.
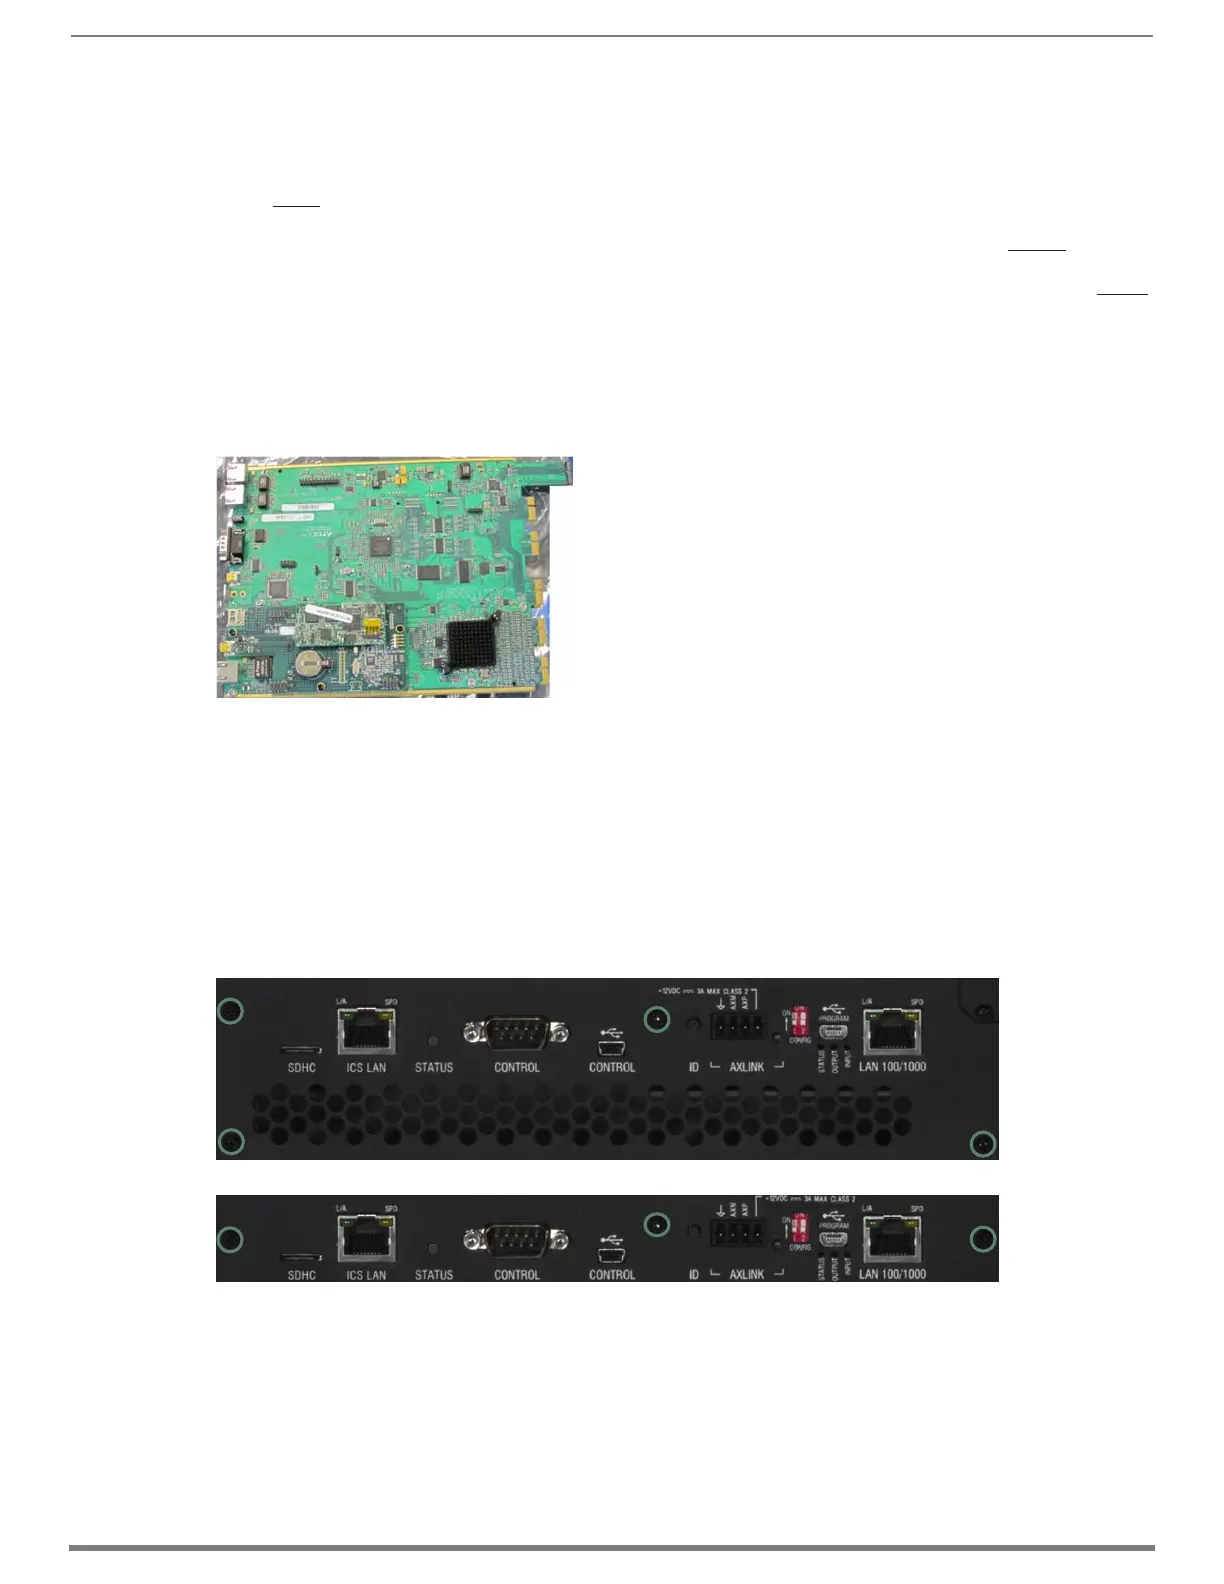
FIG. 137
Enova DGX 8/16/32/64 CPU board (top view)
FIG. 138 Remove screws that hold faceplate
Enova DGX 6400
Enova DGX 800/1600/320

 Loading...

