Initial Configuration
27
NX-Series Controllers - WebConsole & Programming Guide
7. Click OK to save your newly entered information and close the Communication Settings dialog and return to the
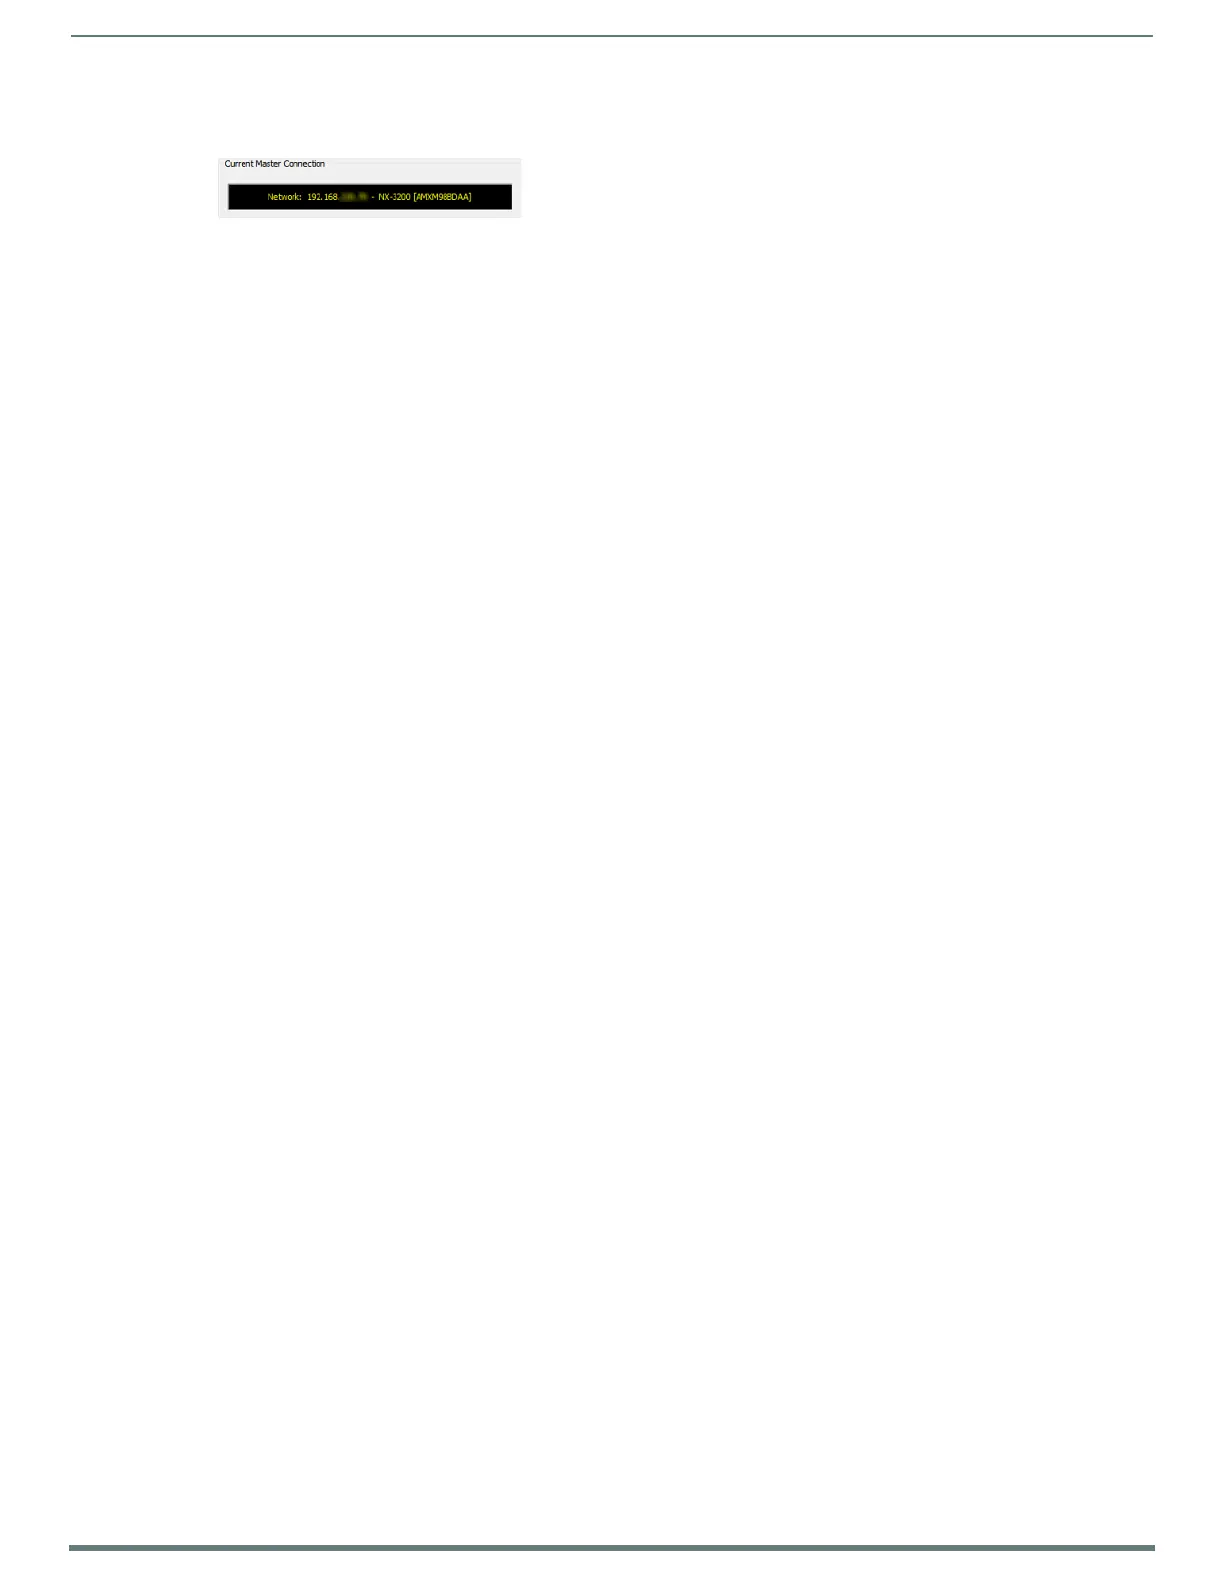
Communication Settings dialog. Note the selected IP address is indicated in the Configuration field (FIG. 20):
8. Click OK to begin the communication process to your Master (and close the dialog).
If you are currently connected to a Master, a pop-up asks whether you would want to stop communication to the current
Master and apply the new settings.
Click Yes to interrupt the current communication from the Master and apply the new settings.
NOTE: On the front panel of the NetLinx Master, the STATUS and OUTPUT LEDs should begin to alternately blink during the
incorporation. Wait until the STATUS LED is the only LED to blink.
9. Click the OnLine Tree tab in the Workspace window to view the devices on the System. The default System value is one (1).
10. Right-click the associated System number and select Refresh System. This establishes a new connection to the specified
System and populates the list with devices on that system. The communication method is then highlighted in green on the
bottom of the NetLinx Studio window.
NOTE: If the connection fails to establish, a Connection Failed dialog appears. Try selecting a different IP address if communication
fails. Press the Retry button to reconnect using the same communication parameters. Press the Change button to alter your
communication parameters and repeat the steps above.
FIG. 20
NetLinx Studio - Communication Settings dialog (Current Master Connection field indicating the selected IP address)
 Loading...


