START UP AND SEQUENCE OF OPERATION
USING THE DEHUMIDIFIER CONTROL
1. Press the ON/OFF button to turn the dehumidifier control ON. The display will show the current setting, and the dehumidifier blower will turn on
to start sampling the air.
The setting will be replaced by the measured humidity and “AIR SAMPLING” will show on the display.
2. Use the UP or DOWN button to adjust the humidity setting as desired.
3. After three (3) minutes of sampling, the measured humidity will be compared to the setting:
a. If the humidity is above the setting, the dehumidifier compressor turns on and “AIR SAMPLING” will be replaced by “DEHUMIDIFYING”. The
compressor remains on until the measured humidity falls 3% RH below the setting.
b. If the measured humidity is below the setting, the blowers turn off and the display returns to showing the RH setting.
4. The dehumidifier will sample again after the number of minutes selected during the AIR SAMPLING portion of the System Set Up (see page 10),
or any time the humidity setting is lowered.
USING THE MODEL A77 REMOTE CONTROL
1. Press the ON/OFF button to turn the dehumidifier control ON. “REMOTE” will show on the display to indicate that it's set to communicate with the
Model A77 remote control.
2. At the Model A77, press the ON button; the Model A77 will display the measured RH.
3. Use the UP or DOWN button on the Model A77 to adjust the humidity setting as desired.
4. If the RH measured by the Model A77 rises above the setting, the dehumidifier will turn on. “DEHUMIDIFYING” will appear on the dehumidifier
control display to show that the Model A77 is calling for dehumidification. The dehumidifier will turn off when the RH measured by the Model A77
drops 3% RH below the setting.
FILTER CLEANING PROCEDURE
1. At the UI control, select the ON/OFF button and switch to OFF mode.
2. Remove the filter access door from either side of the dehumidifier.
3. Slide the filter out of the dehumidifier.
4. Flush the filter with warm water and a mild detergent solution.
5. Shake off the excess water from the filter.
6. When inserting the filter, making sure the filter is secured in the top and bottom filter rails. Safety clips are located along the filter frame and will
compress within the filter frame as the filter is installed. If filter doesn’t insert completely check for presence and proper placement of drain insert
(see page 12).
7. Replace the filter access door.
8. At the UI control, select the ON/OFF button and switch to ON mode.
9. Press the and buttons simultaneously for 3 seconds to clear the service message.
MAINTENANCE
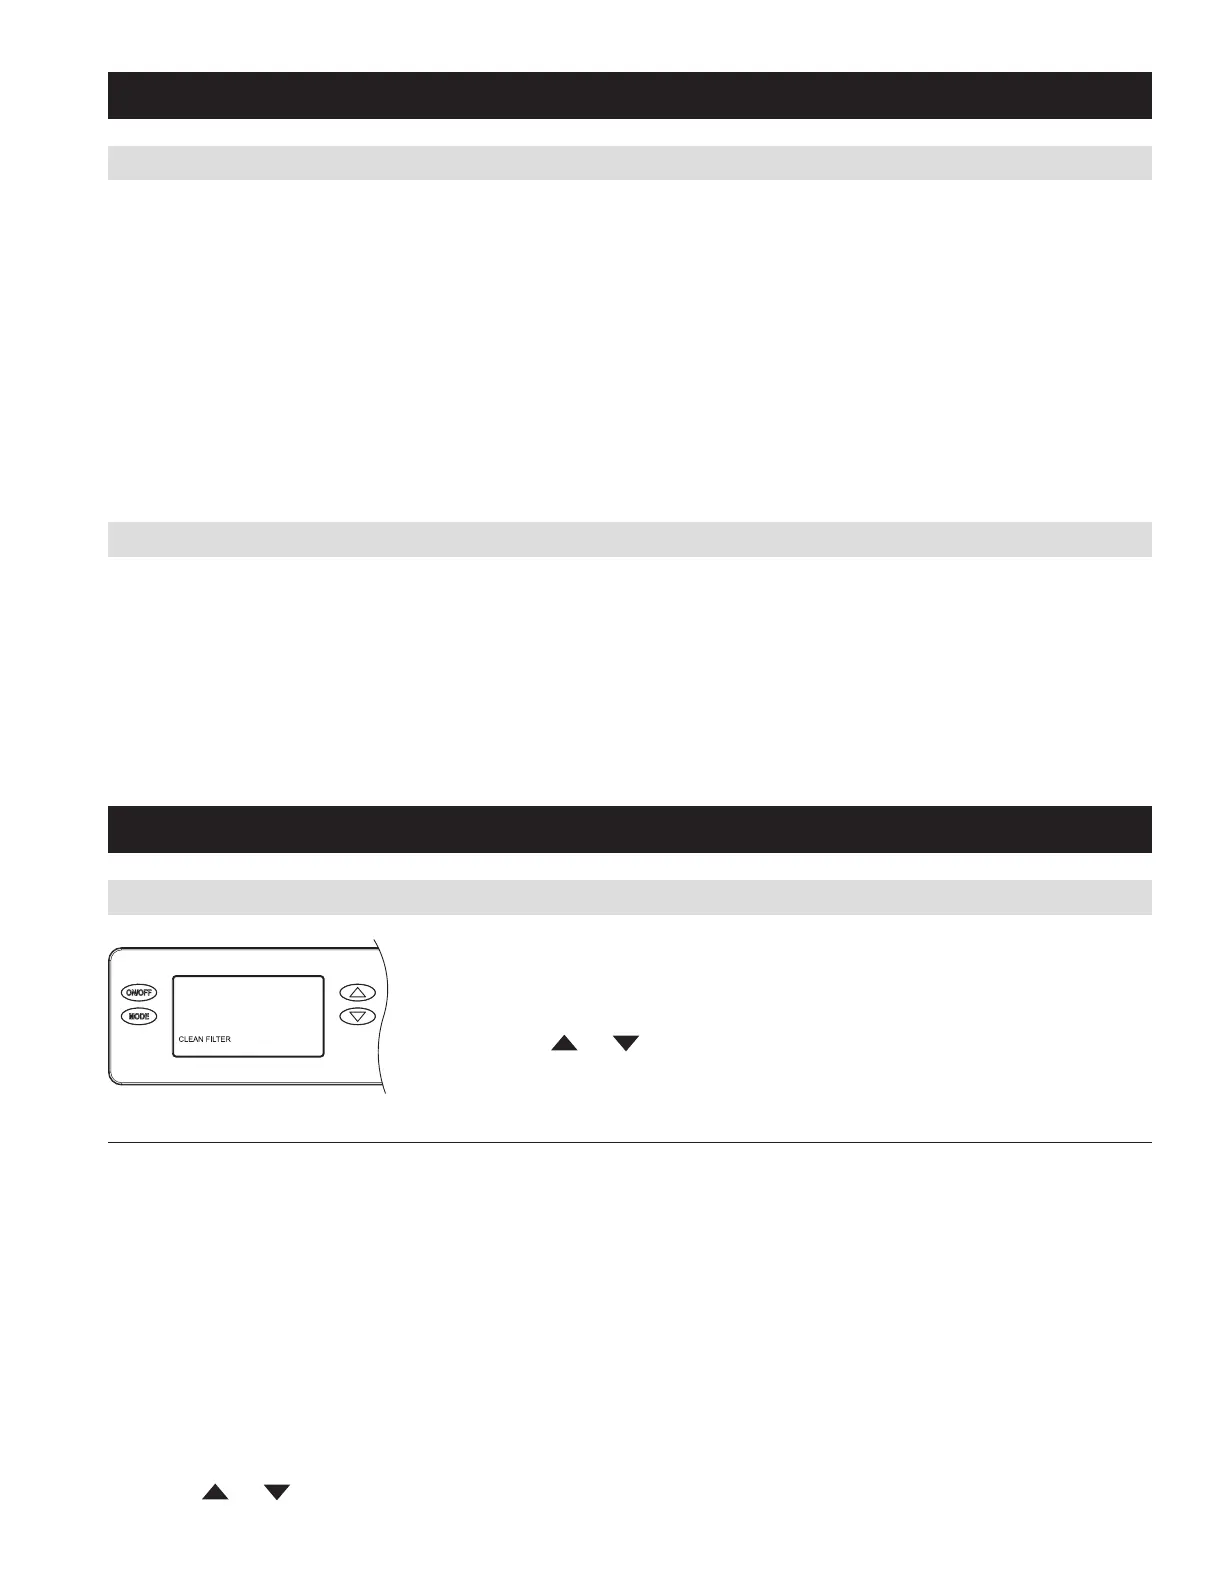
CLEAN OR REPLACE THE AIR FILTER
After initial installation the air filter should be checked and cleaned every 6 months. The CLEAN FILTER
service reminder will display on the on-board control screen every 6 months. To clear the service
message, press the
and buttons simultaneously for 3 seconds.
11

 Loading...