SYSTEM SET-UP & CHECKOUT
Skip set up and proceed to INSTALLER TEST MODE on page 10 unless:
• A Model A77 or other external control is to be installed
• changing the air sampling rate
1. Make sure the wire access cover has been snapped back onto the
on-board control.
2. Plug unit in and turn power switch to ON.
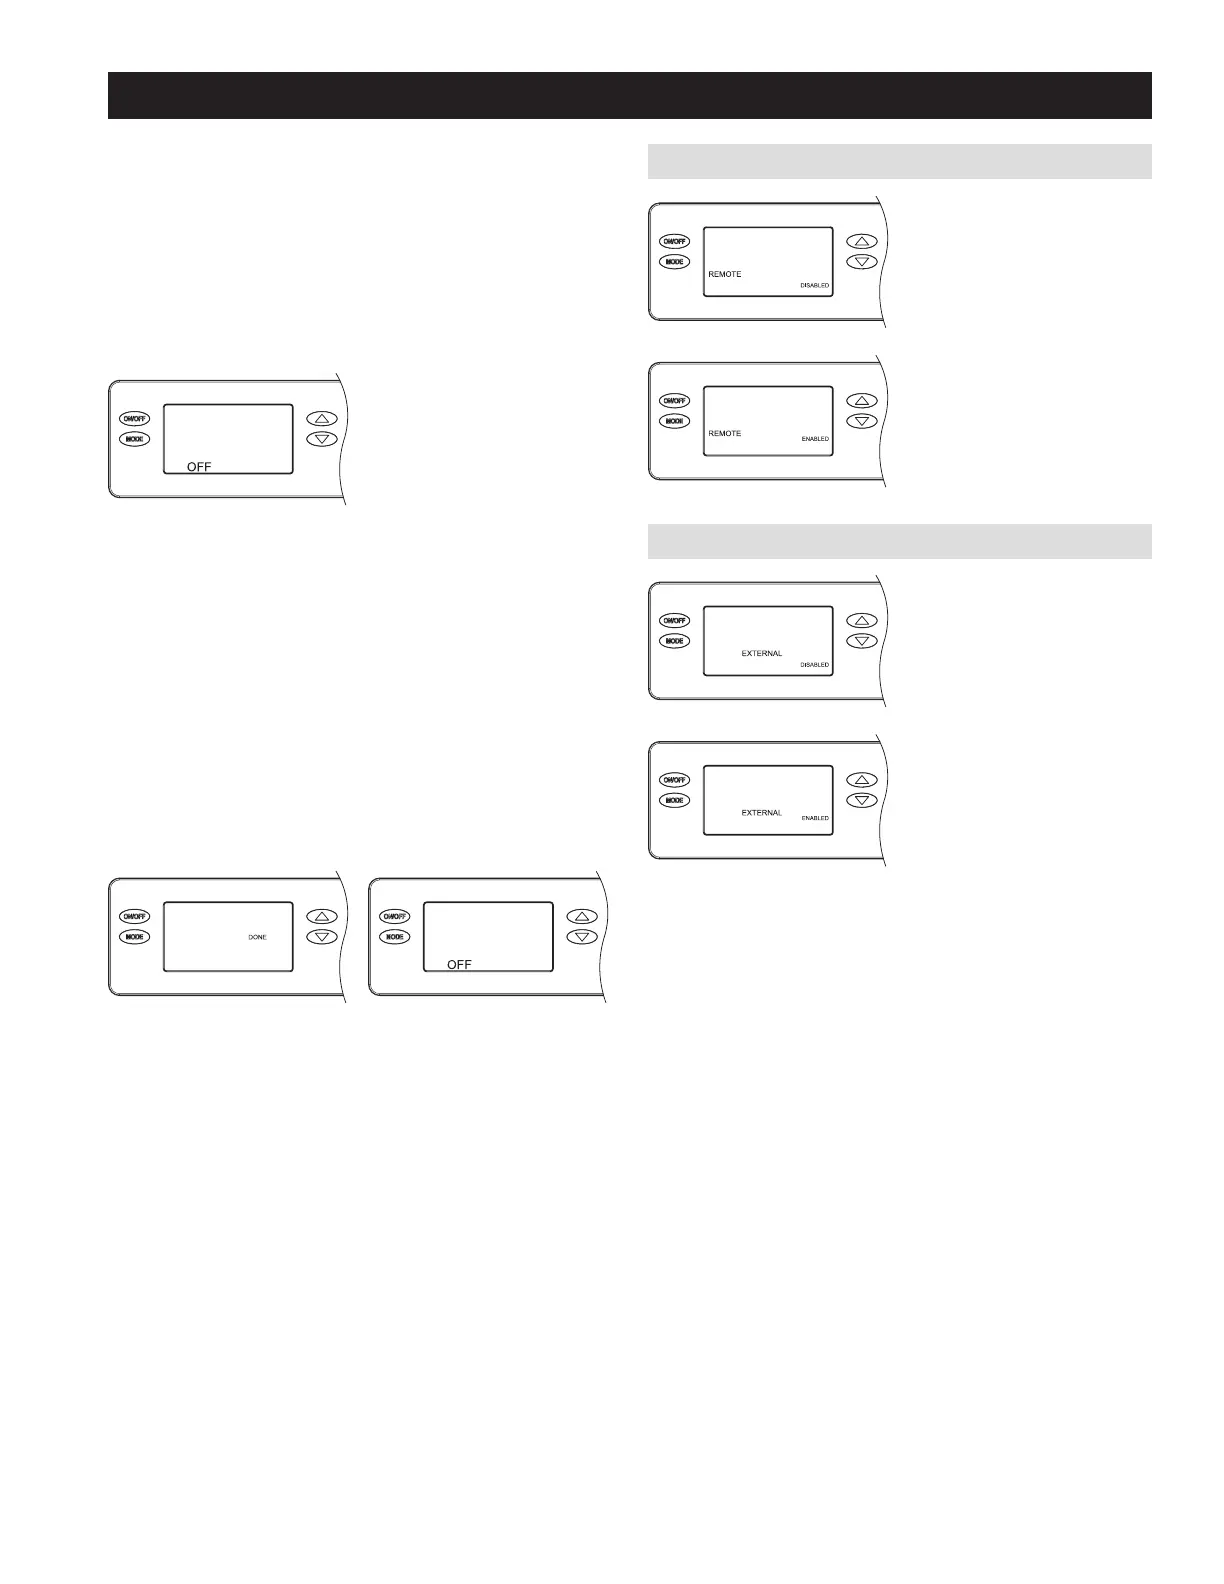
3. The on-board control screen should display OFF.
NOTE: If the display backlight is not on, the first button press (any
button) will only turn on the backlight. Press the button a second time
to achieve function.
4. Hold the MODE button on the on-board control for 3 seconds to
enter the Installer Set-up Menu.
5. Navigate through the following screens to set up the dehumidifier
for the installed application.
Use the UP or DOWN buttons to select items and use MODE to
switch to the next set-up option. To exit installer set-up, all options
must be scrolled through using the MODE button.
6. After the installer set up options have been completed, DONE will
blink for 3 seconds and the control will return to the OFF screen.
REMOTE CONTROL
If not installing an A77, leave
DISABLED and press MODE to go
to the next screen..
If installing an A77, use the UP or
DOWN button to select ENABLED,
then press MODE to go to the next
screen.
EXTERNAL CONTROL
If using the dehumidifier on-board
control, leave DISABLED and press
MODE to go to the next screen.
If using a Model 8800 series
thermostat or alternate control as
an external control, use the UP or
DOWN button to select ENABLED,
then press MODE to go to the next
screen.
9
 Loading...