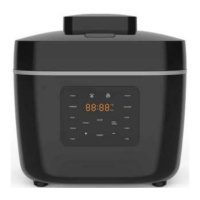
5. Press START button to begin cooking. Display shows count down time now.
When the program ends, the multi-cooker will switch to KEEP WARM mode
automatically.
6. To turn OFF the unit at any time during cooking, press STOP.
• ALWAYS use nonstick utensils in the cooking pot.
• DO NOT use metal utensils as they will scratch the nonstick coating
on the pot.
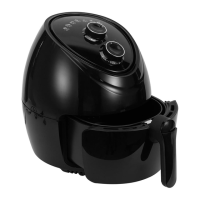
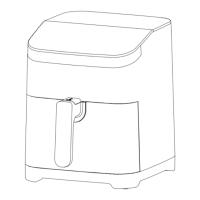
Using as Air Fryer
In this cooking mode, the heater at top and heating plate at bottom are heated alternately. The
fan at the top lid works according to program setting.
Lid is closed during cooking. Frying basket together with inner pot should be used for air fry
cooking. Ensure the frying basket base is attached to the basket before putting it in the inner
pot.
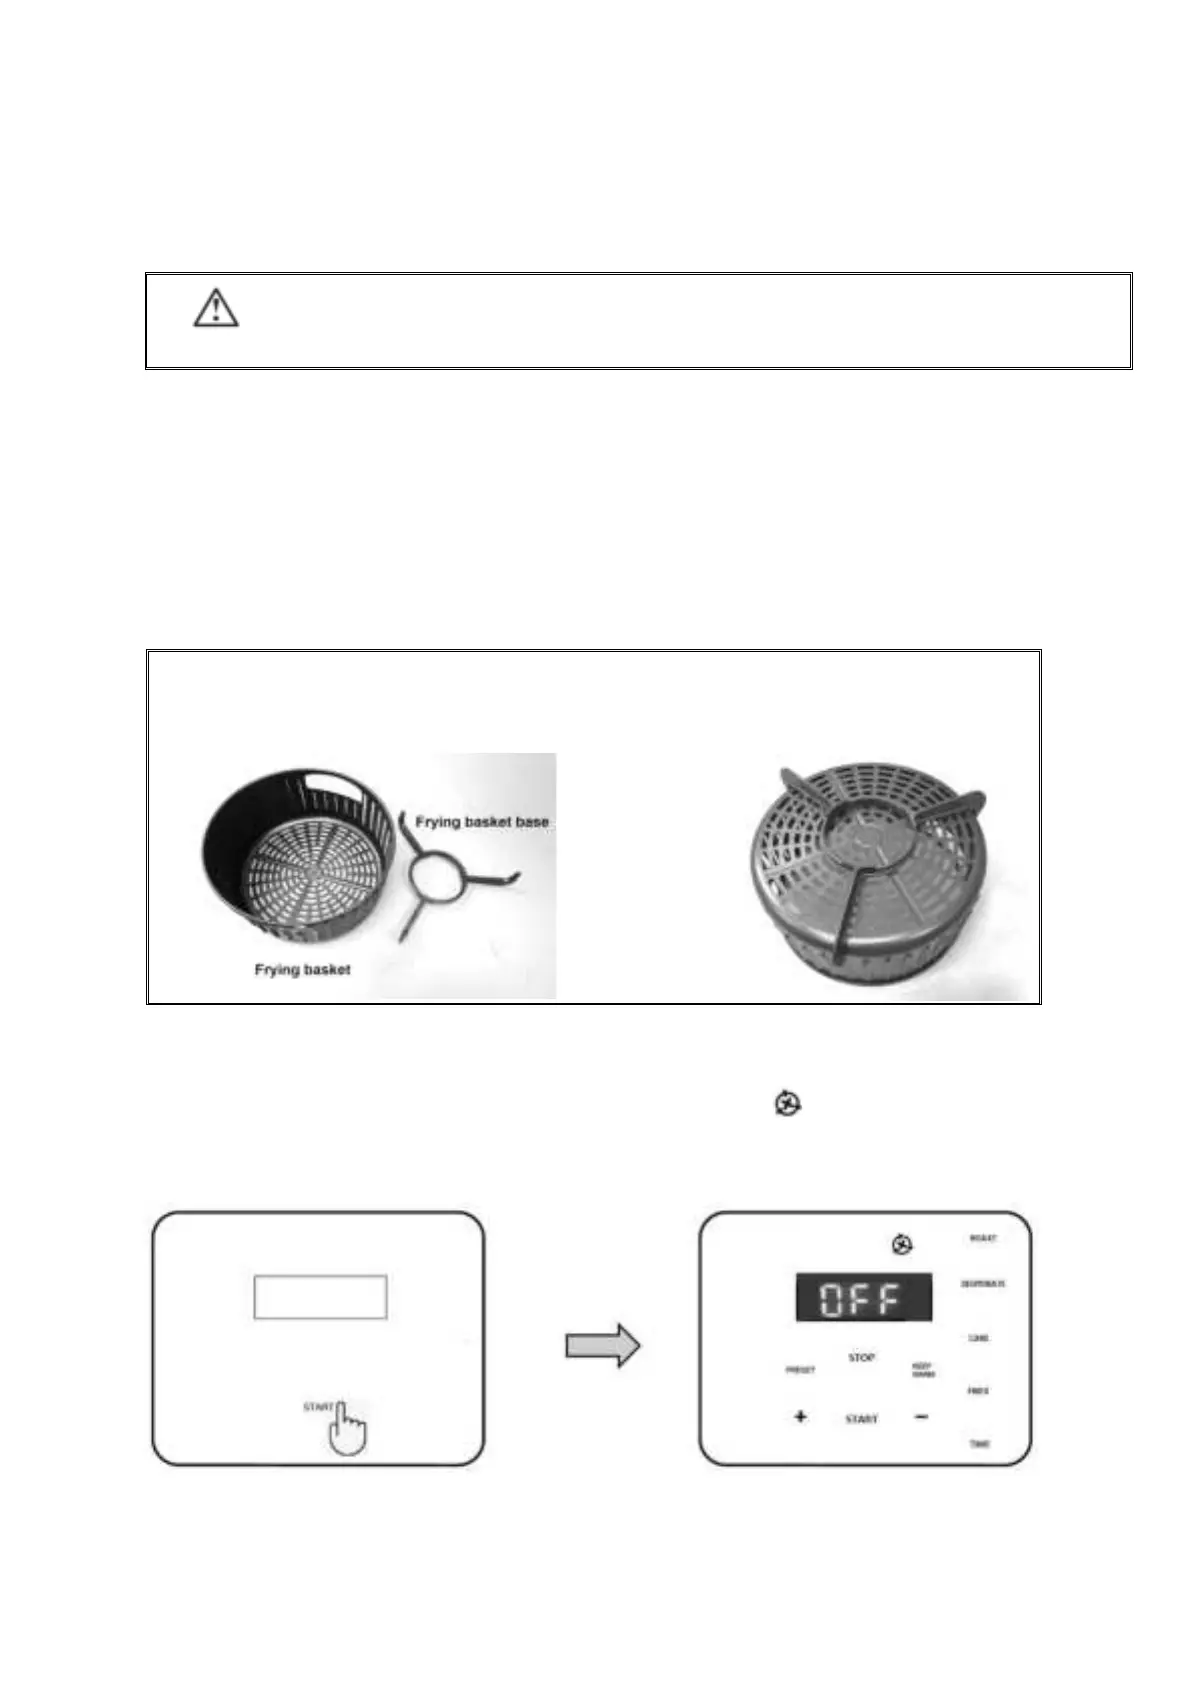
Installing the frying basket
1. Put the basket on base and press firmly
to click onto the base.
2. The base can be fitted to basket in
any orientation. Make sure the
base does not fall off before placing
it inside the inner pot.
1. Remove the Steam shield.
2. Connect the appliance to the power socket outlet. A ‘beep’ will sound, and the cooker is in
Standby mode,
3. Press START to turn ON the cooker. Air Fry cooking indicator illuminates and
corresponding auto menus are shown on control panel.
4. Place food in the fryer basket. Close the lid.
5. Select the desired auto menu to start cooking.
6. There are 4 auto menus for air fry-cooking mode. Below table shows cooking times and
temperature of each auto menu for reference.