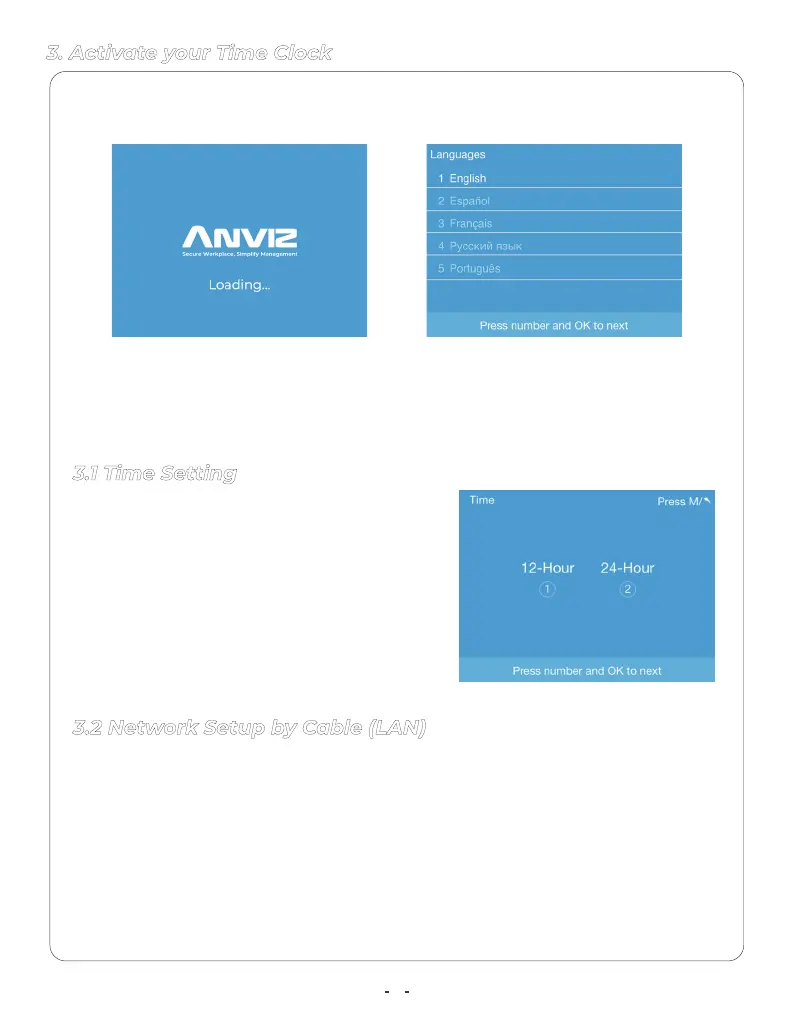
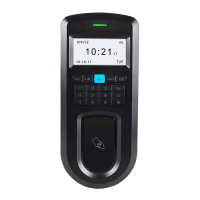
1. Choose your preferred Time Clock diaplay
time format by input the number key, then
press “OK” to save the selected option and
move to the next step.
2. Crosschex Cloud software will be used to
synchronize your Time Clock devices with the
correct date and time. Press M key return to
previous settings.
3.1 Time Setting
3. Activate your Time Clock
The Time Clock can be connected with the internet by Ethernet cable (LAN) or
WiFi.
1. Plug your Time Clock into a power outlet to power on the terminal.
2. Choose your preferred language by press the number key, then press “OK” to
save the selected option and move to the next step.
1. Connect a LAN cable between your clock and a router with internet access.
2. Press number 1 to select “Ethernet” as the preferred the network mode.
3. Select "DHCP" in the IP mode to automatic get the network information or
fill the correct network information in the terminal (IP address, Subnet mask
and Gateway) to connect with internet. Select the "Next(OK)" and press"OK" to
proceed.
3.2 Network Setup by Cable (LAN)
5